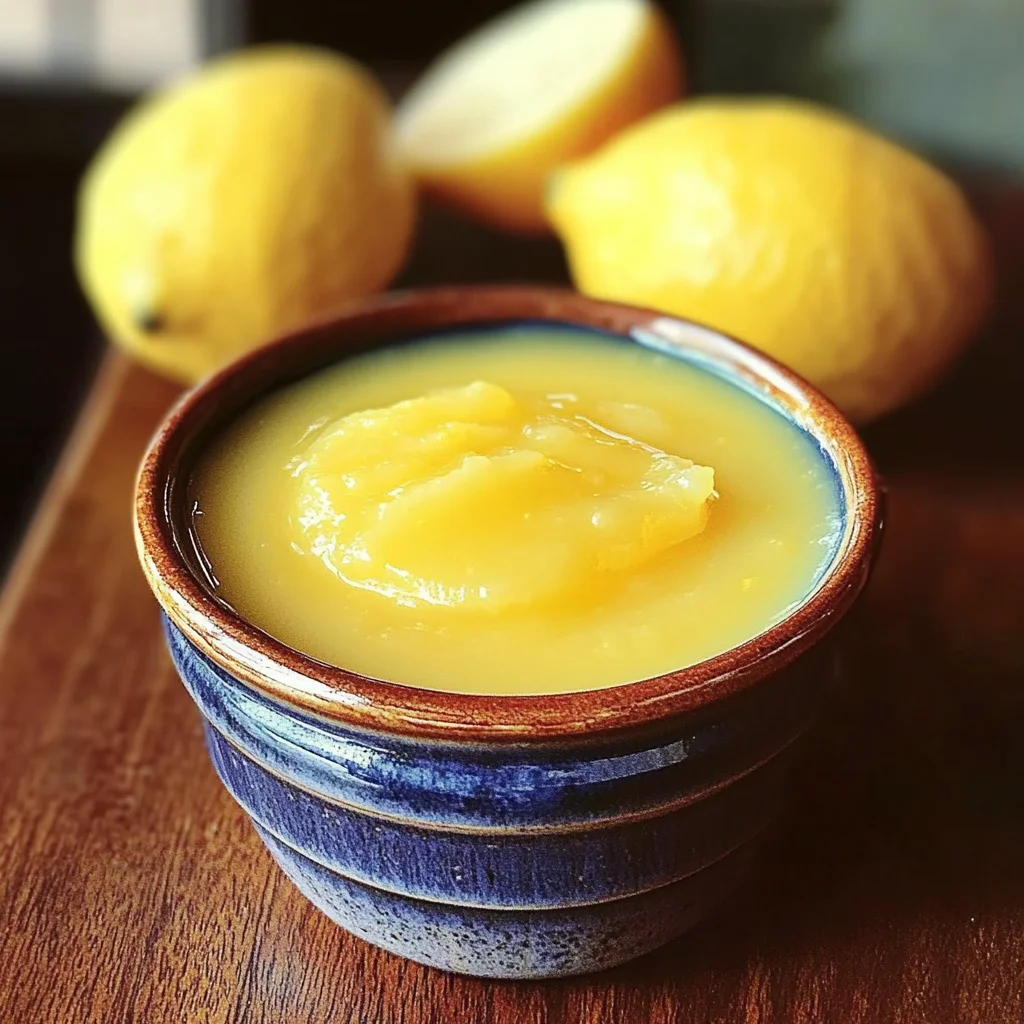
How to Make Lemon Curd
There’s something undeniably magical about transforming simple ingredients into a luscious, velvety Lemon Curd that dances on your palate. Each spoonful is a bright burst of sunshine, an experience that transcends the ordinary and invites you to savor life’s little pleasures. It’s not just about the sweet-tart balance that leaves you craving more; it’s about creating a culinary masterpiece that sparkles like liquid gold in your jar. And let me tell you, once you learn how to make Lemon Curd at home, there’s no going back to store-bought versions that simply can’t capture the love and attention you pour into this vibrant treat.
Every time I whip up a batch of homemade Lemon Curd, I’m reminded of afternoons spent in the kitchen with my grandmother, who would often say that cooking is an act of love. The aroma of fresh lemons zests through the air as if summoning memories of sun-drenched summers and family gatherings. This recipe isn’t just a collection of steps; it’s a journey through flavor and tradition. Whether you’re planning to slather it on toast, fill pastries, or simply enjoy it by the spoonful (trust me, it’s hard to resist), this Lemon Curd will elevate any dessert or breakfast spread into something truly extraordinary.
How to Make Lemon Curd: A Bright Burst of Flavor
Let’s dive into this delightful recipe together! Making Lemon Curd is easier than you might think, and I promise you’ll find immense satisfaction in crafting something so delicious from scratch. With just a handful of ingredients, we’ll create a creamy, tangy curd that captures the essence of freshly squeezed lemons. So roll up your sleeves, grab your whisk, and let’s get started!
Ingredients:
As we embark on this culinary journey together, it’s essential to understand each ingredient’s role in our creation. Each component plays its part in crafting an utterly intoxicating lemon curd that will have everyone asking for your secret.
- 1 cup + 2 tablespoons granulated sugar: Sugar isn’t just about sweetness; it balances the tartness of our lemons while also helping to achieve that silky texture we crave in lemon curd. When choosing sugar, go for pure granulated sugar—it’s readily available and works perfectly in this recipe. As the sugar dissolves during cooking, it helps create that beautiful harmony between sweet and sour.
- 1 tablespoon cornstarch: This ingredient acts as a thickening agent—think of it as the magic wand that transforms our lemon mixture into a luscious curd. Cornstarch absorbs moisture and creates stability as it cooks. If you’re in need of alternatives due to dietary preferences or availability issues, you can substitute it with arrowroot powder or even tapioca starch for similar results.
- 1/8 teaspoon salt: You might wonder why we need salt when we’re making something sweet. Salt enhances flavors—it draws out the natural sweetness from the sugar and adds depth to the brightness of the lemons. A pinch goes a long way in elevating our lemon curd from good to utterly phenomenal!
- 1 cup fresh lemon juice (approximately 5 lemons): Freshness is key here! The vibrant taste of freshly squeezed lemon juice is what makes this curd shine with personality. When selecting lemons at the store, look for ones that feel heavy for their size—this means they’re juicy! Avoid any blemishes or overly hard skins; we want those juicy treasures packed full of flavor.
- 3 large eggs: Eggs are non-negotiable in this recipe as they provide richness and aid in thickening our curd through gentle cooking. They help create that luxurious texture we all adore when spooning lemon curd over desserts or pancakes! Using large eggs ensures consistency throughout your batches.
- 2 tablespoons unsalted butter: Butter adds creaminess and richness that’s absolutely paramount in achieving that melt-in-your-mouth quality we seek in lemon curd. Be sure your butter is unsalted so we can control the salt levels ourselves—plus, high-quality butter can really elevate your final product!
- 1 teaspoon grated lemon rind: This ingredient is like adding sunshine itself! The zest contains essential oils that pack an aromatic punch which intensifies the lemony flavor profile without adding extra liquid. Always choose organic lemons if possible since we’ll be using their skin—this helps avoid any unwanted pesticides creeping into our delicious creation.
Equipment You’ll Need:
Having the right tools makes all the difference when it comes to crafting homemade goodness like Lemon Curd. While these may not be ingredients themselves, they are essential partners on our delicious adventure.
- Medium saucepan: A sturdy medium saucepan is crucial for heating our mixture evenly without scorching anything—a key factor when working with delicate ingredients like eggs! Look for one with a thick bottom; this helps distribute heat uniformly.
- Whisk: A good whisk will be your best friend throughout this process! It ensures everything blends smoothly while preventing any lumps from forming as you combine your ingredients over heat. If you don’t have one handy, a fork can work but may require more elbow grease!
- Fine-mesh strainer: This tool will come into play later when ensuring our curd has that perfect smooth texture by catching any bits left behind during cooking—nothing ruins a beautiful curd like unwanted lumps! If you don’t own one yet, consider investing as it’s incredibly handy for various recipes beyond just this one.
Now that we’ve gathered our ingredients and tools let’s move on to creating this stunning Lemon Curd together!
Step 1: Whisking Up Sweetness
To begin our lovely journey toward making Lemon Curd, start by combining granulated sugar, cornstarch, and salt in your medium saucepan using your whisk until everything is well blended—this step lays down a solid foundation for what’s to come! The sugar will dissolve beautifully while the cornstarch ensures we have sufficient thickening power later on while cooking. Take care here; trust me—it’s crucial not to skip over thoroughly mixing these dry ingredients before moving forward!
Step 2: Adding Zesty Freshness
Next up comes the fun part—stirring in fresh lemon juice along with those three large eggs! Pour them right into your dry mixture and whisk vigorously until fully combined—a lovely transformation starts unfolding before your eyes here as bright yellow liquid begins swirling around! This step brings together all those bright flavors—and oh my goodness—the scent alone is worth celebrating! As we begin heating things up over medium heat, keep stirring constantly with your whisk; it’s essential because eggs can easily scramble if left unattended or heated too quickly.
Step 3: Bringing It All Together
As you continue stirring gently but consistently during cooking over medium heat, keep an eye out for those small bubbles beginning to form around the edges—that’s when you’ll know you’re getting close! We want our mixture to come just shy of boiling while releasing its intoxicating aroma throughout your kitchen—trust me; it’s heavenly! Once it reaches boiling (or very near), reduce heat immediately so we can simmer gently for about one minute or until thickened sufficiently—you’ll know it’s ready when it coats the back of a spoon nicely!
Step 4: Finishing Touches
When you’ve reached peak thickness after simmering away blissfully for about a minute (don’t rush this step!), remove from heat entirely before adding two tablespoons of unsalted butter along with grated lemon rind—this moment is where all those rich flavors marry beautifully together! Stir gently until every last morsel melts away completely—you’ll witness how effortlessly everything melds into luscious perfection right before your eyes!
This process yields about one cup of glorious homemade Lemon Curd—a delightful addition to any dessert table or breakfast spread that’ll leave everyone wanting more! Don’t forget; cover it tightly so no air gets trapped inside—chill at least six hours (or overnight) before serving because patience truly rewards us here—the flavors deepen magnificently as they settle beautifully over time.
I can’t wait for you to experience how profoundly satisfying making homemade Lemon Curd can be—trust me on this one; it’s an absolute treat!
How to Make Lemon Curd: The Zesty Adventure Continues!
Step 5: The Art of Cooling – Patience is Key
Once your luscious mixture has reached that beautiful, thickened state after simmering for a minute, it’s time to bring out the sophisticated flavors even more by cooling it down. Trust me on this; the cooling process transforms your lemon curd into something truly extraordinary. Carefully remove the saucepan from the heat and let it rest for a moment. This is crucial because we want to avoid any residual cooking from the heat of the saucepan itself, which could lead to a curdled texture. While it’s still warm, gently fold in that velvety unsalted butter along with the fragrant grated lemon rind. As you stir, watch as the butter melts effortlessly into your mixture, creating a glossy sheen that hints at the indulgence waiting ahead.
To cool your lemon curd, spoon it into a bowl—ideally one that’s wide and shallow, which allows for quicker cooling. Cover it with plastic wrap but be sure to press it directly onto the surface of the curd to prevent any unattractive skin from forming on top. I find this part so satisfying; watching that vibrant yellow mix turns from hot to cool is like witnessing a masterpiece come together right before your eyes! Now comes the hard part: patience. Allow it to cool down at room temperature for about 30 minutes before transferring it to the refrigerator. This brief rest not only ensures an even temperature throughout but also gives those flavors time to mingle and deepen—pure magic in action!
Step 6: Chilling Out – The Essential Resting Period
Now that we’ve cooled our citrus creation at room temperature, we’re heading into one of my favorite parts—the chilling phase! Cover your bowl tightly and pop it in the fridge for at least six hours or ideally overnight if you can resist the temptation! Why chill? Well, this step is absolutely paramount because as it cools, your lemon curd will thicken beautifully into a silky-smooth spread that’s bursting with flavor. Plus, chilling allows all those zesty notes to mellow and fuse together harmoniously—a symphony of flavors that will dance on your palate when you finally take that first taste.
During this time, there’s so much happening behind the scenes! The cornstarch works its magic by binding everything together while also providing stability against any potential separation as temperatures fluctuate. You’ll know your lemon curd is ready when you can dip a spoon into it and feel that luxurious thickness coating each curve and crevice. If you happen to check on it and find that it’s still slightly runny after chilling—don’t worry! Just give it a gentle stir and allow some extra time in the fridge; sometimes good things just need a little more patience!
Step 7: The Final Touches – Getting Ready for Enjoyment
Once you’ve given your lemon curd ample time to chill and thicken—oh boy, get ready for some joy! Gently remove it from the fridge and unveil what looks like liquid gold; I can scarcely contain my excitement at this moment! Take a clean spatula or spoon and give your curd a gentle stir; you’ll notice how creamy and smooth it has become—a visual cue that you’ve nailed this recipe! If there are any little air bubbles or imperfections on top, don’t fret at all; they’re easily smoothed out with just a little stirring.
Now comes one of my favorite moments: tasting! Before you dive in completely (because trust me—you will want to), consider how you might use this magical concoction. It’s not just about enjoying spoonfuls straight from the bowl (although I won’t judge if you do!). A dollop atop freshly baked scones or incorporated into fluffy whipped cream creates an utterly intoxicating dessert experience. Picture yourself sitting outside on a sunny day sipping iced tea while enjoying these delightful pairings—doesn’t that sound heavenly?
Step 8: Storage Secrets – Keeping Your Creation Fresh
Now that you’ve crafted this delightful treat, let’s talk about storage because no one wants their hard work to go to waste! You can store your homemade lemon curd in an airtight container in the refrigerator for up to two weeks—though I promise you it’ll be devoured long before then! If you’re feeling adventurous, consider freezing portions in ice cube trays for easy access later. Just make sure they’re labeled well so no one mistakes them for regular ice cubes!
As you scoop out servings over time, keep an eye on texture and flavor. If you notice anything off (which is rare!), trust your instincts; when made fresh like this recipe suggests, lemon curd should stay vibrant both visually and taste-wise throughout its shelf life. And remember: each jar holds not just a recipe but memories waiting to be created with every use!
Conclusion:
As we wrap up our delicious journey through how to make Lemon Curd, I hope you’re feeling that same excitement that sparked my love for this zesty delight! There’s something profoundly satisfying about creating something so simple yet so extraordinary from scratch. The combination of sweet and tart flavors dances on your palate, while its velvety texture makes every bite feel like a luxurious treat. This recipe is not just about making curd; it’s about embracing a joyful culinary experience that transforms ordinary moments into delightful ones.
I genuinely believe that this recipe is a must-try—not only because of its incredible taste but also due to the sheer joy of preparing and sharing it with loved ones. Picture yourself pulling out a jar of freshly made curd for brunch with friends or dolloping generous spoonfuls onto a slice of cake during an afternoon gathering. The compliments will flow as freely as the sunshine filtering through your kitchen window; everyone will be captivated by its charm!
When serving your glorious Lemon Curd, imagine savoring one with buttery toast or stirring a spoonful into Greek yogurt for an indulgent breakfast treat that feels like dessert! For an afternoon pick-me-up, try pairing it with freshly baked scones alongside your favorite tea—each bite will transport you to a sunlit garden filled with citrus blooms! And perhaps for a truly decadent experience, swirl some into rich cheesecake batter or use it as filling for delicate pastries; let your imagination run wild!
Feeling adventurous? This recipe is wonderfully adaptable! You could experiment by adding different citrus zest – think blood oranges or limes – which would lend their own unique twist while maintaining that signature tartness we adore. You might also consider stirring in fresh herbs like basil or mint right before serving—a playful touch that adds depth and intrigue. I invite you to try these variations and make them your own—then come back and share your experiences with me! Let’s continue this delicious conversation together!
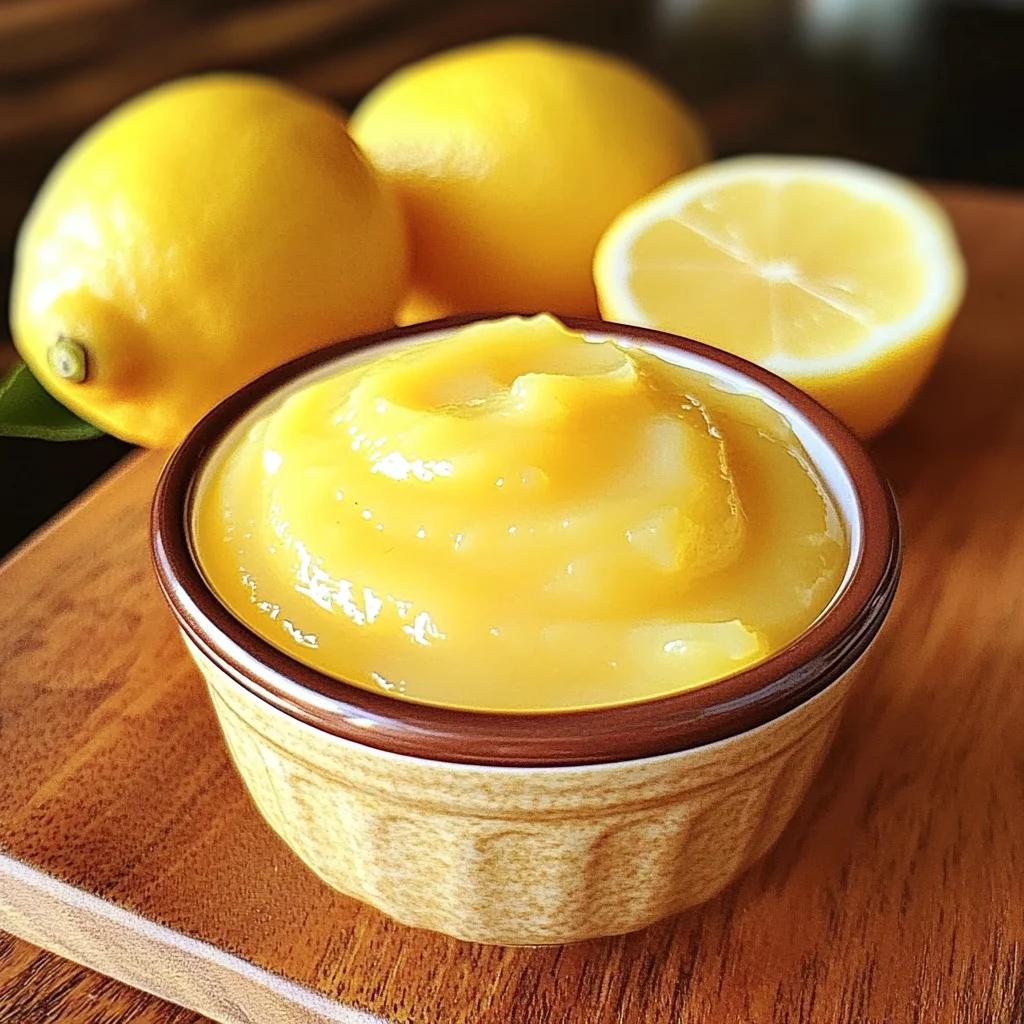
How to Make Lemon Curd
Experience the vibrant taste of homemade lemon curd, a delightful spread that brings a burst of sunshine to your table! This creamy, tangy treat is perfect for slathering on toast, filling pastries, or simply enjoying by the spoonful. Crafted from fresh ingredients like zesty lemons and rich butter, this easy recipe transforms simple components into a luscious lemon custard that’s sure to elevate any dessert. With just a handful of ingredients and straightforward steps, you’ll discover the satisfaction of making this versatile condiment from scratch. Get ready to impress your family and friends with a jar of liquid gold that captures the essence of summer!
- Prep Time: 10 minutes
- Cook Time: 10 minutes
- Total Time: 20 minutes
- Yield: Approximately 16 servings (1 cup total) 1x
- Category: Dessert
- Method: Cooking
- Cuisine: American
Ingredients
- 1 cup + 2 tablespoons granulated sugar
- 1 tablespoon cornstarch
- 1/8 teaspoon salt
- 1 cup fresh lemon juice (approximately 5 lemons)
- 3 large eggs
- 2 tablespoons unsalted butter
- 1 teaspoon grated lemon rind
Instructions
- In a medium saucepan, whisk together the sugar, cornstarch, and salt until well combined.
- Add the fresh lemon juice and eggs; whisk vigorously until fully blended.
- Cook over medium heat, stirring constantly until small bubbles form around the edges (just shy of boiling).
- Reduce heat and simmer for about one minute until thickened, coating the back of a spoon.
- Remove from heat and stir in unsalted butter and grated lemon rind until melted and smooth.
- Transfer to a bowl, cover directly with plastic wrap to prevent skin formation, and let cool for 30 minutes at room temperature.
- Refrigerate for at least six hours or overnight before serving.
Nutrition
- Serving Size: 1 tablespoon (15g)
- Calories: 60
- Sugar: 11g
- Sodium: 10mg
- Fat: 2g
- Saturated Fat: 1g
- Unsaturated Fat: 1g
- Trans Fat: 0g
- Carbohydrates: 11g
- Fiber: 0g
- Protein: 0g
- Cholesterol: 12mg