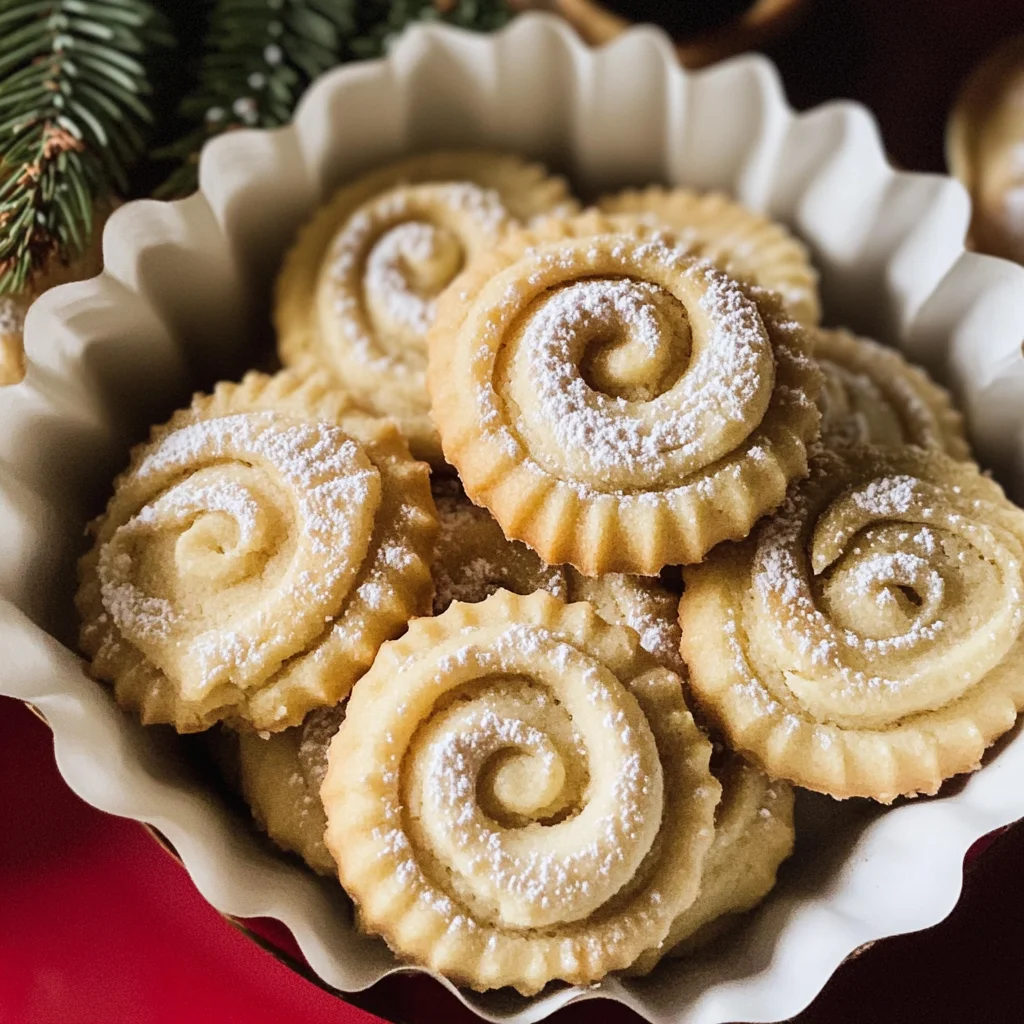
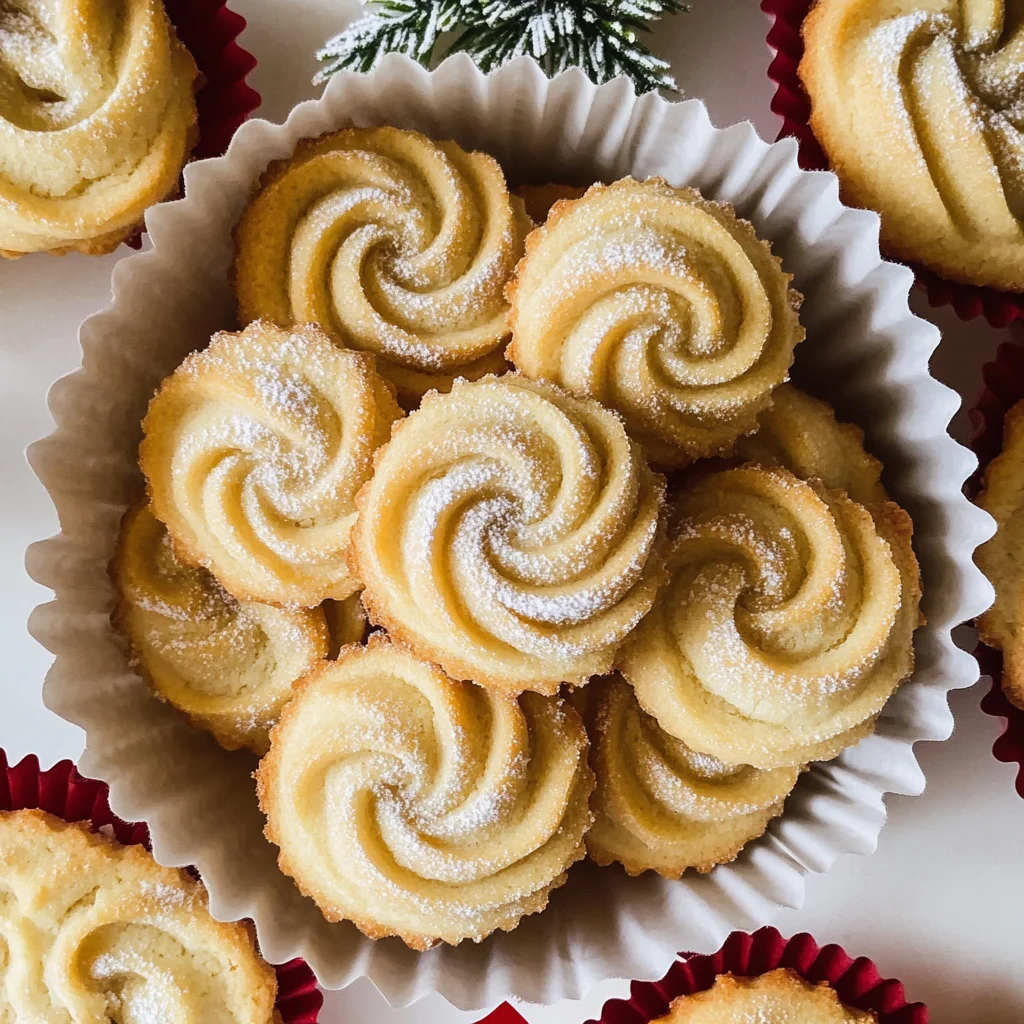
Dutch Butter Cookies
There’s something utterly enchanting about the way the scent of freshly baked cookies can transport us to cherished moments, isn’t there? The aroma wafts through the air, enveloping you in warmth as memories of laughter and togetherness unfold. Today, I want to share with you a recipe that has been a beloved staple in my home: Dutch Butter Cookies. These cookies are not just a treat; they are a symbol of love, comfort, and tradition. With their rich buttery flavor and delicate texture, they offer a delightful experience that resonates with every bite. I promise you, once these cookies grace your kitchen, they’ll become an inseparable part of your festive celebrations.
As we embark on this culinary journey together, let me assure you that making Dutch Butter Cookies is straightforward and incredibly rewarding. This foolproof recipe marries simplicity with elegance—perfect for both seasoned bakers and those just starting to explore their culinary prowess. The beauty of these cookies lies in their versatility; whether you’re nibbling on them with a cup of tea or presenting them at a holiday gathering, they are sure to be adored. So grab your apron, and let’s dive into creating these scrumptious morsels that will surely delight your family and friends!
Dutch Butter Cookies: A Symphony of Buttery Goodness
These Dutch Butter Cookies are like little bites of happiness waiting to happen! Their light and crisp texture paired with a rich buttery flavor makes them an instant favorite for any occasion. Whether it’s a cozy evening at home or a festive holiday gathering, these cookies fit seamlessly into every moment. And the best part? They’re incredibly easy to make! Once you try this recipe, I guarantee you’ll find yourself reaching for it time after time.
Ingredients:
Before we start whipping up our Dutch Butter Cookies, let’s gather our ingredients! Each component plays a vital role in crafting that perfect cookie experience.
- 14 TBS. (1 3/4 cups or 196g) butter, softened. The star of our show! Using high-quality unsalted butter not only enriches the flavor but also ensures control over the salt levels in our cookies. Make sure your butter is softened to room temperature; this is crucial for achieving that light and airy texture when creaming with sugar. If it’s too cold, it won’t blend well; too warm, and your cookies may spread too much during baking.
- 1 cup (120g) confectioners sugar. Also known as powdered sugar, this ingredient adds sweetness while contributing to the smooth texture that makes these cookies melt-in-your-mouth delicious. It dissolves easily when creamed with butter, creating that perfect consistency we desire. Plus, it gives our cookies a beautiful finish that looks as delightful as it tastes!
- 1 large egg. Eggs are essential for moisture and binding in our cookie dough. They help create structure while adding richness and flavor to each cookie bite. Make sure your egg is at room temperature too; this helps it incorporate smoothly into the mixture.
- 1 TBS. milk. Just a tablespoon helps bring everything together beautifully! Milk enhances the dough’s moisture content without making it overly wet—allowing us to achieve that soft yet firm consistency ideal for shaping our cookies.
- 2 1/2 tsp. vanilla extract. This ingredient infuses our cookies with an aromatic warmth that’s simply irresistible! Vanilla enhances all the other flavors present in the dough—trust me when I say it’s non-negotiable for elevating these cookies from good to extraordinary.
- 1/2 tsp. salt. A pinch of salt might seem small but is absolutely paramount in balancing sweetness and enhancing flavors overall. It rounds out the richness of the butter and sugar perfectly.
- 2 1/4 cups (270g) all-purpose flour. This ingredient provides the structure we need for our cookies while keeping them tender and light—it’s essential for achieving that lovely crumbly texture we’re after! Be sure to measure correctly; too much flour will make your cookies dry.
Equipment You’ll Need:
Having the right tools can make all the difference in your baking journey! Here’s what you’ll need to create these delightful Dutch Butter Cookies:
- Mixing bowl – A sturdy mixing bowl is essential because it gives you ample space to combine ingredients without any spills or messes. Opt for glass or stainless steel; these materials are durable and easy to clean!
- Electric mixer or whisk – While you can whisk by hand if you’re feeling adventurous (and have some strong arms!), I highly recommend using an electric mixer for this recipe—it saves time and effort while achieving speedier results when creaming butter and sugar together.
- Cookie press or piping bag – For those beautiful shapes characteristic of Dutch Butter Cookies, having either a spritz cookie press or piping bag will help tremendously! These tools allow you to effortlessly create uniform shapes that bake evenly—a must-have if you’re looking to impress!
- Baking sheets – A good quality baking sheet ensures even heat distribution while baking so your cookies come out perfectly golden brown all around! Consider lining them with parchment paper for easy cleanup—trust me on this one!
Now that we’ve gathered our ingredients and tools let’s get started on preparing these delectable Dutch Butter Cookies!
Step 1: Creaming Together Butter & Sugar
In a mixing bowl, begin by adding your softened butter along with the confectioners sugar. This process is known as creaming—it’s where magic begins! Turn on your mixer (or use a whisk if you’re feeling ambitious), setting it to high speed until both ingredients transform into a light, fluffy mixture—this usually takes about 3 to 5 minutes depending on your appliance’s power level. Why is this step so important? When we cream butter with sugar, we’re incorporating air into the mixture which creates that wonderfully airy texture we crave in our cookies later on! You want it fluffy enough so it holds its shape but not overly whipped; keep an eye on it because over-creaming can lead to unwanted issues during baking.
Step 2: Adding Wet Ingredients
Once you’ve achieved that beautiful fluffy mix from step one (it should feel like pure liquid gold), it’s time to stir in our egg along with milk and vanilla extract until everything combines harmoniously—this should take just about another minute or two at medium speed if you’re using an electric mixer! The addition of eggs brings richness while milk adds moisture; together they bind everything smoothly so each bite feels satisfying yet tender! Remember: don’t rush through this step—ensuring everything blends well here sets up a solid foundation for flavor throughout each cookie!
Step 3: Mixing Dry Ingredients
Next up comes the dry ingredients—add in your measured salt and flour all at once into this luscious wet mixture we’ve created previously—and then mix carefully until just combined! We’re aiming for softness here; ideally, what you want is a dough that’s not too sticky nor dry—the consistency should feel cohesive yet still slightly tacky when touched gently by fingertips (if it’s too wet add more flour gradually; if crumbling instead add drops of milk!). This step allows those flavors we’ve built thus far to intertwine perfectly within each little piece we’re creating!
Step 4: Shaping Your Cookies
Now comes one of my favorite parts: shaping those delightful morsels ready for baking! If you’re using a spritz cookie press—fill it according to instructions provided (usually quite simple) before pressing onto ungreased baking sheets lined with parchment paper; if opting for piping bags simply pipe out desired shapes directly onto sheets instead ensuring consistent spacing between each cookie—or else they’ll merge together during baking which wouldn’t be pretty at all! Trust me—you’ll love witnessing how they puff up slightly once baked creating those charming designs showcasing buttery goodness throughout their surfaces!
This brings us closer than ever towards indulging ourselves into heavenly bites just waiting patiently inside ovens around us…
Conclusion:
As we reach the end of our journey through this charming recipe for Dutch Butter Cookies, I hope you feel that familiar spark of excitement fluttering within you—it’s hard not to get giddy thinking about all those rich flavors dancing together in each bite! From that first step where butter meets sugar and transforms into something truly extraordinary, to finally pressing out those delicate shapes onto your baking sheet, every part of this process is infused with warmth and love. It’s not just about creating cookies; it’s about crafting memories that will linger long after the last crumb has disappeared.
This recipe isn’t just a “must-try” because of its delicious taste—oh no! It brings joy from start to finish. The simplicity of blending ingredients together allows anyone—from novice bakers to seasoned pros—to participate in this delicious adventure. Imagine pulling out tray after tray from your oven, each batch more inviting than the last, filling your home with an aroma that beckons everyone near. There’s something incredibly heartwarming about sharing these cookies during holidays or cozy afternoons with loved ones; they have an uncanny ability to evoke smiles and laughter.
When it comes time to enjoy your creation, think beyond just pairing them with milk (though that’s always delightful!). Imagine savoring one alongside a freshly brewed cup of coffee or tea—a match made in heaven that balances sweetness with warmth perfectly. For an afternoon pick-me-up while catching up with friends over stories and laughter, these cookies will be there as comforting companions. And if you’re feeling adventurous? Crumble one over a scoop of vanilla ice cream for an utterly decadent dessert experience—it’s like giving yourself permission to indulge in pure happiness.
Feeling adventurous? This recipe is wonderfully adaptable! You could easily incorporate zests from oranges or lemons for a refreshing twist or fold in some chopped nuts or dried fruit for added texture and flavor depth. If chocolate is calling your name (who can resist?), simply dip half of each cookie into melted dark chocolate once they’ve cooled completely—it transforms them into something even more special! I encourage you to try these variations based on what speaks to your heart—and don’t forget to share your experiences! Connect with me by commenting below or tag me on social media when you whip up your own batch; I can’t wait to see how these delightful little morsels bring joy into your life.
Dutch Butter Cookies
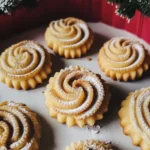
Indulge in the delightful charm of homemade Dutch Butter Cookies, where each bite offers a perfect balance of buttery richness and crisp texture. These cookies are incredibly easy to make, making them a great choice for novice bakers and seasoned pros alike. Picture this: a cozy afternoon spent in your kitchen, the warm aroma of vanilla and butter filling the air as you create sweet treats that are sure to bring smiles to your family and friends. Whether enjoyed with tea or shared during festive gatherings, these buttery delights are sure to become a staple in your home. So grab your apron and let’s embark on this fun baking adventure!
- Prep Time: 15 minutes
- Cook Time: 10 minutes
- Total Time: 25 minutes
- Yield: Approximately 24 cookies 1x
- Category: Dessert
- Method: Baking
- Cuisine: Dutch
Ingredients
- 14 tablespoons (1¾ cups or 196g) unsalted butter, softened
- 1 cup (120g) confectioners' sugar
- 1 large egg
- 1 tablespoon milk
- 2½ teaspoons vanilla extract
- ½ teaspoon salt
- 2¼ cups (270g) all-purpose flour
Instructions
- Preheat your oven to 350°F (175°C).
- In a mixing bowl, cream together the softened butter and confectioners' sugar until light and fluffy.
- Add the egg, milk, and vanilla extract; mix until well combined.
- Gradually incorporate the salt and flour into the wet mixture until just combined.
- Using a cookie press or piping bag, shape the dough onto ungreased baking sheets lined with parchment paper.
- Bake for 8-10 minutes or until golden around the edges.
- Allow cookies to cool on the baking sheet for about 5 minutes before transferring to a wire rack.
Nutrition
- Serving Size: 1 cookie
- Calories: 100
- Sugar: 5g
- Sodium: 45mg
- Fat: 7g
- Saturated Fat: 4g
- Unsaturated Fat: 3g
- Trans Fat: 0g
- Carbohydrates: 9g
- Fiber: <1g
- Protein: <1g
- Cholesterol: 15mg