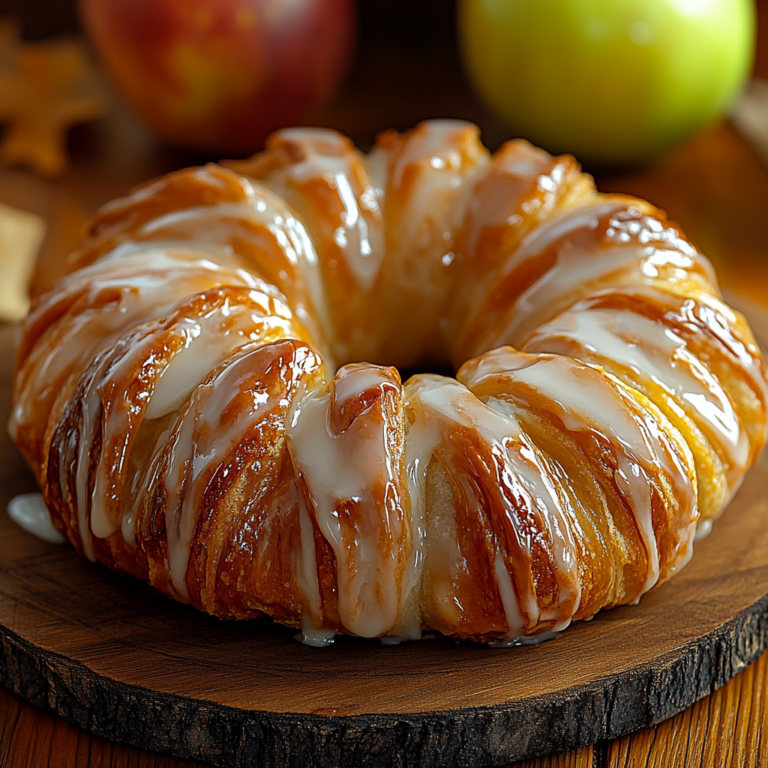
Dutch Apple Pie Recipe (Apple Crumb Pie)
There’s something magical about the smell of fresh-baked apple pie wafting through the house, isn’t there? It’s like a sweet embrace that wraps around you, whispering of warmth, love, and cherished memories. This Dutch Apple Pie Recipe (Apple Crumb Pie) is not just a dessert; it’s an experience that transports you to simpler times when family gatherings revolved around the kitchen table. Picture golden crusts, perfectly spiced apples, and that utterly intoxicating crumb topping that crumbles beautifully with each bite. Every time I make this pie, I’m reminded of laughter shared over slices and stories told in the glow of candlelight—it’s a bridge connecting tradition with every fresh twist we add today.
What makes this recipe so special is its rich heritage rooted in both American and Dutch culinary traditions. The Dutch version takes the classic apple pie we all adore and elevates it with a crumbly topping that adds texture and depth to every slice. Trust me when I say this pie is perfect for any occasion—celebrations, holiday feasts, or simply a cozy Sunday afternoon spent in good company. As you embark on this culinary journey, prepare to create not just a dessert but a centerpiece worthy of your fondest memories. Let’s dive into making this delightful masterpiece together!
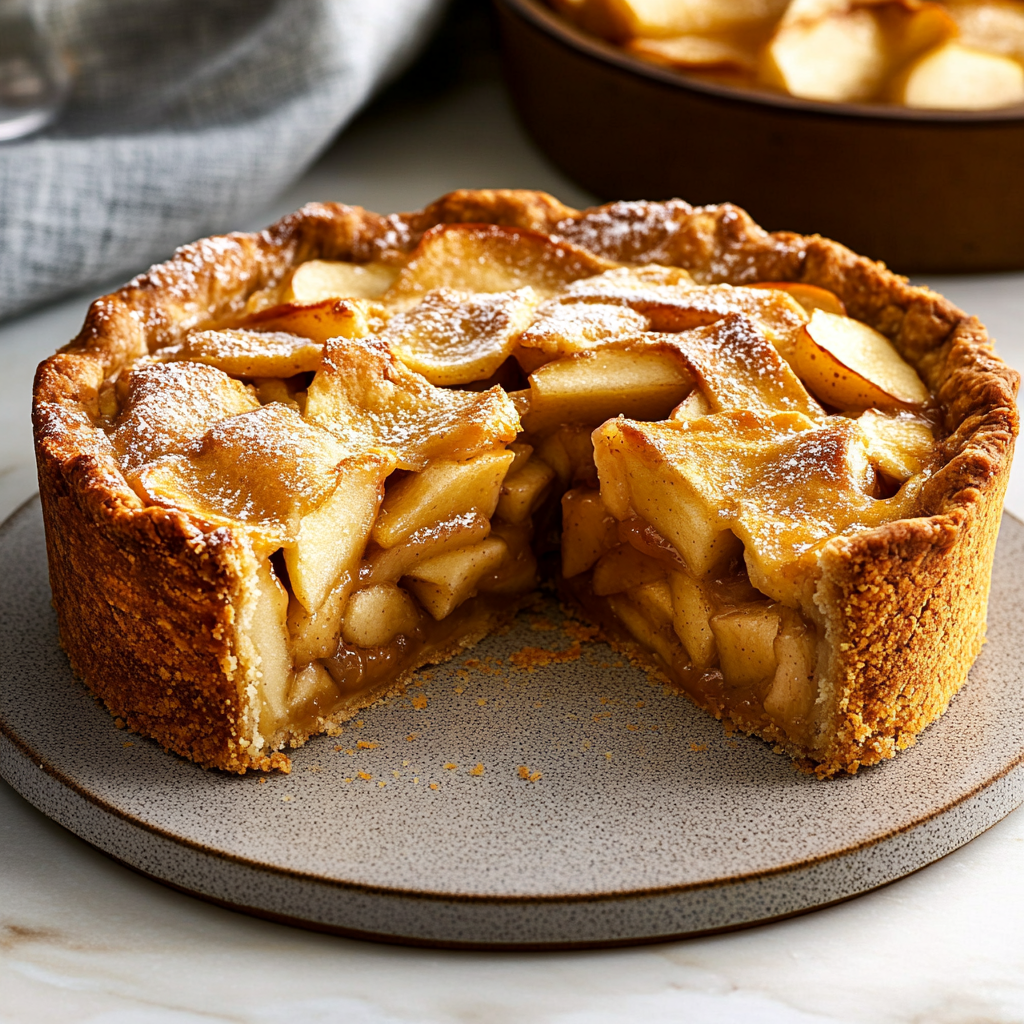
Dutch Apple Pie Recipe (Apple Crumb Pie): A Slice of Tradition with a Twist
This Dutch Apple Pie is everything you love about classic apple pie but with an irresistible crumb topping that makes it feel extra special. Every layer brings its own delight—from the tender apples coated in cinnamon to the buttery crumbles on top that just beg to be savored.
Ingredients:
Embarking on this culinary journey requires gathering some wonderful ingredients that will transform your kitchen into a haven of warmth and deliciousness. Each ingredient plays a crucial role in crafting this pie’s symphony of flavors.
- 1 pie crust (1/2 of our pie dough recipe). This flaky base is where all the magic begins! A well-made pie crust provides essential structure and texture for your Dutch Apple Pie Recipe (Apple Crumb Pie). If you’re using store-bought, look for one made with high-quality ingredients—this foundation will elevate the entire dish. Homemade dough allows you to control the flavors and textures more intimately; trust me, it’s worth the effort!
- 2 1/4 lbs Granny Smith apples (6 medium apples). These tart beauties are absolutely paramount for achieving that perfect balance of sweetness and acidity in your filling. Granny Smith apples hold their shape beautifully during baking while providing a nice tang that cuts through the richness of the buttery crumble topping. When selecting your apples, opt for firm ones without bruises or blemishes; they should feel heavy for their size.
- 1 tsp cinnamon. Ah, cinnamon—the warm hug in spice form! This aromatic addition enhances the natural sweetness of your apples while infusing your pie with cozy notes reminiscent of autumn afternoons. Be sure to use freshly ground cinnamon if possible; it packs so much more flavor than pre-ground varieties.
- 8 Tbsp unsalted butter. Butter is liquid gold in baking; it adds richness and helps achieve that beautiful golden color we all adore in pies. Using unsalted butter allows us to better control the overall saltiness of our dish. Make sure your butter is at room temperature before adding it to ensure even mixing—this tip can significantly impact the texture!
- 3 Tbsp all-purpose flour. Flour here acts as a thickening agent for our filling, ensuring it sets properly as it bakes while keeping everything cohesive and rich. A little goes a long way! You want just enough flour to absorb some moisture from those juicy apples without turning your filling into glue.
- 1/4 cup water. This small amount helps create steam within your filling as it bakes, which contributes to cooking down those apple slices beautifully without making them mushy too quickly. It might seem trivial, but trust me—every drop counts when it comes to balancing flavors!
- 1 cup granulated sugar. Sugar is what helps caramelize those apple slices as they bake and creates that lovely syrupy filling we crave in an apple pie! While I typically prefer brown sugar for its deep flavor notes, granulated sugar gives us pure sweetness here without overshadowing our star ingredient: the apples.
- 1 cup all-purpose flour (for crumb topping). Just like in our filling, flour here binds everything together into those delectable crumbs we can’t resist! It absorbs moisture from melting butter and sugar as they bake together into crispy perfection.
- 1/4 cup packed brown sugar. Brown sugar brings complexity and depth to our crumb topping thanks to its molasses content—it adds a hint of caramel flavor that’s simply divine atop those tart apples.
- 2 Tbsp granulated sugar (for crumb topping). This serves as a lovely contrast against the brown sugar in our topping—adding extra sweetness while also contributing to a golden crust when baked.
- 1/4 tsp cinnamon (for crumb topping). Adding another layer of cinnamon not only ties back into our filling but also ensures each bite bursts with warm spice—a non-negotiable element if you ask me!
- 1/4 tsp salt. Salt enhances every flavor present; even desserts benefit significantly from this small pinch! It balances sweetness while amplifying those beautiful apple notes we’re celebrating here.
- 8 Tbsp unsalted butter, room temperature (for crumb topping). Just like before, using room temperature butter allows us to create those perfectly sized crumbs instead of mushy clumps! It’s crucial for achieving that exquisitely crunchy texture we want on top of our pie.
- 1/2 cup chopped pecans. Pecans add such delightful crunch and nutty flavor that complements both our apple filling and crumb mixture wonderfully! If you’re not keen on pecans or have allergies, walnuts make an excellent substitute here while still bringing texture.
Equipment You’ll Need:
Having the right tools by your side makes baking so much smoother—and trust me—it can be one of the most enjoyable parts of creating something wonderful like this Dutch Apple Pie Recipe (Apple Crumb Pie)! While these items may not be ingredients per se, they are essential partners in crafting our delicious creation.
- Rolling pin: A rolling pin is vital for transforming your chilled dough into an evenly rolled circle that’s ready for its pie pan embrace! Look for one made from hardwood or marble for best results; they provide excellent weight distribution which helps prevent uneven rolling.
- 9 pie pan: Your choice in pie pan can affect how evenly your crust bakes—you’ll want one that’s sturdy enough to withstand high heat without warping while also allowing browning around edges for that perfect finish!
- Mixing bowls: Having various sizes handy ensures organization throughout preparation—these bowls are where we’ll combine ingredients seamlessly without creating unnecessary messes along the way!
- Whisk: A good whisk will help incorporate air into mixtures effectively while blending dry ingredients smoothly together—that’s key when making our delightful crumble topping!
- Measuring cups & spoons: Precision matters when baking; accurate measurements guarantee consistency across batches so don’t skimp on quality tools here—they’ll serve you well beyond just this recipe!
Now that we’ve gathered all these wonderful elements together let’s dive right into preparing this scrumptious Dutch Apple Pie Recipe (Apple Crumb Pie) step by step!
Step 1: Preheat Your Oven
First things first: let’s get our oven preheating! Set it to 375°F with one rack placed on the bottom and another in the center—this setup will ensure even heat circulation around your baking masterpiece as it cooks away inside those walls! Preheating is absolutely paramount because starting with an already hot oven helps achieve proper rise and browning right from the get-go—you don’t want any soggy bottom crust ruining your creation after you’ve put so much love into it!
Step 2: Roll Out Your Dough
Next up is rolling out your chilled pie dough—a moment where anticipation builds like none other! Dust your lightly floured surface generously before placing down your dough disc—it should ideally rest at room temperature for about 10 minutes prior so it’s easier to manage without cracking or tearing apart under pressure. Grab hold of your rolling pin firmly but gently apply pressure as you roll outward from center toward edges creating approximately 12-inch diameter circles until thin yet robust enough not to break under weight once filled later on! Carefully transfer this beauty over into prepared 9-inch pan tucking any excess at edges inward before crimping them elegantly around rim—a charming touch adding character plus preventing spills during baking time when juices bubble up beneath layers above!
Step 3: Prepare Those Apples
The heart of any great apple pie lies within its fruits—the core essence if you will! Start by peeling off skin carefully using either paring knife or vegetable peeler then proceed onward removing cores systematically followed by slicing each apple thinly around ¼ inches thick ensuring uniformity throughout—you should yield roughly seven cups worth total once finished which guarantees plenty ample filling goodness awaits inside once baked! Toss these slices lovingly within mixing bowl combined with measured teaspoonfuls worth cinnamon sprinkling overtop coating thoroughly—it’ll enhance natural flavors whilst adding enticing aromas wafting through kitchen soon afterwards too!
Step 4: Create That Delicious Sauce
Now let’s pivot towards crafting sauce enhancing flavors further while binding everything together nicely during bake-off party later on down line together—we’re talking delicious caramelized goodness folks! Melt eight tablespoons unsalted butter within medium saucepan set over medium heat until bubbly bubbles start dancing across surface inviting aroma rising high above headspace beckoning attention nearby… Whisk three tablespoons flour swiftly combined until smooth paste forms then allow simmering gently just minute long stirring constantly thereafter before introducing quarter cup water alongside full cup granulated sugar bringing mixture towards boil bubbling vigorously now really kicking things up notch here folks!! Once boiling achieved reduce heat simmering gently three additional minutes stirring frequently till thickened slightly then remove from heat letting cool briefly before pouring sauce generously across prepared sliced apples tossing again ensuring every piece coated entirely thus guaranteeing flavor infusion takes place during baking process ahead!!!
Now you’re ready to assemble everything together beautifully—just wait till we dive deeper into building glorious layers next… But remember—the love poured into each step makes all difference between ordinary moments versus extraordinary experiences shared amongst loved ones gathered round table awaiting sweet satisfaction when served finally warm straight out oven afterward!!!
Step 5: Crafting the Irresistible Crumb Topping
Now that your apple filling is nestled snugly in its buttery, flaky crust, it’s time to create that utterly heavenly crumb topping that defines a Dutch Apple Pie. This step is crucial because it adds not only texture but also a delightful sweetness that complements the tartness of the Granny Smith apples beautifully. Start by gathering your dry ingredients: in a mixing bowl, combine 1 cup of all-purpose flour, 1/4 cup packed brown sugar, 2 tablespoons granulated sugar, 1/4 teaspoon cinnamon, and a pinch of salt. The brown sugar will lend a deep caramel note to the topping, while the cinnamon infuses those warm, cozy spices that make you feel like you’re wrapped in a blanket on a crisp fall day.
Next, let’s bring everything together. Add in 8 tablespoons of room temperature unsalted butter; this is where the magic happens! Using your fingers, work the butter into the dry mixture until it resembles pea-sized crumbs. Don’t rush through this part—take your time to ensure each bit of butter is evenly distributed throughout the mixture. Trust me on this; when baked, those little bits of butter will melt away and create crispy pockets that are absolutely divine. Finally, stir in half a cup of chopped pecans; they add a delightful crunch and nutty flavor that elevates this pie to an extraordinary level. Once combined, you should have a crumbly topping that looks like it could belong on top of any dessert worthy of celebration.
Step 6: Topping It Off with Love
With your crumb topping ready, spread it evenly over the apples in your pie crust. This step might seem simple, but it’s absolutely paramount because it ensures every bite of your Dutch Apple Pie delivers that signature contrast between tender fruit and crunchy topping. As you scatter the crumbs over the apples, take a moment to appreciate how beautiful it looks—like a cozy blanket covering those luscious slices beneath. Make sure to get some crumbs into every corner so that there’s no bare apple peeking through; after all, we want each slice to be bursting with flavor!
Now comes another important technique: baking! Preheat your oven to 375˚F if you haven’t already done so—this temperature is key for achieving that golden-brown color and perfectly cooked filling. You’ll want to place your pie on the center rack for even heat distribution while also ensuring there’s another rack at the bottom to catch any drips (and trust me; there will be drips). As it bakes for about 50-60 minutes—keep an eye out for visual cues such as bubbling juices and golden crumbs—your kitchen will fill with an intoxicating aroma that makes waiting almost unbearable.
Step 7: The Art of Baking
As you bake your Dutch Apple Pie Recipe (Apple Crumb Pie), allow yourself to become immersed in the wonderful scents wafting through your home—the sweet notes of sugar mingling with spicy cinnamon are truly something special. About halfway through baking (around the 25-minute mark), check on your pie; if you notice that the topping is becoming too brown for your liking, gently cover it with a sheet of aluminum foil to prevent burning while allowing the filling to continue cooking through. This gentle cover acts like a protective shield, ensuring we achieve that perfect balance between color and doneness without sacrificing flavor.
Now let’s talk temperatures because they matter immensely! Your pie is done when it reaches an internal temperature of around 175˚F in the center; this indicates not just aesthetic perfection but also means those apples are tender and flavorful enough to delight! If you don’t have a thermometer handy, look for bubbling juices around the edges and an enticing golden hue on top—that’s nature’s way of telling you it’s almost time!
Step 8: Cooling Down—A Crucial Resting Period
Once you’ve reached that perfect baking moment—a glorious sight indeed—it’s essential to let your pie cool for at least one hour before slicing into it. I know waiting can feel torturous when you’re surrounded by delicious aromas and anticipation builds up like bubbles in champagne—but trust me on this! Allowing your pie to rest enables those juicy apple fillings to set properly so each slice holds its shape instead of falling apart into a messy heap (though I wouldn’t judge if you wanted to dive right in!).
During this cooling period, those flavors meld together beautifully; it’s kind of like letting wine breathe—it enhances everything! You’ll notice how much more profound and satisfying each bite becomes once it’s had time to rest. The crumb topping will firm up just enough so you’ll get those satisfying crunches contrasting with tender apple bites below—a truly extraordinary experience!
Final Touches: Serving Your Masterpiece
Now for my favorite part—the moment you’ve been waiting for! After patiently allowing your Dutch Apple Pie Recipe (Apple Crumb Pie) to cool down, gather everyone around as you prepare for serving this labor of love. For an extra touch of indulgence, consider pairing each slice with a dollop of whipped coconut cream or vanilla ice cream made from plant-based ingredients—this contrast between hot pie and cold cream is nothing short of blissful.
As you slice into this beauty, take a moment to appreciate all the layers—the flaky crust cradling sweet-tart apples warmed by comforting spices topped off with crunchy pecans enveloped in buttery goodness is truly something special. Not only does this dessert capture all that’s classic about apple pies but also twists it into something uniquely yours—a recipe infused with love that’s bound to become part of cherished gatherings long after today.
So go ahead—serve up generous slices at family gatherings or cozy dinners among friends—and watch as smiles bloom around the table because I promise you; there’s nothing quite like sharing homemade comfort food that’s crafted straight from the heart! Enjoy every bite—you’ve earned it!
Storage and Enjoyment Tips for Your Dutch Apple Pie Recipe (Apple Crumb Pie)
Now that your kitchen is filled with the comforting aroma of baked apples and warm spices, it’s time to dig in! This Dutch Apple Pie Recipe (Apple Crumb Pie) is not just a treat for the senses while baking but also a delightful dessert that can be savored over the next few days. Whether you’re hosting friends or simply indulging yourself, knowing how to store this pie will keep its flavors intact for maximum enjoyment. Trust me, this pie only gets better as the flavors meld together!
Storing Leftover Dutch Apple Pie Recipe (Apple Crumb Pie)
To keep your delicious Dutch Apple Pie fresh and flavorful, I recommend storing it in an airtight container at room temperature if you plan to enjoy it within a couple of days. If you have leftovers that might linger longer than that, it’s best to pop it into the refrigerator where it can stay fresh for about 4-5 days. Just remember, the key to maintaining its crisp crumb topping is to avoid wrapping it tightly; instead, loosely cover it with foil or wax paper to let it breathe. You might even try placing a slice of bread in with the pie—this little trick helps maintain moisture and prevents the crust from becoming too soft. After a day or two in storage, you might notice that those enchanting flavors have deepened even more! When it’s time to serve, simply reheat individual slices in the microwave for about 20-30 seconds or pop them back in a warm oven—this will bring back that heavenly aroma and make every bite feel fresh out of the oven again.
Freezing Components for Later
If you’re looking to savor this pie beyond its immediate glory, freezing is an excellent option! You can freeze both unbaked and baked pies. For an unbaked Dutch Apple Pie, wrap it tightly in plastic wrap and then aluminum foil—this way, it keeps well for up to three months! When you’re ready to bake it, there’s no need to thaw; just pop it straight into a preheated oven and add an extra 10-15 minutes on your cooking time. Alternatively, if you’ve already baked your pie and want to freeze leftovers, cool it completely first before wrapping it up as mentioned above. The convenience of having homemade apple pie ready at your fingertips is absolutely fantastic! Imagine being able to pull out a slice during a cozy movie night or unexpected guests—it’s like having a little piece of comfort stored away just waiting for you!
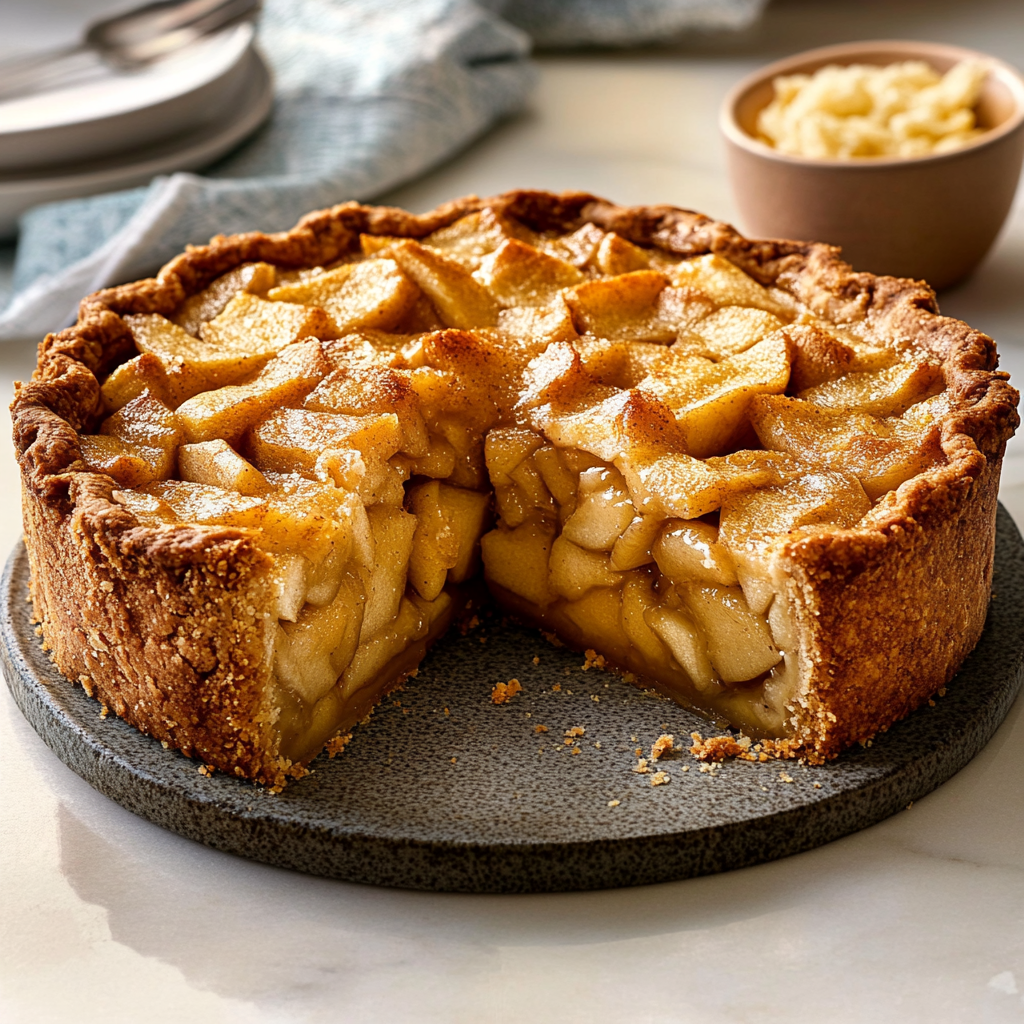
Dutch Apple Pie Recipe (Apple Crumb Pie)

Indulge in the comforting warmth of homemade Dutch Apple Pie, a delightful twist on the classic dessert that’s perfect for any occasion. This Apple Crumb Pie features tender Granny Smith apples enveloped in a buttery, flaky crust and topped with a crunchy pecan crumble. The combination of sweet and tart flavors, along with the fragrant spices, creates an irresistible treat that evokes cherished memories around the kitchen table. Whether served warm with a scoop of plant-based ice cream or enjoyed cool with coconut whipped cream, this pie is sure to become a family favorite. Gather your loved ones and embark on this culinary adventure—every bite promises to be a delicious reminder of home.
- Prep Time: 30 minutes
- Cook Time: 60 minutes
- Total Time: 1 hour 30 minutes
- Yield: Approximately 8 servings 1x
- Category: Dessert
- Method: Baking
- Cuisine: American
Ingredients
- 1 pie crust
- 2 1/4 lbs Granny Smith apples
- 1 tsp cinnamon
- 8 Tbsp unsalted butter
- 3 Tbsp all-purpose flour
- 1/4 cup water
- 1 cup granulated sugar
- 1 cup all-purpose flour (for crumb topping)
- 1/4 cup packed brown sugar
- 2 Tbsp granulated sugar (for crumb topping)
- 1/4 tsp cinnamon (for crumb topping)
- 1/4 tsp salt
- 8 Tbsp unsalted butter, room temperature (for crumb topping)
- 1/2 cup chopped pecans
Instructions
- Preheat oven to 375°F.
- Roll out your pie dough and fit it into a 9-inch pie pan.
- Peel, core, and slice apples; toss with cinnamon.
- In a saucepan over medium heat, melt butter, whisk in flour, then add water and sugar; simmer until thickened.
- Pour sauce over apples and mix well.
- For the crumb topping, combine flour, sugars, cinnamon, salt, and butter until crumbly; fold in pecans.
- Fill the crust with apple mixture and top with crumbs.
- Bake for about 50-60 minutes until golden brown and bubbly.
- Cool for at least one hour before slicing.
Nutrition
- Serving Size: 1 slice (124g)
- Calories: 320
- Sugar: 27g
- Sodium: 150mg
- Fat: 14g
- Saturated Fat: 7g
- Unsaturated Fat: 5g
- Trans Fat: 0g
- Carbohydrates: 48g
- Fiber: 3g
- Protein: 3g
- Cholesterol: 20mg