Apple Pie à la Mode (Apple Pie with Ice Cream Recipe)
There’s something utterly magical about the aroma of a freshly baked apple pie wafting through your home, isn’t there? It’s like a warm hug from the past, bringing back memories of family gatherings and lazy Sunday afternoons. The way the sweet, cinnamon-laden apples soften under the heat, nestled in a flaky crust that practically melts in your mouth, is a beautiful testament to the art of baking. This isn’t just any dessert; it’s an experience, a moment where time stands still and every bite takes you on a journey through nostalgia. My friends often tell me that my Apple Pie à la Mode (Apple Pie with Ice Cream Recipe) is an emblem of comfort, and I promise you, once you try it, it will become a cherished part of your own culinary repertoire.
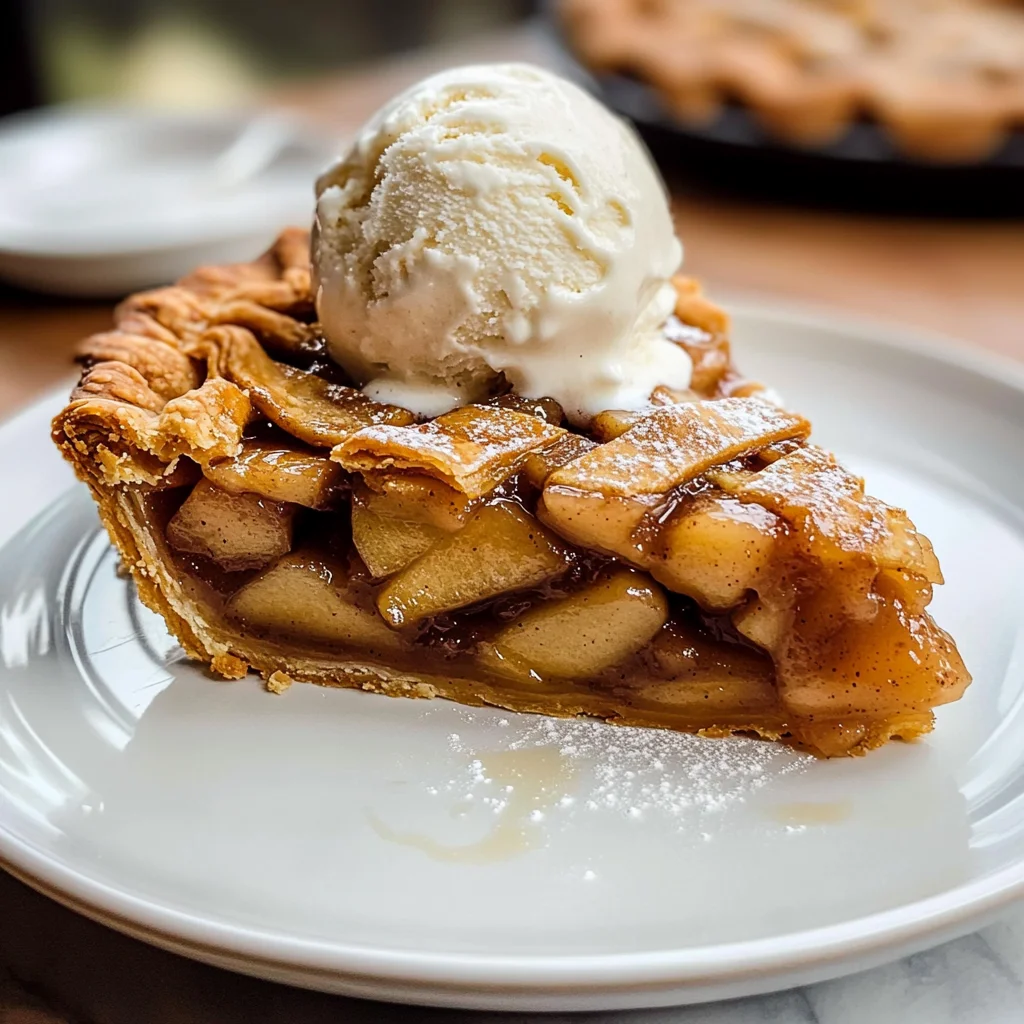
This recipe encapsulates everything I adore about baking – the simplicity of combining humble ingredients to create something profoundly satisfying. Each slice reveals layers of juicy apples kissed by cinnamon and sugar, while the cool scoop of vanilla ice cream on top creates this delightful contrast that dances across your palate. Picture this: as you take that first bite, the warmth of the pie mingles with the cold creaminess of the ice cream; it’s an utterly intoxicating blend that leaves you yearning for more. Whether it’s a festive gathering or a quiet evening at home, this Apple Pie à la Mode promises to elevate any occasion into something special.
Apple Pie à la Mode (Apple Pie with Ice Cream Recipe): A Slice of Comfort
I’m thrilled to share this beloved recipe with you! Every step in making this Apple Pie à la Mode is imbued with joy and anticipation. The combination of tender apples and flaky crust topped with creamy ice cream is not just delicious; it’s like wrapping yourself in a cozy blanket on a chilly day. Let’s embark on this culinary adventure together!
Ingredients:
As we dive into this journey of flavors and aromas, let’s take a moment to appreciate each ingredient that plays a crucial role in crafting our perfect Apple Pie à la Mode. Each one has its story to tell and contributes to making this dessert extraordinary.
- 300 g all-purpose flour. Flour serves as the backbone of our pie crust, providing structure while allowing for that coveted flakiness when baked properly. When selecting flour, look for high-quality options; some brands even offer unbleached versions which can enhance flavor. Remember to measure your flour accurately—too much can lead to a dense crust instead of light and airy perfection.
- 60 g granulated sugar. Sugar isn’t just for sweetness; it helps create that delicate balance between flavors while also contributing to browning when baked. This slight caramelization adds depth and complexity to your crust that can be truly transformative. It’s like giving your pie crust a warm personality!
- 1 tsp salt. While it may seem understated compared to other ingredients, salt is absolutely paramount in enhancing flavors throughout your pie. It acts as an amplifier—bringing out the sweetness of the apples without making things taste salty. Always opt for fine sea salt if possible; its dissolving abilities ensure even distribution.
- 220 g unsalted butter cold (cut into cubes). Butter is essential for achieving that melt-in-your-mouth quality we adore in pies! Using cold butter is crucial here because it allows those little pockets to form within your dough as they melt during baking—creating perfect flakiness. Look for high-fat content butters when possible; they yield richer results.
- 110 g water. Water acts as the binding agent for our dough but must be added carefully—too much can lead to toughness while too little results in crumbliness. Always use ice-cold water to keep your butter solid until baking starts; trust me, this makes all the difference!
- 1 kg apples (Pink Lady, Royal Gala or Fuji). Apples are undoubtedly the star of our show! Choosing varieties like Pink Lady or Fuji brings natural sweetness balanced with just enough tartness, ensuring each bite bursts with flavor. Be sure to peel them thoroughly so their vibrant color shines through when cooked down!
- 75 g unsalted butter (for filling). This addition brings richness right into our apple filling while also helping caramelize those sugars—allowing them to meld beautifully together as they bake.
- 190 g brown sugar. Brown sugar lends an extra layer of complexity with its rich molasses notes—perfectly complementing our cinnamon-spiced apples! Ensure it’s packed well when measuring so we capture all that luscious sweetness.
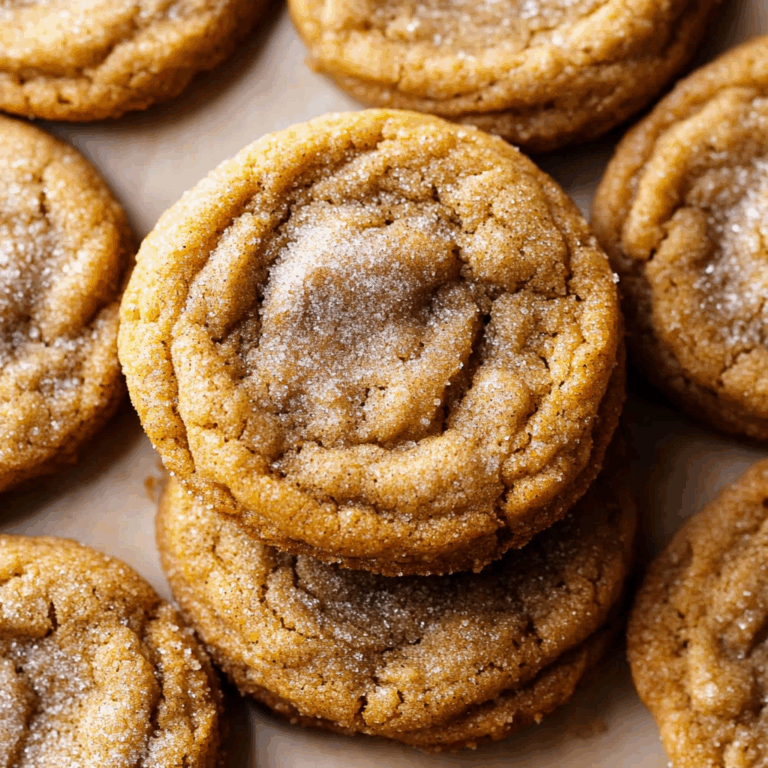
- 1¼ tsp ground cinnamon. Cinnamon is what elevates our apple filling from good to extraordinary! It has this warming ability that evokes feelings of comfort while enhancing all other flavors present without overpowering them.
- 1¼ tbsp cornstarch. Cornstarch acts as a thickening agent for our filling—it ensures we achieve just the right consistency so each slice holds up beautifully when served! Be sure not to skip this step as it prevents sogginess.
- ¼ tsp salt (for filling). Just like in our crust, salt balances out sweetness here too—it highlights those delicious apple flavors while keeping everything harmonious!
- 2½ tbsp water (for filling). This small amount helps dissolve cornstarch before adding it into our apple mixture—ensuring no lumps remain during cooking!
- 5 tbsp almond flour (or other type of finely ground nuts or breadcrumbs). Almond flour adds another layer of texture and flavor beneath our pie filling—it absorbs moisture beautifully without overpowering anything else going on.
- 1 egg (for egg wash). An egg wash gives our crust that beautiful golden sheen once baked—a visual cue that tells everyone it’s time for dessert! Use room temperature eggs for optimal blending into dough.
- 1 tbsp cda agua (for egg wash). A splash of water added alongside your egg creates an ideal consistency for brushing onto dough—it keeps everything shiny without being too runny!
- 3 tbsp brown sugar (for topping). Sprinkling some brown sugar atop before baking provides delightful caramelization—resulting in crunchy bits around edges once removed from oven!
- Vanilla Ice Cream or other flavour you prefer. No apple pie experience would be complete without ice cream! Vanilla enhances every aspect perfectly but feel free experiment: salted caramel or cinnamon-flavored could elevate things further if desired!
Equipment You’ll Need:
Now that we have everything laid out beautifully before us let’s talk about tools! Having the right equipment makes all the difference in both efficiency and enjoyment during baking sessions—a true partnership between man and machine!
- Mixing bowls – You’ll need several sizes ranging from small for mixing dry ingredients together up larger ones where we combine everything later on! Look for sturdy options made from glass or stainless steel—they stand up well against vigorous mixing!
- Rolling pin – Key tool used when rolling out dough evenly without tearing apart! Choose one crafted from hardwood if possible—it feels substantial enough yet smooth gliding across surfaces effortlessly while preventing stickiness too.
- Pie dish or pan – A deep-dish pie plate works best here since we’re creating layers upon layers within fillings themselves—the deeper sides accommodate excess juices released during baking process perfectly! Opt for ceramic options where heat retention helps create even browning throughout entire pastry shell effortlessly too!
- Paring knife or peeler – Essential tools needed slice away skins off apples easily before chopping them down smaller pieces required recipe calls forth! Make sure blade stays sharp so cuts remain cleanly executed avoiding unwanted bruises along way by using fresh produce obtained beforehand always ensures optimal results achieved every single time!
With these ingredients set and tools at hand let’s begin crafting something magnificent together—you’re going love every moment spent preparing this delightful Apple Pie à la Mode (Apple Pie with Ice Cream Recipe)!
Step 1: Making Your Flaky Crust
First things first: let’s create that heavenly flaky crust which serves as the foundation for our pie masterpiece! Start by whisking together 300 grams of all-purpose flour, 60 grams granulated sugar, and 1 teaspoon salt in a mixing bowl until well combined; trust me on this step—it ensures an even distribution throughout dough later on! Next comes my favorite part: cutting in 220 grams cold unsalted butter until mixture resembles coarse crumbs—this process known as “cutting” creates those signature layers necessary yielding ultimate flakiness desired here! Use either pastry cutter or your fingertips gently working fat into flour mixture without overmixing—it should still retain some visible chunks remaining intact after completed successfully too! Once done sprinkle around 110 grams ice-cold water gradually over mixture stirring gently with spatula until dough starts clumping together nicely; avoid rushing through so don’t add excess liquid resulting overly sticky mess instead aiming achieve nice firm ball ultimately formed ready chilling inside fridge approximately thirty minutes prior rolling out thinly afterward next steps initiate fully assembling entire dessert itself efficiently thereafter too!
Step 2: Preparing The Filling
While cooling occurs let’s work towards preparing scrumptious apple filling now—we want those fruits bursting full flavor enticing aromas surrounding kitchen shortly after starting process altogether soon enough too! Begin peeling skins off 1 kilogram Pink Lady apples using sharp paring knife followed cutting quarters removing core slices neatly arranged bowl nearby awaiting next stages combining needed additional components blended seamlessly together following soon after prepared ahead previously worked diligently upon already earlier mentioned steps executed accordingly first place above mentioned tasks finally accomplished successfully overall goal achieved splendidly indeed at long last by now finally nearing finish line almost ready presenting delicious.
Step 5: Crafting the Flaky Crust
Now, let’s dive into the heart of our Apple Pie à la Mode, beginning with that utterly essential flaky crust. First, in a large mixing bowl, combine the 300 g of all-purpose flour, 60 g of granulated sugar, and 1 tsp of salt. This blend is crucial because the salt enhances flavors while the sugar adds just a hint of sweetness to counterbalance the tartness of our apples. Once you have these dry ingredients mixed well, it’s time to incorporate that cold butter—220 g, cut into cubes. Trust me when I say that using cold butter is non-negotiable; it creates those delightful flaky layers we all crave. You can either use a pastry cutter or your fingertips to work the butter into the flour mixture until it resembles coarse crumbs. The tactile nature of this step is so important—don’t rush! You want to feel some pea-sized bits of butter remaining intact; these will melt during baking and create steam pockets that give your crust its beautiful texture.
Next, you’ll gradually add in 110 g of cold water, mixing gently until the dough just comes together. Here’s where patience is key; over-mixing will result in a tough crust instead of the light, airy texture we’re aiming for. You should see some small clumps forming without any dry flour left at the bottom of your bowl. Once you’ve reached this stage, gather up your dough into a ball and wrap it tightly in plastic wrap. The dough needs to chill in the refrigerator for at least an hour; this step not only helps solidify those little pockets of butter but also relaxes the gluten formed during mixing. As it chills, you’ll find that it becomes much easier to roll out later on!
Step 6: Preparing the Apple Filling
While our crust is resting comfortably in the fridge, let’s turn our attention to that glorious apple filling which will be bursting with flavor and aroma! Start by peeling and slicing about 1 kg of your chosen apples—Pink Lady, Royal Gala, or Fuji are all excellent choices due to their balance of sweetness and tartness. Each variety brings its unique character to this pie; Fuji apples are particularly juicy and sweet while Pink Lady offers a nice tangy bite. As you slice them into thin wedges—about 1/4 inch thick—place them into a large mixing bowl and sprinkle them with 190 g of brown sugar, 75 g of unsalted butter (melted), 1¼ tsp ground cinnamon, 1¼ tbsp cornstarch (to thicken), and ¼ tsp salt.
Now here’s where the magic happens: gently toss everything together until each apple slice is beautifully coated with that luscious mixture. The cornstarch plays a pivotal role here; it will help absorb excess juices released during baking so your pie doesn’t turn into a soggy mess! Let this mixture sit for about 15 minutes at room temperature; this allows the apples to release some juices while also marrying those flavors beautifully. As you wait, take a moment to appreciate how deliciously fragrant your kitchen is becoming—it’s truly intoxicating!
Step 7: Assembling Your Pie
With your crust chilled and filling ready to go, it’s time for one of my favorite parts: assembling our masterpiece! Preheat your oven to 220°C (425°F) while you roll out half of your chilled dough on a lightly floured surface. Aim for about a 12-inch diameter—this might seem larger than needed but remember we need enough dough for both bottom and edges! Once rolled out evenly (and if you’re like me—a bit unevenly too!), carefully transfer it into your pie dish by rolling it onto your rolling pin before unrolling it over the dish. Gently press down into place without stretching; this is crucial for maintaining that flaky structure.
Spoon your apple filling into the prepared crust evenly, making sure every corner holds those juicy slices! Now comes another wonderful layer: sprinkle about 5 tbsp of almond flour over the top before adding another rolled-out piece of dough as your top crust. If you’re feeling adventurous (and I know you are!), consider making some decorative cutouts or slits in this top layer; not only do they look gorgeous but they also allow steam to escape during baking—keeping our pie from becoming soggy underneath! Don’t forget to crimp those edges together—you can use either fork marks or pinching between fingers—but whatever method you choose just make sure they’re sealed well.
Step 8: Baking Your Perfect Apple Pie à la Mode
Now that you’ve assembled this beauty, it’s time to get her baking! Place your pie onto a baking sheet lined with parchment paper (trust me on this one—it’ll save you cleanup later) and pop it directly into that preheated oven at 220°C (425°F). Bake for about 20 minutes until you see that lovely golden hue starting to form on top. This initial blast of heat helps set our crust structure before we lower the temperature for even cooking throughout.
After those first twenty minutes have passed—and I promise it’ll smell divine by now—reduce the oven temperature to 180°C (350°F) and continue baking for another 40-50 minutes. Keep an eye on those edges; if they start browning too much before the center gets bubbly golden goodness (you want bubbling juices peeking through), cover them with aluminum foil towards the end—it’s all about ensuring each part gets its fair share without burning! You’ll know it’s done when your apples are tender yet still holding their shape; poke one with a knife if you’re unsure—it should slide through easily but offer just a little resistance—that means they’re perfectly cooked!
Final Touches
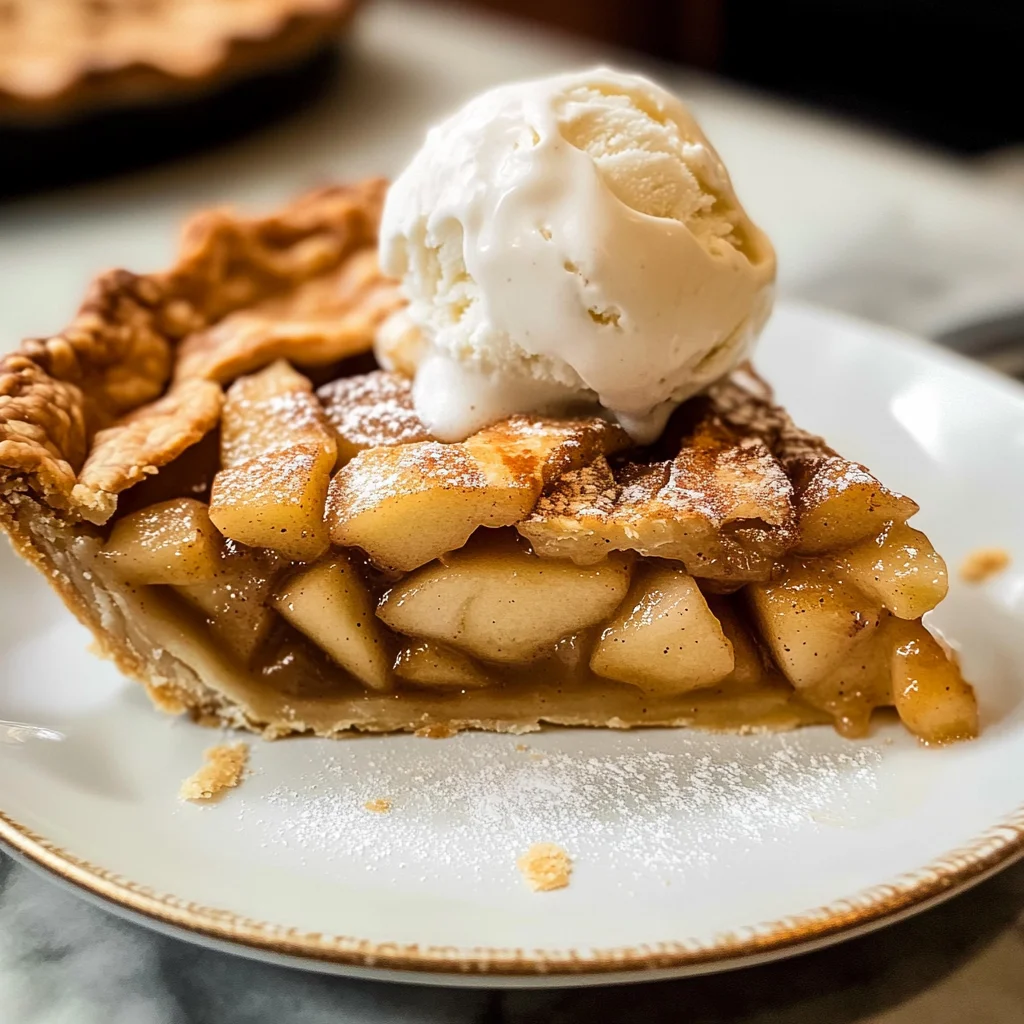
Now comes perhaps my most anticipated moment—the finishing touches on our dessert! Once baked perfection has emerged from your oven (and cooled slightly so as not to scorch anyone’s tongue!), it’s time for serving up slices alongside scoops of velvety vanilla ice cream or any other flavor that tickles your fancy! The contrast between warm pie and cold ice cream creates an utterly extraordinary experience—a symphony of flavors and textures dancing together harmoniously on your palate.
I encourage you not just to serve this delight immediately but also take a moment basking in its glory before diving in—let everyone admire what you’ve created! Slice generously while allowing those warm juices to ooze slightly onto plates as you nestle in that scoop of ice cream beside each piece—oh my goodness, could there be anything more comforting? And remember, sharing food is loving food; I promise you watching friends savor every bite makes all those hours spent crafting this dessert worthwhile!
So there you have it—my treasured recipe for Cinnamon Apple Pie à la Mode—a beloved creation that brings warmth not just through its flavor but through shared experiences around tables filled with laughter and love. Enjoy every moment as much as every bite!
Storage and Enjoyment Tips for Your Apple Pie à la Mode (Apple Pie with Ice Cream Recipe)
Now that your kitchen is filled with the intoxicating aroma of freshly baked apple pie, it’s time to celebrate this triumph! I can already envision you gathering your loved ones around the table, each person eagerly awaiting their slice of warm, cinnamon-spiced heaven topped with a generous scoop of creamy ice cream. But what happens if you have leftovers? Fear not! The beauty of this Apple Pie à la Mode is that it can be enjoyed even after the first serving, so let’s talk about how to store it properly to keep every bite as delightful as the first.
Storing Leftover Apple Pie à la Mode (Apple Pie with Ice Cream Recipe)
To keep your leftover Apple Pie à la Mode as fresh and delicious as possible, you’ll want to use an airtight container. This is absolutely paramount for preserving the flaky texture of your crust and the rich flavors of the filling. If you’ve cut into the pie, simply cover it with plastic wrap or foil before placing it in the container to prevent any moisture from seeping in. Ideally, you should consume your pie within three to five days when stored in the refrigerator. However, I must share a little tip—if you place a slice of bread inside the container with your pie, it helps absorb excess moisture and keeps that crust wonderfully crisp! After a few days in storage, the flavors may mellow slightly but will still transport you back to that first comforting bite. When you’re ready for a slice again, pop it in the microwave for about 30 seconds or heat it gently in an oven at 350°F (175°C) until warmed through. Trust me; there’s something magical about savoring a slice of comforting apple pie after a long day!
Freezing Components for Later
If you find yourself laden with more pie than you can devour in a few days—what a wonderful problem to have—you might consider freezing portions for later enjoyment! To freeze your apple pie successfully, wrap individual slices tightly in plastic wrap or aluminum foil; this step is crucial to avoid freezer burn. Then place them in a sturdy freezer-safe bag or container, ensuring all air is expelled before sealing. Your delectable creation will maintain its quality for up to three months in the freezer. When you’re ready to indulge again, simply remove a slice from the freezer and allow it to thaw overnight in the fridge before reheating as mentioned earlier. This method allows you to relish this comforting dessert on those busy days when you’re craving something sweet without all the fuss. Isn’t it lovely knowing there’s a piece of happiness waiting for you?
Apple Pie à la Mode (Apple Pie with Ice Cream Recipe)

There’s a special magic in the aroma of freshly baked Apple Pie à la Mode that instantly evokes warm memories of family gatherings and cozy afternoons. This delightful dessert combines tender, cinnamon-spiced apples nestled in a flaky crust and topped with creamy vanilla ice cream, making it a true emblem of comfort. Each bite offers a harmonious blend of flavors and textures, where warm pie meets cold creaminess, creating a moment to savor. Whether you’re celebrating a festive occasion or enjoying a quiet night at home, this beloved recipe is sure to become a cherished part of your culinary journey.
- Prep Time: 60 minutes
- Cook Time: 70 minutes
- Total Time: 2 hours 10 minutes
- Yield: Serves approximately 8 slices 1x
- Category: Dessert
- Method: Baking
- Cuisine: American
Ingredients
- 300 g all-purpose flour
- 60 g granulated sugar
- 1 tsp salt
- 220 g unsalted butter (cold, cubed)
- 110 g ice-cold water
- 1 kg apples (such as Pink Lady or Fuji)
- 190 g brown sugar
- 1¼ tsp ground cinnamon
- 1¼ tbsp cornstarch
- 5 tbsp almond flour (or finely ground nuts)
- Vanilla ice cream for serving
Instructions
- Preheat oven to 220°C (425°F).
- In a large mixing bowl, whisk together flour, sugar, and salt. Cut in cold butter until the mixture resembles coarse crumbs.
- Gradually add ice-cold water until the dough comes together. Form into a ball and refrigerate for at least one hour.
- Peel and slice apples then toss with brown sugar, cinnamon, cornstarch, and salt in another bowl.
- Roll out half the chilled dough and line the pie dish with it. Fill with apple mixture.
- Roll out remaining dough for the top crust; place over filling and seal edges.
- Bake for 20 minutes at high heat, then reduce temperature to 180°C (350°F) and bake for an additional 40-50 minutes until golden brown.
Nutrition
- Serving Size: 1 serving
- Calories: 290
- Sugar: 25g
- Sodium: 120mg
- Fat: 14g
- Saturated Fat: 8g
- Unsaturated Fat: 5g
- Trans Fat: 0g
- Carbohydrates: 39g
- Fiber: 3g
- Protein: 3g
- Cholesterol: 30mg