Viral Cheeseburger Onion Ring Roll
There’s something inherently magical about a cheeseburger—the way it evokes memories of summer barbecues, laughter shared with loved ones, and those tantalizing aromas that waft through the air as patties sizzle on the grill. But what happens when you take that classic comfort food and flip it upside down, wrapping it in crispy onion rings? You get the Viral Cheeseburger Onion Ring Roll! This isn’t just a meal; it’s an experience bursting with flavor and texture, a delightful way to indulge without sacrificing health. Trust me when I say that this dish is not just food; it’s a bridge between nostalgia and innovation that will leave your taste buds dancing.
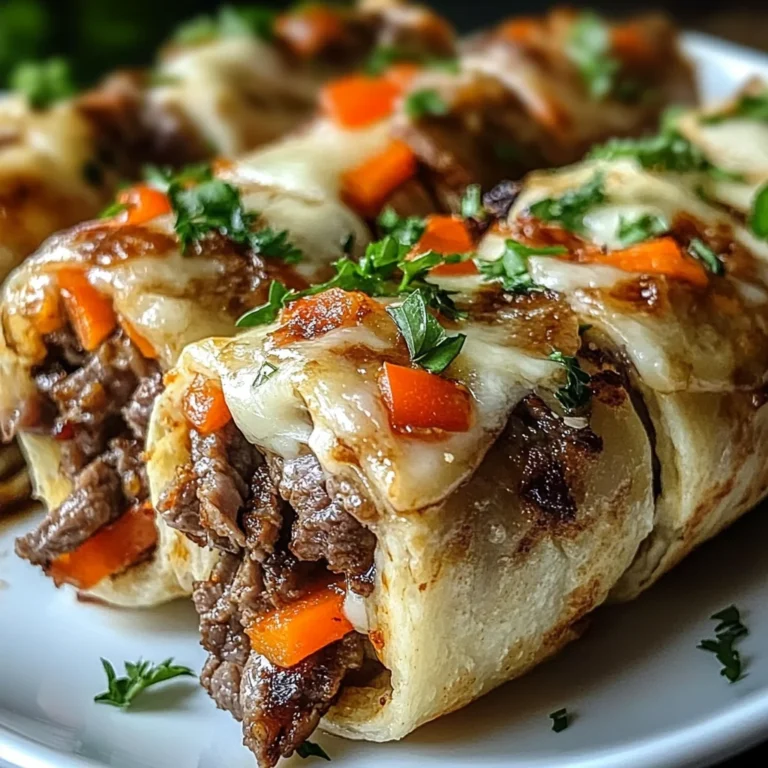
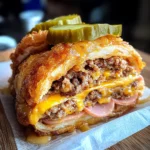
Imagine biting into a beautifully crafted roll where every element works harmoniously together: the crunch of golden-brown onion rings, the savory richness of seasoned ground meat, and the oozy goodness of melted cheese. It’s a symphony of flavors that delivers satisfaction in every bite. As you dive into this recipe, I promise you’ll find yourself falling in love with cooking all over again. The joy this Viral Cheeseburger Onion Ring Roll brings is profound—perfect for gatherings or simply a cozy night in. Let’s embark on this culinary journey together, discovering the secrets to making this unforgettable dish!
Viral Cheeseburger Onion Ring Roll: A Flavorful Twist on a Classic
This recipe invites you to experience cheeseburgers like never before! With crispy onion rings serving as the star wrapper for all your favorite burger fixings, you’ll understand why this dish has become such a sensation. Not only is it low-carb and packed with protein, but each bite is also utterly intoxicating. Whether you’re whipping these up for game day or just craving something delicious for lunch or dinner, trust me—you won’t regret trying this recipe!
Ingredients:
As we embark on creating this delightful dish together, it’s essential to gather our ingredients thoughtfully. Each component plays a critical role in crafting the perfect Viral Cheeseburger Onion Ring Roll, so let’s explore them in detail.
- 2 small white onions (sliced 1/4 inch thick rounds). Onions are more than just a base ingredient; they bring depth and sweetness to our rolls. When sliced into thick rounds and fried until golden brown, they transform into crispy onion rings that add both texture and flavor. Look for firm onions without any soft spots or blemishes—this ensures they will hold their shape during cooking.
- 7 oz shredded parmesan cheese. This ingredient is crucial for binding our onion rings together while imparting savory notes that enhance the overall flavor profile. Parmesan has that lovely umami quality which complements the earthiness of the onions beautifully. When purchasing cheese, opt for high-quality freshly shredded parmesan; pre-packaged varieties often contain anti-caking agents that can alter its melting ability.
- 1/2 tbsp olive oil. A splash of olive oil helps achieve that glorious golden color on our onion rings while preventing them from sticking to the pan. It also adds a hint of richness without overpowering other flavors in our dish. Extra virgin olive oil is my go-to since it boasts fruity notes that elevate the overall taste.
- Salt, garlic powder + paprika (to taste). The trifecta of seasonings elevates our dish by adding layers of flavor! Salt enhances every ingredient’s natural taste; garlic powder brings aromatic warmth; paprika contributes subtle smokiness and color. Be generous here—seasoning well at each step transforms good food into great food!
- 1 tsp olive oil (for cooking). Just like before, we’ll use olive oil here as well—but this time for sautéing our ground meat mixture. The oil ensures even cooking while keeping everything moist and flavorful.
- 1 lb ground meat. For this recipe, you can choose any ground meat you prefer—beef, chicken, or turkey work wonderfully here! Ground meat provides hearty substance to our rolls while soaking up all those delicious seasonings we’ve added along the way.
- 1/2 tsp each salt, garlic powder, onion powder, paprika + chili powder. A well-balanced blend of spices creates depth in flavor while ensuring every bite bursts with deliciousness! This combination gives us an exciting kick without being overwhelming—just enough to awaken your taste buds!
- 1/4 cup low sodium chicken broth. Chicken broth acts as a liquid gold here—it keeps our filling juicy while also infusing additional layers of flavor throughout! Opting for low-sodium makes sure we maintain control over seasoning levels.
- 6 slices American cheese. The gooey goodness from American cheese binds everything together beautifully while providing that classic cheeseburger feel! I recommend using slices rather than pre-shredded versions since they melt more evenly and create an irresistible pull when heated.
- 6 slices chicken ham. Chicken ham adds another dimension to our rolls by introducing savory notes akin to traditional ham but without any pork content! It complements the beefy flavors perfectly while giving us a satisfying textural contrast.
- 1/3 cup pickles (sliced). The final touch comes from pickles—these tangy bites cut through richness brilliantly and provide refreshing acidity with every mouthful! They’re non-negotiable if you’re looking for balance among all those rich elements in your roll.
Equipment You’ll Need:
Before we dive into cooking these fantastic rolls together, let’s ensure we have all the right tools at hand! Having quality equipment can make all the difference between an enjoyable experience and one filled with frustration.
- Large skillet – A sturdy skillet is key for frying those onion rings to perfection! A non-stick variety allows for easy release once they’re golden brown without losing any precious crunch.
- Mixing bowls – You’ll need one or two solid mixing bowls—one for combining your ground meat mixture and another for tossing your onion rings with parmesan cheese before frying them up!
- Cutting board – A good cutting board provides ample space for slicing onions safely while protecting your countertops from damage during prep work.
- Sharp knife – A sharp knife makes cutting through firm onions effortless; dull knives can lead to accidents or uneven slices which can affect texture later on!
- Tongs or spatula – These are invaluable when flipping those delicate onion rings during frying—they help keep their shape intact while ensuring even cooking on both sides!
Now that you’ve gathered everything needed let’s move forward as we prepare these incredible Viral Cheeseburger Onion Ring Rolls together!
Step 1: Slicing Those Onions With Care
Start by peeling your onions carefully until you reveal their pristine white layers underneath—this process is almost therapeutic if you ask me! Once peeled, lay each onion flat on your cutting board and slice them into 1/4-inch thick rounds—this thickness ensures they’ll hold up beautifully when fried without becoming overly soft or mushy inside later on during baking time. Keep in mind—you want hearty slices here because they’ll eventually form our crunchy outer layer; so don’t rush through this step!
Step 2: Frying Up Those Golden Wonders
Next comes one of my favorite parts: frying those onion slices until they turn into crispy perfection! Heat up your large skillet over medium heat (you want it hot enough but not smoking). Add half a tablespoon of olive oil once warm enough—a gentle sizzle tells us it’s ready! Carefully place each slice into hot oil one by one—make sure not overcrowd them otherwise they won’t fry evenly; instead aim for several batches if necessary depending upon skillet size—and let them cook undisturbed until golden brown (about 3 minutes per side). The aroma wafting through your kitchen at this point? Absolutely intoxicating! Flip them gently using tongs once they’re nicely browned so both sides get equal attention from heat sources around them—this step is crucial because if skipped you’ll end up with soggy undercooked bits instead of crispy delights!
Step 3: Preparing Our Flavorful Filling
Once those beauties are done frying (and cooling slightly), it’s time to switch gears towards creating our delicious filling mixture which will go inside each roll later on! In another mixing bowl combine one pound of ground meat alongside half a teaspoon salt plus garlic powder/onion powder/paprika/chili powder – remember how important seasoning was earlier? It applies even more now when working directly with proteins like these because they need ample encouragement too bring out their natural flavors fully during cooking processes ahead… Next pour in quarter cup low sodium chicken broth right after mixing everything together thoroughly—it may seem odd at first but trust me—it adds juiciness making sure no dry bites exist within those tasty rolls afterwards…
Step 4: Melting Down That Cheese!
Now comes perhaps my favorite moment yet—the melting part! Place six slices American cheese atop prepared filling mixture allowing its warmth create velvety goodness enveloping ground meats beneath… Cover bowl loosely allowing heat escape while waiting patiently about three minutes until melted sufficiently enough create luscious consistency throughout filling mixture—it should look creamy yet still hold integrity without becoming runny mess because nobody wants soggy sandwiches right?!
And there we have it—a beautiful start towards assembling our Viral Cheeseburger Onion Ring Rolls filled with flavorful goodness wrapped snugly within crispy layers outside… Stay tuned as we dive deeper into bringing everything together seamlessly next time around—I promise it’ll be worth every bit effort spent thus far!
Step 5: Sizzling the Meat – The Heart of Flavor
Now that we’ve prepped our ingredients, let’s dive into one of the most exciting parts of this recipe: cooking the ground meat. Grab your trusty skillet and heat it over medium-high heat, drizzling in that teaspoon of olive oil. As the oil shimmers and dances in the pan, add the pound of ground meat. This is where your kitchen will fill with an utterly intoxicating aroma. Use a wooden spoon or spatula to break up the meat into small crumbles, allowing it to brown evenly. Browning is not just for aesthetics; it’s crucial for developing those rich, complex flavors through a process called the Maillard reaction. You’ll want to cook this for about 5-7 minutes until it’s no longer pink but beautifully caramelized.
As your meat sizzles away, sprinkle in half a teaspoon each of salt, garlic powder, onion powder, paprika, and chili powder. This medley of spices isn’t just a flavor boost; it’s what transforms ordinary ground meat into an extraordinary experience! The salt enhances the natural flavors while the spices kick things up a notch, adding warmth and depth. Do keep an eye on your skillet—if you see any bits starting to stick or burn to the bottom, don’t hesitate to lower the heat slightly or add a splash of water or broth to deglaze and lift those tasty bits back into the mix. You’re looking for a lovely golden-brown color that tells you those flavors are coming together beautifully.
Step 6: The Broth Infusion – Adding Moisture and Depth
Once your meat is perfectly browned, it’s time to incorporate that low-sodium chicken broth. Pouring in about a quarter cup at this stage is essential for two reasons: It not only keeps your filling moist but also helps scrape up any flavorful bits stuck to the pan—those little treasures are what make homemade cooking so special! Stir gently as you let everything simmer together for another 3-5 minutes until most of that broth has evaporated and you’re left with a thick, luscious mixture.
What you’re aiming for here is a consistency that’s not too runny but still juicy enough to complement our other ingredients later on. I promise you; this step elevates your filling from simple cooked meat to something profoundly satisfying! Keep tasting as you go—this is where you can adjust seasoning if needed. Remember, food should always be about your personal taste preferences! Trust me on this; you’ll be amazed at how even such small adjustments can lead to extraordinary results.
Step 7: Layering Flavors – Cheese and Chicken Ham Addition
With our seasoned meat mixture ready and waiting, it’s time to layer in some cheesy goodness with those six slices of American cheese and six slices of chicken ham. I always get excited during this step because watching cheese melt is like witnessing magic unfold right before your eyes! Tear or cut up the cheese into smaller pieces so they can meld seamlessly into the warm meat mixture. As soon as you add them in, stir vigorously—the residual heat will begin melting that cheese into an ooey-gooey sauce that’ll envelop every morsel of meat.
Don’t rush this step! Allow everything to cook together for about 2-3 minutes until all elements are thoroughly integrated and gooey perfection is achieved. The combination of creamy cheese and savory chicken ham creates an utterly delightful harmony that’ll have everyone craving more before they even take their first bite! Plus, adding chicken ham gives us that classic cheeseburger taste without using any pork products—such an important touch when crafting dishes everyone can enjoy!
Step 8: The Crunchy Onion Ring Base – Preparing Your Foundation
Now comes one of my favorite parts—the onion rings! They serve as both our base and topping, bringing a delightful crunch that contrasts beautifully with our rich filling. Preheat your oven to 400°F (200°C) if you haven’t already—it needs to be hot enough to achieve that glorious crispiness we’re after! While that’s heating up, take those sliced onions and coat them lightly with olive oil before seasoning generously with salt, garlic powder, and paprika to taste. This seasoning blend will elevate their flavor profile significantly while ensuring they don’t just become bland vehicle rings.
Next comes the fun part: arranging them on a baking sheet lined with parchment paper or aluminum foil for easy cleanup! Lay out those onion slices in single layers so they can roast evenly without steaming each other—trust me on this; spacing is absolutely paramount here! Bake them for around 15-20 minutes until they are golden brown and crispy around the edges but still tender inside. Keep an eye on them during baking because ovens can vary—if they’re browning too quickly at any point, feel free to rotate them or lower the temperature slightly. You want them crunchy but not burnt; after all, these beauties are what’ll hold everything together in our Viral Cheeseburger Onion Ring Roll!
Conclusion:
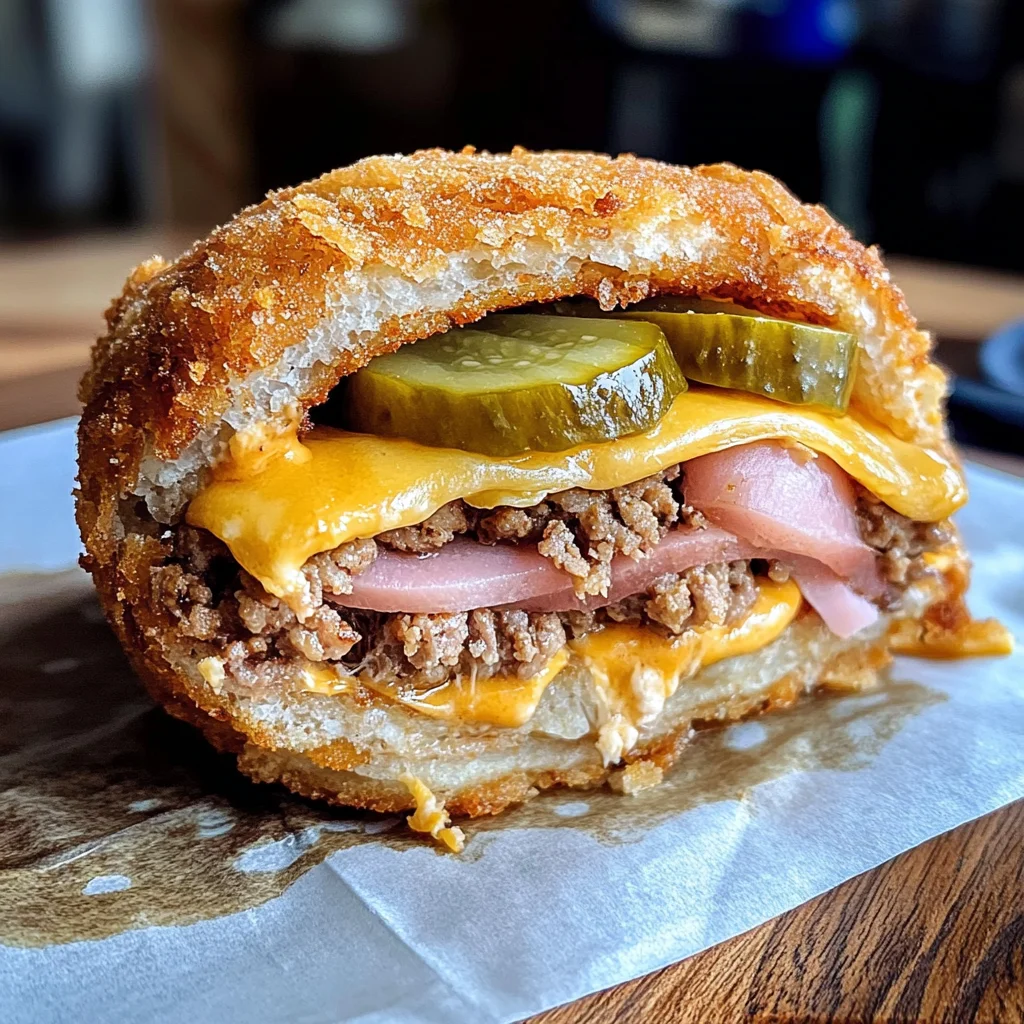
As we wrap up this flavorful journey through crafting your very own Viral Cheeseburger Onion Ring Roll, I hope you’re feeling as excited about these scrumptious bites as I am! This recipe isn’t just about food; it’s about creating memories filled with laughter and joy around the dinner table. The rich combination of melted cheese encasing seasoned ground meat wrapped in crispy onion rings creates a symphony of flavors that dances on your palate with every heavenly bite. It’s truly extraordinary how something so simple can bring such profound satisfaction!
This recipe is an absolute must-try not only because of its mouthwatering taste but also due to the sheer joy of preparing it together with family or friends. Just imagine pulling it out of the oven; everyone will gather around to catch that intoxicating aroma wafting through the kitchen. It’s versatile enough to shine at any occasion—be it game day gatherings, casual weeknight dinners, or even festive parties where it will steal the spotlight from all other dishes!
When serving these glorious rolls, think about creative pairings that elevate your experience even further. Imagine savoring one alongside a crisp garden salad bursting with freshness or perhaps dipping it into a zesty homemade aioli that adds an extra layer of flavor. For an afternoon pick-me-up, why not serve them with some sweet potato fries? And for those who crave something decadent, consider melting more cheese on top—because let’s be honest; there’s no such thing as too much cheese!
Feeling adventurous? This recipe is wonderfully adaptable! You could swap out ground meat for turkey or even lean beef if that’s more your style; each variation adds its own unique twist while still keeping the heart and soul of this dish intact. Why not play with toppings too? Adding jalapeños for heat or swapping pickles for roasted red peppers can transform this roll into something entirely new yet equally tantalizing. I invite you to try this recipe today and share your experiences—I can’t wait to hear how you make it your own!
Viral Cheeseburger Onion Ring Roll
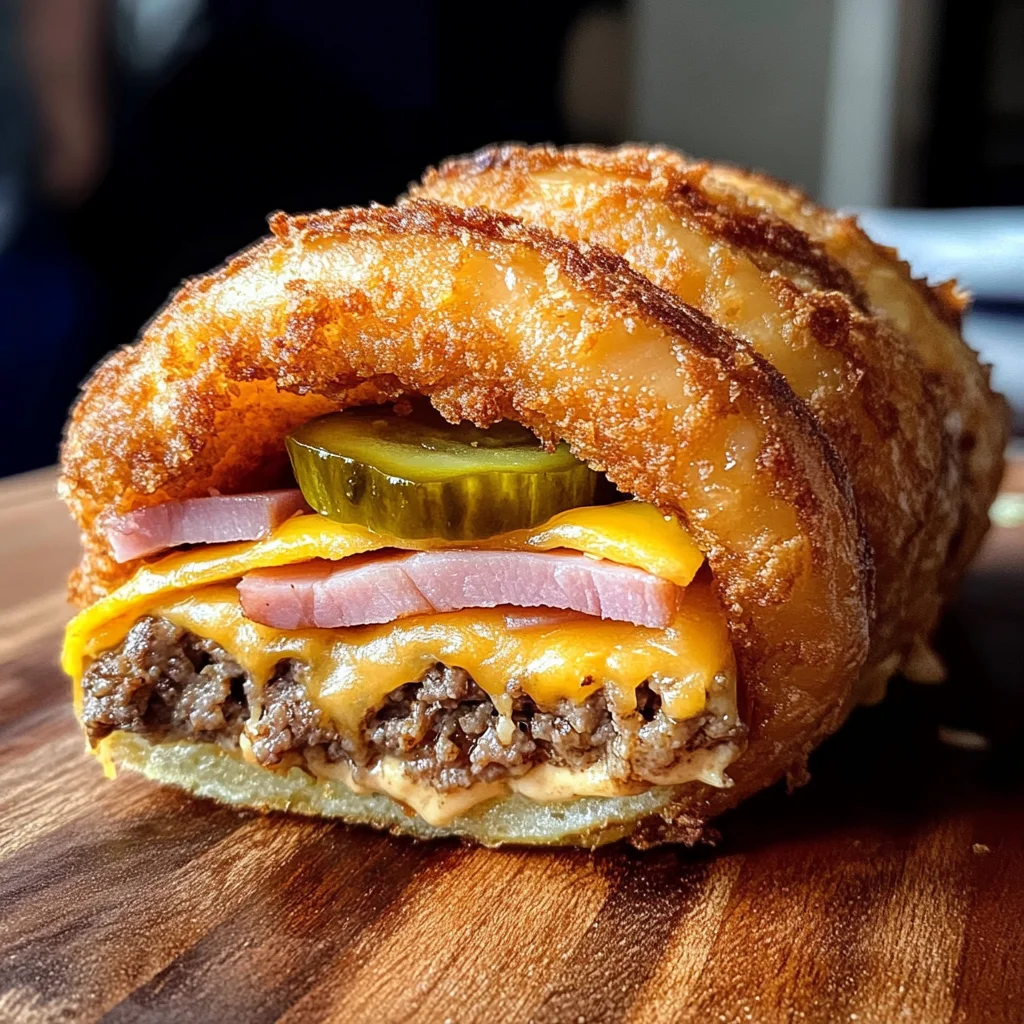
Experience a culinary revolution with the Viral Cheeseburger Onion Ring Roll! This innovative dish reimagines the classic cheeseburger by enveloping savory ground meat and gooey melted cheese in crispy onion rings instead of traditional buns. Each bite offers a delightful crunch paired with rich flavors that will transport you back to summer barbecues and joyful gatherings. Perfect for game day or a cozy dinner, these rolls are not only delicious but also low-carb, making them an ideal choice for anyone looking to indulge without compromise. Let’s embark on this flavorful journey together, and elevate your cooking experience!
- Prep Time: 20 minutes
- Cook Time: 35 minutes
- Total Time: 55 minutes
- Yield: Serves approximately 4 people 1x
- Category: Main
- Method: Baking/Frying
- Cuisine: American
Ingredients
- 2 small white onions (sliced into thick rounds)
- 7 oz shredded parmesan cheese
- 1/2 tbsp olive oil
- Salt, garlic powder, paprika (to taste)
- 1 lb ground meat (beef, chicken, or turkey)
- 1/4 cup low-sodium chicken broth
- 6 slices American cheese
- 6 slices cooked chicken ham
- 1/3 cup pickles (sliced)
Instructions
- Preheat oven to 400°F (200°C).
- Slice onions into thick rounds and coat with olive oil, salt, garlic powder, and paprika.
- Bake onion rings on a lined baking sheet for about 15-20 minutes until crispy.
- In a skillet, heat olive oil over medium-high heat. Cook ground meat until browned; season with salt, garlic powder, onion powder, paprika, and chili powder.
- Stir in chicken broth and cook until thickened. Add American cheese and cooked chicken ham; mix well.
- Roll filling in pairs of onion rings; chill for 10-15 minutes.
- Bake filled rolls for an additional 10-12 minutes until golden.
Nutrition
- Serving Size: 2 rolls (200g)
- Calories: 420
- Sugar: 2g
- Sodium: 960mg
- Fat: 26g
- Saturated Fat: 10g
- Unsaturated Fat: 14g
- Trans Fat: 0g
- Carbohydrates: 21g
- Fiber: 2g
- Protein: 28g
- Cholesterol: 90mg