Maple Cookies Recipe
There’s something truly magical about the experience of baking, especially when it comes to creating a batch of Maple Cookies. The moment you step into your kitchen, the comforting aroma of warm butter and brown sugar wafts through the air, inviting memories of cozy gatherings and heartwarming conversations. As you mix together simple pantry staples, you realize that this isn’t just about making cookies; it’s about crafting a little piece of joy that brings people together. With each scoop of rich maple syrup, you’re not just sweetening your dough—you’re infusing it with a kind of warmth that wraps around you like a cherished blanket. This Maple Cookies Recipe is an invitation to embrace those cozy moments, to savor the process as much as the final product, and trust me when I say, they are utterly irresistible.
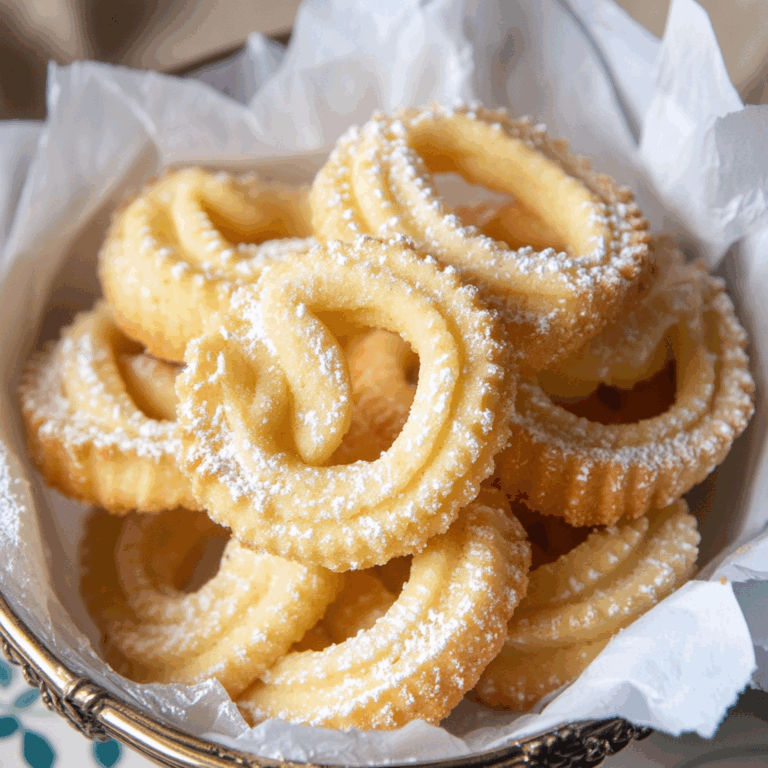
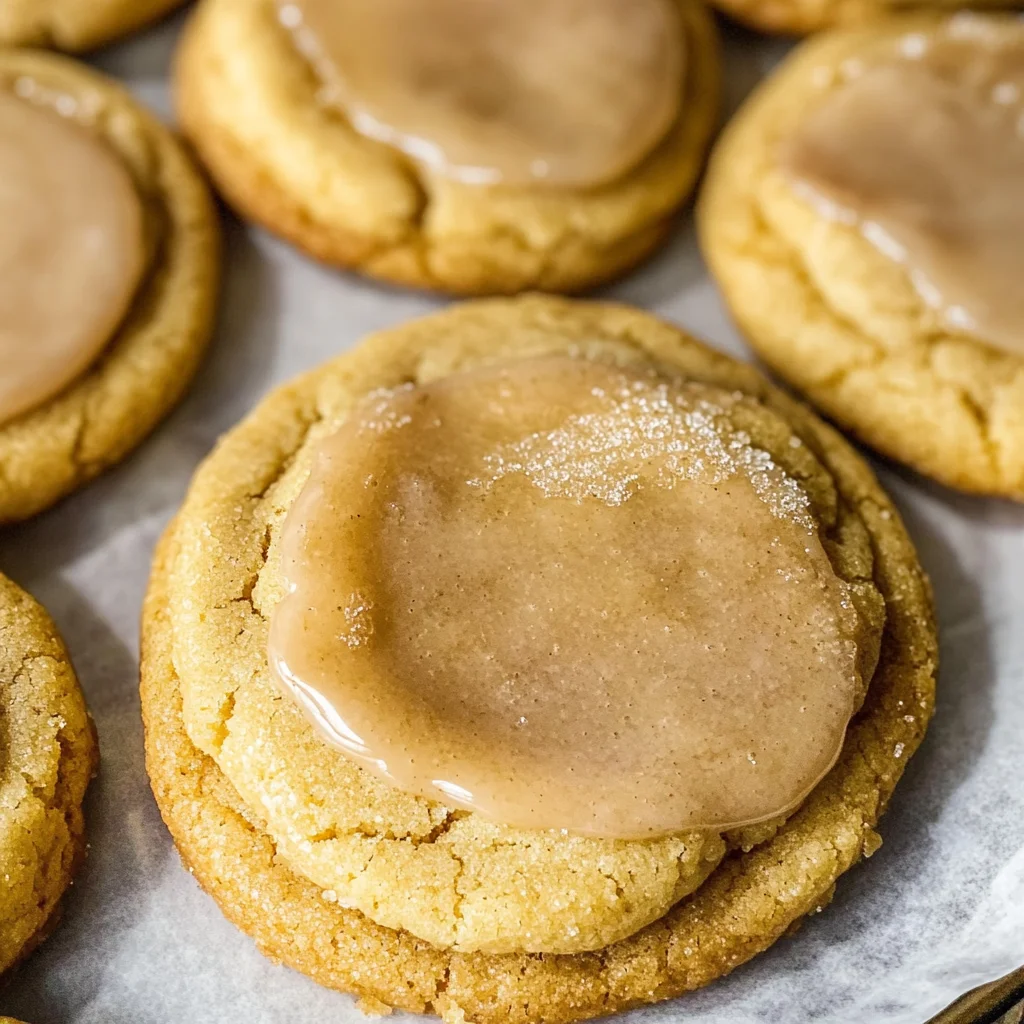
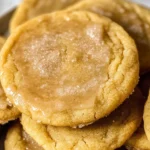
Imagine biting into one of these soft, chewy delights—the glaze glistening like morning dew on grass. Each cookie is a symphony of flavors where the deep notes of brown sugar dance elegantly with the earthy sweetness of pure maple syrup. The texture is just right: slightly crisp at the edges while remaining wonderfully tender in the center. These cookies don’t need any frills; they stand out on their own with their rich flavor and comforting essence. Whether you’re sharing them with friends over coffee or enjoying one solo while watching your favorite show, they elevate any moment into something truly extraordinary.
Maple Cookies Recipe: A Cozy Delight for Every Occasion
Welcome to my kitchen! Today, we’re diving into a delightful journey filled with warmth and sweetness as we create these Maple Cookies. With their soft texture and smooth glaze, they’re perfect for any occasion—be it a chilly evening at home or a festive gathering with loved ones. I promise you’ll find yourself reaching for seconds (and maybe even thirds) because these cookies are simply that good!
Ingredients:
As we embark on this culinary journey together, let’s take a moment to appreciate each ingredient that will play its part in creating these cozy treats. Every component matters and contributes uniquely to the final outcome.
- ¾ cup unsalted butter, softened: This is crucial for achieving that light and airy texture we crave in our Maple Cookies. When butter is softened properly (think room temperature), it creams beautifully with sugar, creating tiny air pockets that help your cookies rise perfectly in the oven. If your butter is too cold, it won’t cream effectively; if it’s melted, well—let’s just say your cookies might end up more pancake-like than cookie-like! Look for high-quality butter; European-style varieties often have higher fat content which can add an extra layer of richness to our cookies.
- 1 cup light brown sugar, packed: This ingredient is what lends those delectable caramel-like notes to our cookies. The molasses naturally present in brown sugar not only adds flavor but also moisture—keeping our cookies soft and chewy instead of dry and crumbly. Always pack your brown sugar firmly into the measuring cup so we get all that lovely sweetness without leaving anything behind!
- 1 large egg: Eggs are essential here; they act as both a binder and leavening agent in our cookies. They give structure while also contributing moisture, making them essential for achieving that pillowy texture we adore. It’s best to use eggs at room temperature so they incorporate smoothly into our batter—this little detail helps everything blend nicely.
- 1 tsp vanilla extract: Ahh… vanilla! It’s like a warm hug for your taste buds! Adding vanilla extract enhances all the other flavors in our cookies and rounds them out beautifully. Make sure to use pure vanilla extract; it has a depth of flavor that imitation extracts simply can’t match.
- ¼ cup pure maple syrup (Grade A recommended): This liquid gold is what sets these cookies apart! Pure maple syrup brings an earthy sweetness that perfectly complements the brown sugar base while adding an aromatic quality that’s downright intoxicating. Grade A syrup has a lighter flavor profile ideal for baking; when purchasing, look for bottles labeled pure rather than maple-flavored to ensure you’re getting all those delicious natural notes.
- 2 cups all-purpose flour: Flour provides the structure needed for our cookies but be mindful not to overmix once it’s added! Too much mixing can develop gluten which leads to tougher cookies—a fate no one wants! When measuring flour, spoon it into your measuring cup rather than scooping directly from the bag; this prevents packing it too densely.
- 1 tbsp cornstarch: You might wonder why cornstarch makes an appearance here—it’s my secret weapon for creating super soft textures! Cornstarch helps inhibit gluten formation so we get those tender bites instead of tough ones. It works its magic seamlessly alongside our flour.
- ½ tsp baking soda: Baking soda acts as our leavening agent here—it creates those lovely little bubbles in our dough as it bakes which leads to perfectly puffed edges while keeping centers delightfully chewy. Make sure your baking soda is fresh; old baking soda won’t give us that lift we need!
- ½ tsp salt: Don’t underestimate salt in baking—it’s absolutely paramount! Salt enhances flavors overall and balances sweetness beautifully in desserts like ours. Just a pinch elevates everything from bland to grand!
Equipment You’ll Need:
Before diving into baking bliss, let’s gather up some essential tools that will make our experience smoother and more enjoyable—after all, having the right equipment can turn good recipes into great ones!
- Mixing bowls – Having a set of mixing bowls in various sizes allows us flexibility when combining ingredients. A large bowl is ideal for mixing wet ingredients while smaller ones are perfect for whisking dry components separately before bringing everything together.
- Hand mixer or stand mixer – Either option will work wonders here when creaming together butter and sugar—the goal is to achieve lightness! If you’re using a hand mixer, be prepared for some serious arm workout time if you choose not to use one!
- Measuring cups & spoons – Precision matters when baking; every measurement should be exact. Invest in good quality measuring cups (both liquid and dry) along with spoons so you can easily follow along without second guessing amounts!
- Parchment paper – This non-stick wonder makes cleanup easy while also ensuring your cookies bake evenly without sticking to pans—trust me on this one!
With everything ready at hand and hearts full of excitement about what’s coming next, let’s get started on preparing these delightful Maple Cookies!
Step 1: Create Your Cookie Dough Masterpiece
First things first—we need to make our cookie dough! In a large mixing bowl (or using your stand mixer if you’ve got one), cream together the softened unsalted butter and packed light brown sugar until it’s light and fluffy—this process usually takes about 2–3 minutes at medium speed. What you’re looking for here is volume; air should be incorporated into this mixture which will make those beautiful puffs happen later on during baking! Once you’ve reached that state of creamy perfection, add in your egg along with vanilla extract and pure maple syrup before continuing blending until everything melds together seamlessly into an inviting dough-like consistency.
Step 2: Whisk Together Dry Ingredients
In another bowl (yes—a bit more dirty dishes!), whisk together 2 cups all-purpose flour along with cornstarch, baking soda, and salt until combined thoroughly—this ensures even distribution throughout our cookie dough later on without clumps forming unexpectedly during mixing time! Don’t rush this step; taking care now will pay off tenfold when biting into evenly textured cookies later on!
Step 3: Combine Wet & Dry Ingredients
Now comes my favorite part—the union between wetness & dryness! Gradually add those dry ingredients into your buttery concoction from Step 1—do this slowly while stirring gently until just combined without over-mixing (seriously important!). You want all dry bits incorporated but still maintain tenderness within each morsel… think clouds rather than bricks folks!
Step 4: Chill Out Before Baking
After getting our beautiful dough mixed just right (yay!), cover that bowl tightly with plastic wrap or transfer it straight onto parchment paper before refrigerating for at least an hour—or even overnight if time allows—for optimal flavor development & texture enhancement (seriously—it makes such difference!). Chilling helps prevent spreading during baking too so don’t skip this vital step—even though I know how tempting it may be!
Ready? Let’s keep rolling through these steps together until we’ve mastered every last detail needed for perfection in these Maple Cookies… stay tuned!
Step 5: Crafting the Perfect Cookie Shape
Now that your dough has chilled beautifully, it’s time to shape those delightful cookies. This step is where the magic really begins! With your chilled dough in hand, grab a tablespoon—measuring about 1½ tablespoons of dough for each cookie will yield just the right size. As you scoop the dough, take a moment to appreciate its texture; it should be slightly firm yet pliable, reminiscent of soft playdough. Roll each scoop gently between your palms to form smooth balls, almost like little doughy treasures waiting to be baked.
When placing these formed balls onto your lined baking sheets, remember to leave about two inches of space between them. This space is absolutely crucial! As they bake, these cookies will spread slightly, creating that coveted chewy texture and allowing the flavors to meld perfectly. Trust me on this—if you crowd the cookies too closely together, you’ll end up with one giant cookie instead of individual bites of bliss! If you find yourself with extra dough (lucky you!), feel free to shape more cookies or simply freeze the leftover dough for another day—just wrap it tightly and store it in an airtight container.
Step 6: Baking Your Maple Cookies to Perfection
With your oven preheated to a cozy 350°F (175°C), it’s time for those little gems to transform into golden delights! Slide your baking sheets into the oven and set a timer for about 10 minutes, but here’s where we need to pay attention—every oven behaves differently. You’ll want to keep an eye on the cookies as they bake; look for those edges starting to turn a lovely light golden brown while the centers remain soft and slightly underbaked. This is exactly what we’re aiming for because as they cool on the baking sheet, they’ll continue to set up beautifully.
Baking is all about the perfect balance of heat and time; don’t rush this step or you’ll miss out on that signature chewy texture that makes these cookies truly extraordinary! The aroma wafting from your oven will be intoxicating—a warm hug filled with hints of caramelized sugar and rich maple syrup. Once you’ve hit that sweet spot at around 10-12 minutes, remove them from the oven and allow them to cool on the baking sheet for about five minutes before transferring them onto a wire rack. This cooling process is non-negotiable; letting them rest allows those glorious flavors to deepen while maintaining that soft center we all crave.
Step 7: The Art of Cooling
Ah, cooling—the unsung hero in cookie-making! After pulling those fragrant cookies from the oven, patience becomes key as you let them sit on their baking sheet for five minutes. You might be tempted to devour one straight away (and who could blame you?), but resist that urge just a little longer! During this time, the residual heat from the baking sheet helps solidify their structure while ensuring that gooey center remains intact. Once they’ve had their moment on the sheet, gently transfer each cookie onto a wire rack using a spatula; this allows air circulation around them which prevents any sogginess from forming underneath.
Cooling not only enhances flavor but also impacts texture tremendously—when cookies are allowed to cool properly, they firm up just enough while retaining that melt-in-your-mouth quality we adore. If you skip this step or try moving them too early, you risk breaking apart those delicate edges and compromising their beautiful shape! So take this time to enjoy the heavenly scents filling your kitchen and get ready for what’s next—because soon enough, they’ll be draped in a luscious maple glaze!
Step 8: Preparing Your Irresistible Maple Glaze
Now comes one of my favorite parts—the maple glaze! This shiny topping elevates our already delightful cookies into something utterly intoxicating. In a small mixing bowl, whisk together 1½ cups powdered sugar with 2 tablespoons of pure maple syrup—you can almost taste it just by combining these two ingredients! As you stir, add in melted butter along with a pinch of salt; this combination creates a luscious glaze that dances across each cookie beautifully once applied.
The consistency is key here—start with one tablespoon of milk added as needed until your glaze reaches that perfect smoothness that’s spreadable but not too runny. If it feels too thick after adding milk, don’t panic! Just keep whisking until everything blends seamlessly together into what I lovingly refer to as liquid gold. It should glide off your spoon without being overly drippy; think of how luxurious it will look on top of your cooled cookies!
Once you’ve achieved this velvety consistency, it’s finally time for glazing those delectable creations. With either a spoon or even a small offset spatula if you’re feeling fancy, drizzle or spread that gorgeous glaze over each cookie generously—but let it flow naturally so it cascades towards the edges without overwhelming them completely. Remember: you’re creating art here! Allow them some time—about 30 minutes at room temperature—to set up nicely before indulging in their sweet embrace or if you’re short on patience (I totally understand!), pop them briefly in the fridge until firm.
Final Touches: Enjoying Your Maple Cookies Recipe
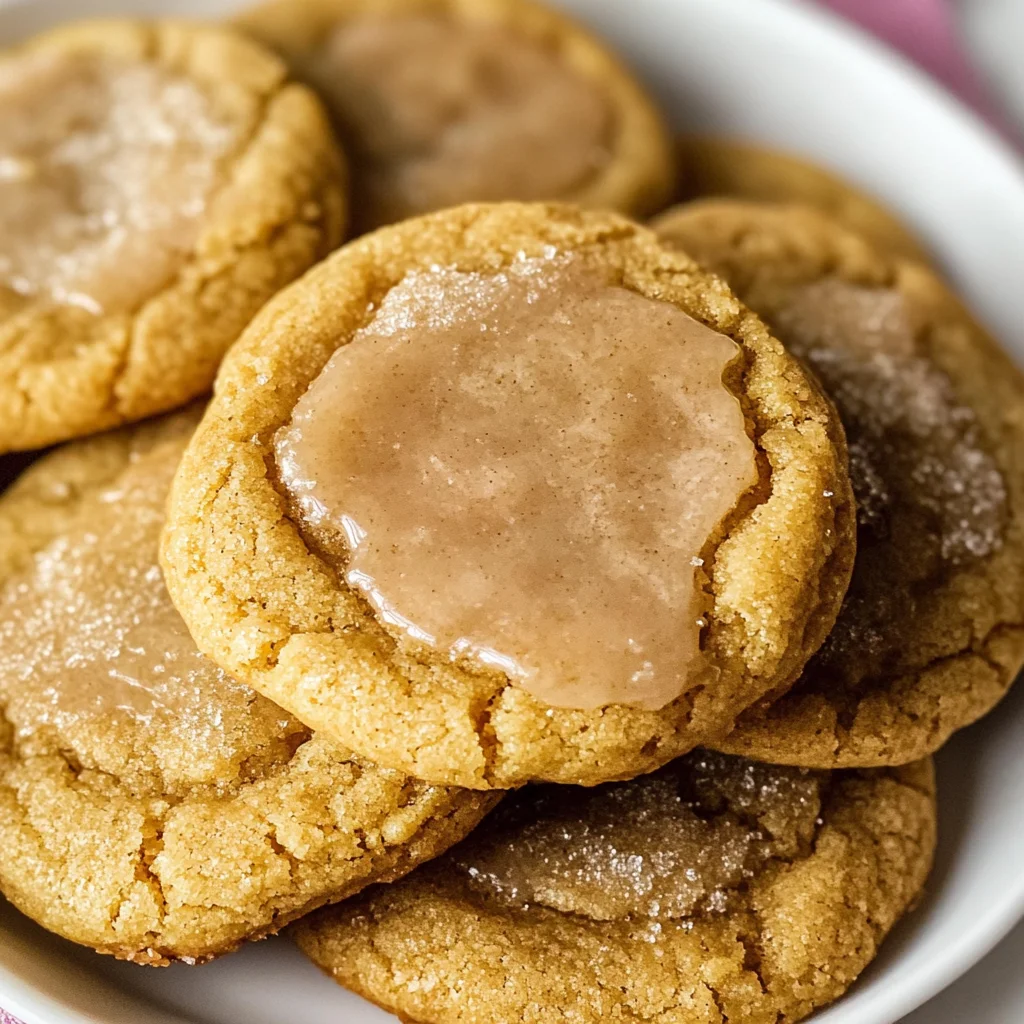
And there you have it—the final touch on our Maple Cookies Recipe journey! Once glazed and set perfectly (which I promise will happen if you’ve followed along), it’s time for what we’ve all been waiting for: indulging in these soft, chewy brown sugar marvels topped with irresistible maple goodness. Imagine taking that first bite—the way they melt in your mouth while enveloped by rich flavors; it’s truly extraordinary!
As you share these delightful treats with friends or family (or savor every last crumb all by yourself—I won’t tell!), remember that cooking is always about joy and connection. Whether enjoyed over coffee during afternoon chats or savored slowly as an evening treat after dinner, these cookies are bound to create memories worth cherishing.
So go ahead—unwrap those warm moments filled with laughter and love around freshly baked Maple Cookies Recipe; I can’t wait for you to experience how profoundly satisfying they are! Happy baking!
Storage and Enjoyment Tips for Your Maple Cookies Recipe
Now that you’ve crafted these delightful Maple Cookies, it’s time to savor every moment of your sweet creation! The rich aroma still lingers in the air, and I can’t help but smile at the thought of sharing these treats with loved ones. But what happens if you find yourself with a few leftovers? Fear not, my friend! Storing these cookies properly will ensure they stay just as delightful for days to come.
Storing Leftover Maple Cookies Recipe
To keep your cookies fresh and delicious, I recommend placing them in an airtight container at room temperature. This will lock in their chewy texture and make sure they remain utterly intoxicating with every bite. If you follow this method, your Maple Cookies should stay perfectly soft for about a week—although they likely won’t last that long! For an extra touch of magic, consider adding a slice of bread to the container; it helps maintain moisture levels, ensuring your cookies don’t dry out. Trust me, there’s nothing like the taste of a cookie that feels like it just came out of the oven—even after a few days! If you fancy them warm again, simply pop them in the microwave for about 10-15 seconds; this little trick revives their warmth and gooeyness beautifully.
Freezing Maple Cookies for Later
If you’re thinking ahead or want to create a stash of homemade goodness for those surprise cravings, freezing your cookies is an excellent option! To freeze them properly, start by letting the baked cookies cool completely. Then arrange them in a single layer on a baking sheet lined with parchment paper, flash freeze them for about an hour until firm. Once solid, transfer them to a freezer-safe bag or container—don’t forget to label it with the date! They can be stored in the freezer for up to three months while still retaining their deliciously soft texture and flavor. When you’re ready to indulge again, just take out as many as you’d like and let them thaw at room temperature or pop them into the microwave for a quick warm-up. The convenience of having these scrumptious cookies waiting for you is simply wonderful!
Maple Cookies
Indulge in the warmth and comfort of our Maple Cookies Recipe, where soft brown sugar cookies are elevated by a luscious maple glaze. These delightful treats are perfect for cozy gatherings or quiet afternoons, offering a melt-in-your-mouth experience with every bite. The combination of rich maple syrup and brown sugar creates a symphony of flavors that will surely bring joy to your kitchen. With simple ingredients and straightforward steps, baking these cookies is a rewarding experience you won’t want to miss. Get ready to create memories around these irresistible delights!
- Prep Time: 20 minutes
- Cook Time: 12 minutes
- Total Time: 32 minutes
- Yield: Approximately 24 cookies 1x
- Category: Dessert
- Method: Baking
- Cuisine: American
Ingredients
- ¾ cup unsalted butter, softened
- 1 cup light brown sugar, packed
- 1 large egg
- 1 tsp vanilla extract
- ¼ cup pure maple syrup
- 2 cups all-purpose flour
- 1 tbsp cornstarch
- ½ tsp baking soda
- ½ tsp salt
Instructions
- Preheat your oven to 350°F (175°C) and line baking sheets with parchment paper.
- In a large mixing bowl, cream together the softened butter and packed brown sugar until light and fluffy.
- Add the egg, vanilla extract, and maple syrup; blend well until fully incorporated.
- In another bowl, whisk together the flour, cornstarch, baking soda, and salt.
- Gradually add the dry ingredients to the wet mixture, stirring gently until combined.
- Chill the dough in the refrigerator for at least one hour.
- Scoop about 1½ tablespoons of dough per cookie onto the prepared baking sheets, leaving space between each.
- Bake for 10-12 minutes or until the edges are lightly golden but centers remain soft.
- Allow cookies to cool on the baking sheet for five minutes before transferring to a wire rack.
Nutrition
- Serving Size: 1 cookie (30g)
- Calories: 120
- Sugar: 10g
- Sodium: 80mg
- Fat: 6g
- Saturated Fat: 4g
- Unsaturated Fat: 2g
- Trans Fat: 0g
- Carbohydrates: 16g
- Fiber: 0g
- Protein: 1g
- Cholesterol: 15mg