Homemade Honey Buns
There’s something profoundly satisfying about the act of creating food from scratch, isn’t there? It’s more than just a means to nourish ourselves; it’s an experience, a journey that connects us to our traditions, memories, and even dreams. Today, I’m overjoyed to share with you my beloved recipe for Homemade Honey Buns. Just imagine pulling a tray of these golden, soft delights from the oven, their sweet aroma wrapping around you like a warm hug on a chilly morning. Each bite transports you to a comforting place—where sweetness meets nostalgia and every morsel feels like a celebration. Trust me; these honey buns are not just treats; they are moments waiting to be savored.
What makes this recipe truly special is its versatility. You can enjoy these honey buns as a decadent breakfast, an indulgent dessert, or even as part of a cozy brunch spread with family and friends. The dough is supple and forgiving, allowing for creativity in shaping and filling—feel free to experiment! Whether you choose to bake or fry them, each method brings out unique textures that will leave everyone craving more. And let’s not forget the dreamy glaze that drips down the sides—it’s like liquid gold! So gather your ingredients and prepare for an adventure in your kitchen that will fill your home with warmth and joy.
Homemade Honey Buns: A Sweet Symphony of Flavors Awaits
Let’s embark on this delightful culinary journey together! Making homemade honey buns is not just about following a recipe; it’s about creating memories and sharing love through food. As we dive into this process, I promise you’ll find joy in every step—from mixing the dough to watching those beautiful buns rise in the oven.
Ingredients:
As we get started on our homemade honey buns, let’s take a moment to appreciate each ingredient that plays its part in this magical creation. Each element contributes to the overall harmony of flavors and textures that make these buns so irresistible.
- 3 cups all-purpose flour. This is the foundation of your honey buns—the canvas upon which we’ll create our masterpiece. All-purpose flour provides the right balance of protein for structure while remaining tender enough for that melt-in-your-mouth quality we’re after. When selecting flour, look for brands with good reviews for consistency and quality. If you want a slightly nuttier flavor and denser texture, consider using half whole wheat flour instead.
- 3 tablespoons granulated sugar. Ah, sugar—the sweet kiss that elevates our honey buns from plain dough to something truly special. Sugar not only adds sweetness but also helps with browning during baking due to caramelization. For an extra touch of flavor complexity, you could use brown sugar instead; it provides moisture and a hint of molasses that can enhance the overall taste profile.
- 1 tablespoon instant yeast. This little powerhouse is essential for creating those fluffy, airy buns we all adore. Instant yeast acts quickly—perfect for those days when time isn’t on your side—and doesn’t require proofing like active dry yeast does. Make sure yours is fresh; expired yeast will leave your buns flat and sad!
- 1/2 teaspoon salt. Salt may seem simple but think of it as the unsung hero in baking—it enhances flavor and balances sweetness while strengthening gluten structure in our dough. This delicate dance between sweet and salty is what makes each bite so satisfying!
- 1/2 cup warm water (105°F-115°F). Warm water activates the yeast; it’s like giving it a gentle wake-up call! If your water’s too hot, you risk killing the yeast—a no-go if we want those lovely bubbles forming in our dough! Use a thermometer if you’re unsure; it’s worth taking this small step for success.
- 1/3 cup honey. Liquid gold! Honey brings natural sweetness and moisture to our buns while infusing them with its wonderful floral notes. The unique flavor profile it adds makes these treats exceptional compared to traditional recipes using plain sugar alone.
- 1 large egg. Eggs contribute richness as well as structure by providing proteins that help bind everything together during baking. They also add color and softness—what’s not to love? Always opt for room temperature eggs when baking; they combine better with other ingredients.
- 1 teaspoon vanilla extract. This isn’t just any flavoring; vanilla brings depth and warmth to our honey buns that makes them feel homey and comforting. Use pure vanilla extract whenever possible—it’ll make all the difference in aroma and taste!
- 1/4 cup shortening (melted). Shortening gives our dough tenderness without adding too much moisture, which could make them dense instead of fluffy! It helps achieve that perfect soft crumb we’re aiming for in each bun.
- Cinnamon sugar mixture (1/4 cup granulated sugar + 1 1/2 teaspoons cinnamon). Now we’re entering the territory of sheer indulgence! This mixture creates an intoxicating swirl inside each bun—a delightful surprise waiting to be discovered with every bite!
- Glaze (4 2/3 cups powdered sugar + 2 1/2 tablespoons honey + melted butter + vanilla extract): The pièce de résistance! This creamy glaze drizzled over warm buns transforms them into something truly extraordinary—each drizzle adds sweetness while enhancing visual appeal!
Equipment You’ll Need:
Before we jump into making these heavenly honey buns, let’s talk about some essential tools you’ll need along the way! Having the right equipment can make all the difference in ensuring smooth sailing through your baking adventure.
- Mixing bowls – A sturdy set of mixing bowls allows you to combine ingredients effectively without worrying about spills or messes—trust me; you’ll appreciate having enough space as we mix everything together!
- Stand mixer with dough hook – While it’s possible to knead by hand (and I applaud you if you do!), using a stand mixer makes this process quicker and easier on your arms. The dough hook mimics hand-kneading perfectly by developing gluten without exhausting yourself!
- Measuring cups & spoons – Precision is key when baking! Invest in quality measuring tools so you can accurately gauge ingredients; this will yield consistent results every time—and who doesn’t want perfectly fluffy honey buns?
- Rolling pin – A good rolling pin helps effortlessly shape your risen dough into that perfect rectangle before rolling up those cinnamon-sugar layers inside—we want uniformity here!
- Baking sheet or frying pan – Depending on how you’re preparing these treats (baked or fried), having appropriate pans ready ensures even cooking throughout—nobody likes unevenly cooked food!
Now that we’ve gathered our ingredients and equipment let’s dive into preparing these delightful homemade honey buns!
Step 1: Whisking Together Dry Ingredients
Begin by grabbing a large mixing bowl—this will be where all our magic starts! In it, whisk together your all-purpose flour, granulated sugar, instant yeast, and salt until thoroughly combined (about one minute should do). This step is important because it ensures uniform distribution of all dry components before introducing any wet ones—we want every single bite bursting with flavor! By whisking them together first rather than adding them directly into wet ingredients later on ensures proper activation of yeast when mixed with moisture later down the line.
Step 2: Mixing Wet Ingredients
In another bowl or measuring jug (if you’re feeling fancy), mix warm water (check that temperature!), honey, egg, and vanilla until everything’s nicely combined—this should take about 30 seconds tops! Once mixed well enough no visible streaks remain from individual components’ colors showing through—you’ll know they’re ready when they blend beautifully into one cohesive mixture full of potential happiness ahead!
Step 3: Combining Wet & Dry Mixtures
Now comes one of my favorite parts—the union between dry ingredients meeting their wet counterparts! Pour your liquid mixture directly into those lovingly prepared dry elements within their bowl (don’t worry if things look messy at first). Using either your stand mixer fitted with its trusty dough hook attachment or simply using hands works wonders too here—mix until incorporated fully but don’t fret over achieving perfection just yet; remember we’re creating something deliciously rustic after all!
Step 4: Kneading Your Dough
If using a stand mixer now is when you’ll engage its powerful motor at low speed initially until everything combines well together before increasing gradually until medium speed where we’ll knead away joyfully (8 minutes total). As we work through kneading this sticky mass into submission—it should feel tacky yet workable without sticking excessively onto surfaces surrounding itself while still being pliable enough so stretching occurs easily without tearing apart completely—that’s when it’s time stop kneading finally!
Each step takes us closer toward achieving what I can only describe as utterly intoxicating results—the anticipation builds beautifully along this journey toward blissful baked goods awaiting discovery once finished rising later down road…
And there you have it—the first few steps toward creating your very own batch of homemade honey buns filled with sweet memories waiting at every turn! Stay tuned as we continue crafting this delightful treat together…
Homemade Honey Buns: The Joy of Baking at Home
Step 5: Preparing the Cinnamon Sugar Mixture – A Sweet Symphony
While your dough is rising, let’s take a moment to prepare the delightful cinnamon sugar mixture that will infuse our honey buns with an utterly intoxicating flavor. In a small bowl, combine 1/4 cup of granulated sugar with 1 and 1/2 teaspoons of ground cinnamon. Now, you might be wondering why this step matters so much. Well, the magic happens when you sprinkle this sweet and aromatic blend onto the dough; it transforms what could be a simple bun into a burst of flavor that dances on your palate. This mixture is crucial as it not only adds sweetness but also enhances the overall experience by providing that comforting, familiar taste we associate with fresh-baked treats. Trust me, the moment you roll out your dough and see those swirls of cinnamon peeking through, you’ll understand exactly why we can’t skip this step!
Make sure to whisk these two ingredients together thoroughly until they are completely combined; we want every bite to be evenly luscious. Set this fragrant concoction aside for now, but keep it close—its time to shine will arrive soon enough! If you’re feeling adventurous (and I always encourage that), consider adding a pinch of nutmeg for an extra layer of warmth or even some finely chopped nuts to give your buns an exciting crunch.
Step 6: Rolling Out the Dough – Unleashing Your Inner Baker
Now comes one of my favorite parts—rolling out that beautifully risen dough! After about 1-2 hours, you should see your dough nearly double in size; it will feel soft and slightly sticky to the touch—this is perfect! Turn it out onto a lightly floured surface. Using a rolling pin, carefully stretch and roll the dough into an approximately 8-inch by 12-inch rectangle. The key here is gentle pressure; don’t rush this step! You want to maintain that lovely airiness inside the dough while shaping it into a canvas for our filling.
Why do we roll it out into a rectangle? This shape allows us to create those beautiful spirals when we roll it back up after adding our cinnamon sugar mixture! Visual cues are important here—if your dough springs back too much while rolling, let it rest for a few minutes before continuing. This gives the gluten time to relax, which makes shaping easier and results in softer buns. Once you’ve achieved that perfect rectangle, grab your prepared cinnamon sugar mixture and sprinkle it generously over the entire surface—don’t skimp on this part! Use your hands to gently press down on the sugar so it adheres well; this will create those mesmerizing swirls we all dream about when imagining our homemade honey buns.
Step 7: Rolling and Cutting – The Heart of Your Honey Buns
With your cinnamon sugar spread across the rolled-out dough like a sweet blanket, it’s time for the fun part—rolling it up tightly from one edge to another! As you begin this process, make sure to keep an even tension throughout; if you roll too loosely, your honey buns may unravel during baking. Once you have rolled it up into a log shape, seal the ends using a dab of water—it’s like giving them a little hug! Now comes another crucial step: cutting the log into pieces. Ideally, you should aim for about 10 equal sections. A sharp knife or dental floss works wonders here—yes, I said dental floss! It creates clean cuts without squishing your precious buns.
As you cut each piece, place them seam side down onto a greased baking sheet or parchment paper. Each piece should look inviting and ready for its second rise. It’s important not to rush through this process; taking care during these steps ensures each bun has space to expand beautifully in their final rise. Once they’re all cut and arranged nicely on your baking sheet, cover them with a light kitchen towel and allow them to rise again for approximately 45 minutes. During this time, they’ll puff up even more—watching them grow is one of life’s simple joys!
Step 8: Baking Your Perfect Homemade Honey Buns – The Transformation
Preheat your oven to 350°F (175°C) as you wait for those adorable buns to finish rising. Once they’re nearly doubled in size and beautifully puffy—a sign of their readiness—it’s showtime! If you’re opting for baking instead of frying (which I highly recommend for ease), place them in your preheated oven and bask in the warmth that fills your kitchen as they bake for about 20-25 minutes until golden brown on top.
Here’s where patience pays off spectacularly—the aromas wafting through your home will be nothing short of heavenly! You’ll know they’re done when they turn golden brown and sound hollow when tapped gently on the bottom—this auditory cue is absolutely paramount; trust me on this one! If you choose to fry instead, heat oil in a deep skillet until shimmering hot (around 350°F) before gently dropping in each bun until they’re golden brown on both sides—a process that should take only about 2-3 minutes per side. Keep close watch during frying; it’s easy for them to go from perfectly golden to overdone quickly!
Conclusion:
As we wrap up this delightful journey through making homemade honey buns, I can’t help but feel an overwhelming sense of joy knowing you’re about to create something truly special in your kitchen. Each step was designed not only to guide you but also to infuse this recipe with love and warmth. The harmonious blend of cinnamon sugar filling wrapped in soft, pillowy dough creates an experience that transcends mere baking; it’s all about creating memories around the table with loved ones. The way those sweet aromas waft through your home is simply intoxicating and undeniably comforting.
This recipe is an absolute must-try—not just for its incredible flavor but also for the sheer joy it brings during the baking process itself. It’s versatile enough to shine at breakfast tables, dessert displays, or any gathering where smiles are shared over delicious food. Picture yourself pulling these beauties from the oven, their sweet scents wafting through the air as everyone gathers around with eager anticipation—there’s nothing quite like it! And trust me, once you’ve tasted homemade honey buns, you’ll understand why they hold such a special place in my heart.
Imagine savoring one with a dollop of whipped cream cheese spread on top or dunking it into your morning coffee as you savor each bite. For an afternoon pick-me-up, pairing it with fresh fruit elevates both taste and nutrition—think ripe strawberries or juicy peaches alongside your honey bun bliss! And if you’re feeling adventurous for dessert time? Drizzle some dark chocolate over warm buns or serve them alongside vanilla bean ice cream for an utterly decadent experience that will have everyone asking for seconds.
Feeling adventurous? This recipe is wonderfully adaptable! You could easily swap out the traditional cinnamon filling for something like nutmeg or cardamom if you’re craving new flavors. Or why not try adding some chopped nuts or dried fruits into the mix? Each variation brings something unique while still retaining that signature sweetness we all adore so much. So gather your ingredients today and dive into this delightful baking adventure! I can’t wait to hear all about your experiences making these homemade honey buns—please feel free to share your creations with others who need a little sweetness in their lives!
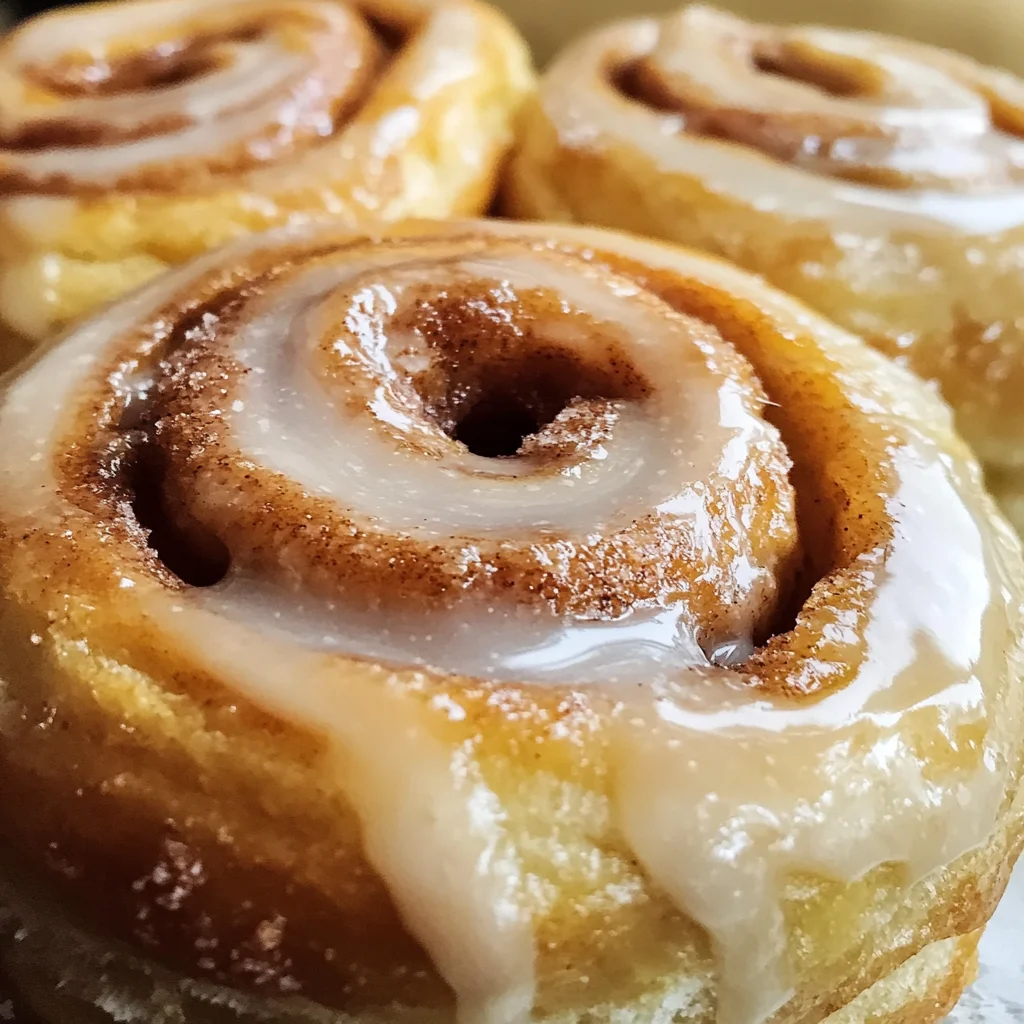
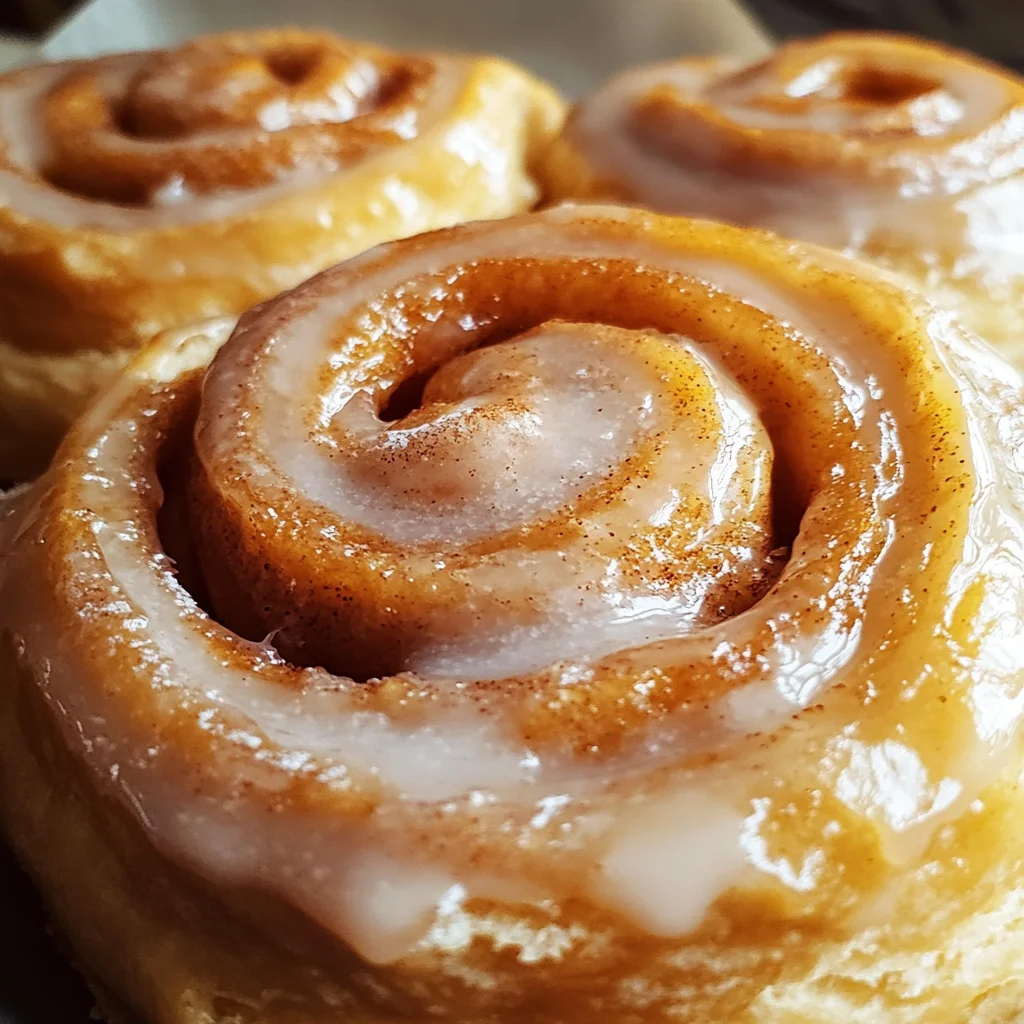
Homemade Honey Buns
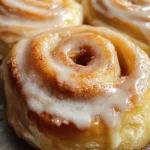
There’s nothing quite like the warmth and comfort of fresh-baked homemade honey buns. These delightful treats are soft, fluffy, and swirled with sweet cinnamon goodness. Perfect for breakfast or as an indulgent snack, each bite is a cozy reminder of cherished moments spent with loved ones. With just a few simple ingredients and easy steps, you can create these irresistible buns that are sure to bring smiles to your table.
- Prep Time: 30 minutes
- Cook Time: 25 minutes
- Total Time: 55 minutes
- Yield: Approximately 10 servings 1x
- Category: Dessert
- Method: Baking
- Cuisine: American
Ingredients
- 3 cups all-purpose flour
- 3 tablespoons granulated sugar
- 1 tablespoon instant yeast
- 1/2 teaspoon salt
- 1/2 cup warm water (105°F-115°F)
- 1/3 cup honey
- 1 large egg
- 1 teaspoon vanilla extract
- 1/4 cup shortening (melted)
- 1/4 cup granulated sugar + 1 1/2 teaspoons cinnamon (for cinnamon sugar mixture)
- 4 2/3 cups powdered sugar + 2 1/2 tablespoons honey + melted butter + vanilla extract (for glaze)
Instructions
- In a large mixing bowl, whisk together the flour, sugar, instant yeast, and salt.
- In another bowl, mix the warm water, honey, egg, and vanilla until combined.
- Pour the wet mixture into the dry ingredients and mix until incorporated.
- Knead the dough until smooth and elastic (about 8 minutes).
- Let the dough rise in a warm place for about 1 hour or until doubled in size.
- Roll out the risen dough into a rectangle, sprinkle with cinnamon sugar mixture, roll it tightly, and cut into pieces.
- Place on a greased baking sheet and let rise again for about 45 minutes.
- Preheat oven to 350°F (175°C) and bake for 20-25 minutes until golden brown.
- Prepare the glaze by mixing powdered sugar, honey, melted butter, and vanilla; drizzle over warm buns.
Nutrition
- Serving Size: 1 honey bun (60g)
- Calories: 202
- Sugar: 10g
- Sodium: 120mg
- Fat: 6g
- Saturated Fat: 2g
- Unsaturated Fat: 4g
- Trans Fat: <0g
- Carbohydrates: 34g
- Fiber: <1g
- Protein: <3g
- Cholesterol: <30mg