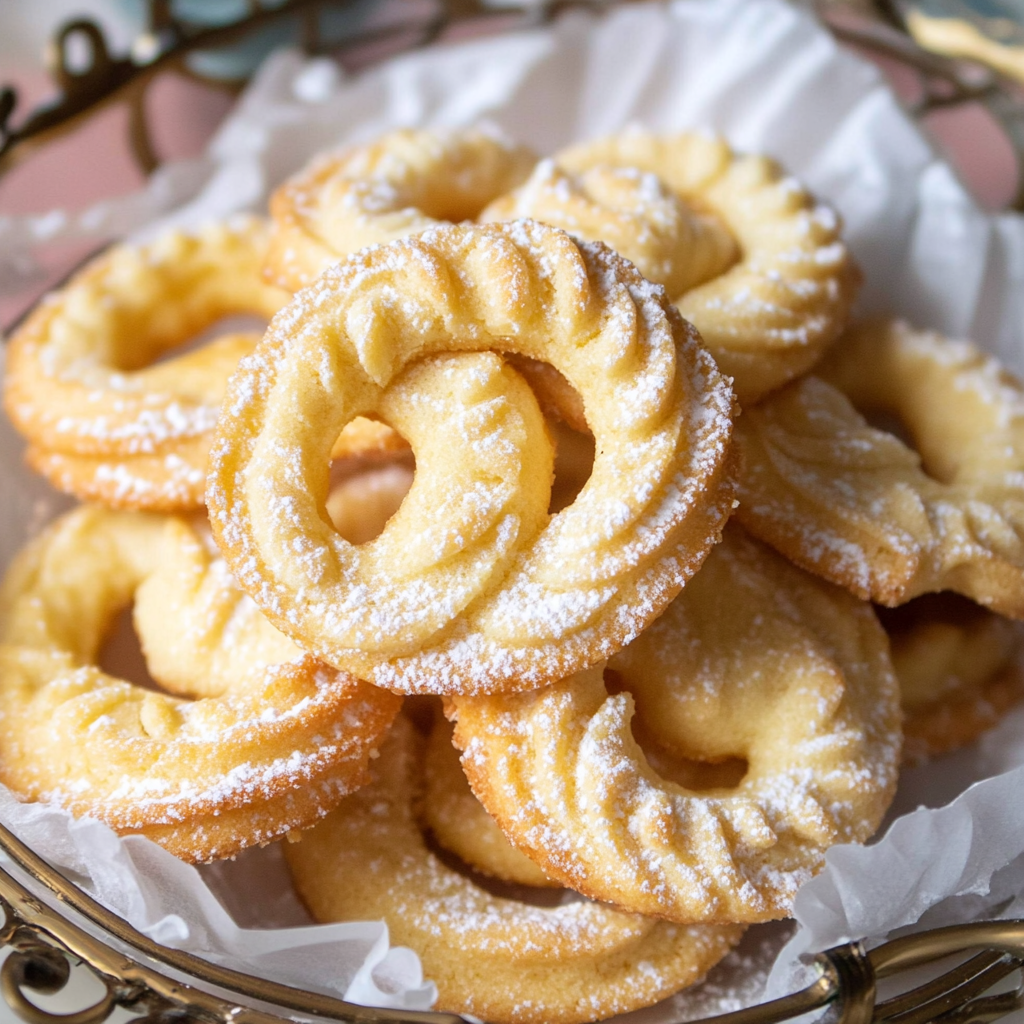
Danish Butter Cookies
If you’re looking for a treat that’s as delightful to make as it is to eat, you’ve come to the right place! My Danish Butter Cookies are light, crisp, and absolutely melt in your mouth. This recipe holds a special place in my heart because it brings back memories of cozy afternoons spent baking with loved ones. Whether you’re preparing for a family gathering, an afternoon tea, or just wanting a sweet snack at home, these cookies are perfect for any occasion!
What I love most about these Danish Butter Cookies is their simplicity. With just four basic ingredients, you can whip up a batch in no time. Plus, they’re great for sharing with friends or enjoying all to yourself — no judgment here!
Why You’ll Love This Recipe
- Quick and Easy: With only four ingredients and minimal prep time, you can have fresh cookies ready in under an hour.
- Family-Friendly: These cookies are loved by kids and adults alike. They’re the perfect treat to get everyone involved in the kitchen!
- Make Ahead: You can prepare the dough in advance and bake them when you’re ready for a sweet snack.
- Deliciously Versatile: Feel free to add your favorite flavors or toppings to personalize each batch.
Ingredients You’ll Need
Creating these scrumptious Danish Butter Cookies requires simple, wholesome ingredients that you likely already have in your pantry. Let’s gather what you’ll need:
- ½ cup butter (at room temperature)
- ½ cup powdered sugar
- 1 teaspoon vanilla extract
- 1 cup cake flour OR all-purpose flour (See note 1)
Variations
One of the best things about this recipe is how flexible it is! Feel free to experiment and make these cookies your own with these fun ideas:
- Add Citrus Zest: Enhance the flavor by adding a teaspoon of lemon or orange zest for a bright twist.
- Include Nuts: Chopped almonds or hazelnuts mixed into the dough add delicious crunch and nutty flavor.
- Chocolate Drizzle: Melt some dairy-free chocolate and drizzle over the baked cookies for an extra indulgent treat.
- Sprinkle with Cinnamon: A dash of ground cinnamon adds warmth and spice that pairs beautifully with butter.
How to Make Danish Butter Cookies
Step 1: Soften the Butter
Start by getting your butter out of the refrigerator at least an hour before baking. It should be soft to the touch but not melted. This step is crucial because soft butter helps create that light, fluffy texture we want in our cookies.
Step 2: Creaming Time
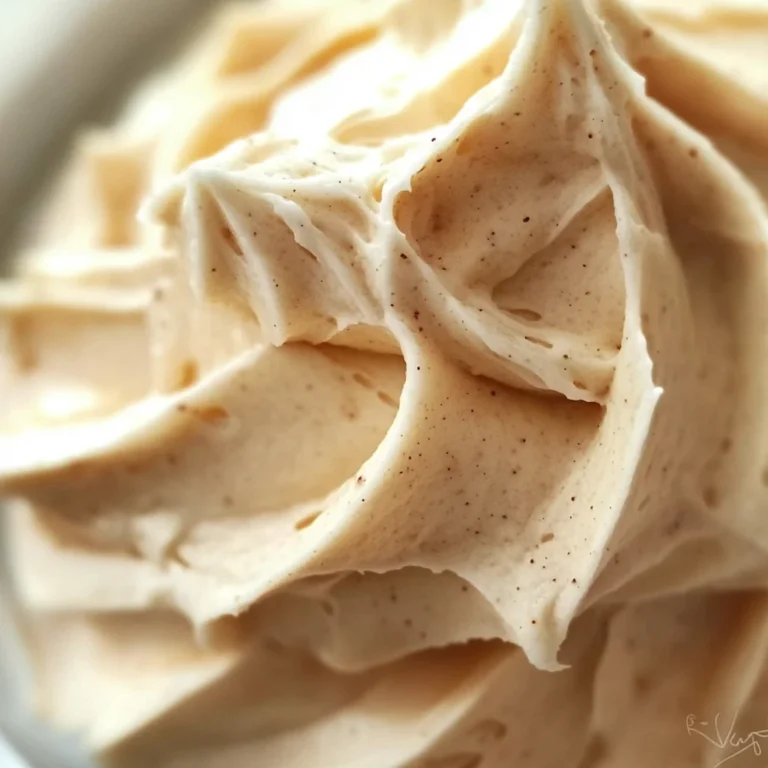
Next, cream together the softened butter, powdered sugar, and vanilla extract. Use a handheld or stand mixer for about 5 to 8 minutes until it’s light in color and fluffy. This process combines air into the mixture, making your cookies airy and tender — trust me, it’s worth the wait!
Step 3: Add Flour Gently
Now it’s time to incorporate the flour. Using a spatula, scrape down any dough from the sides of the bowl. Sift in about one-third of your flour, folding it gently into the creamed mixture until fully combined. Repeat until all flour is added. This gentle folding prevents overmixing, which keeps our cookies tender.
Step 4: Pipe Your Dough
Transfer your dough onto a sheet of plastic wrap and roll it into a log shape. Cut a hole in one end of the wrap and place it into a piping bag fitted with a flower-tipped nozzle. This will help us create those beautiful shapes that make these cookies so appealing!
Step 5: Pipe onto Baking Sheet
Pipe the dough onto a baking sheet lined with either silicone mat or parchment paper using a 1M open star piping tip. If you find that your dough is too stiff to pipe easily, add just a tablespoon of warm milk — this little trick will soften it up nicely!
Step 6: Chill Before Baking
Place your piped cookie shapes into the refrigerator for about 30 minutes. Chilling helps firm up the dough so that they keep their lovely piped shapes while baking.
Step 7: Bake ‘Em Up!
Sprinkle some granulated sugar over the top if you choose (it adds a lovely crunch). Bake them in a preheated oven at 300°F (150°C) for about 15 minutes or until they start turning golden around the edges.
Step 8: Cool Down
Once baked, remove them from the oven but let them cool on the baking sheet for about 10 minutes before transferring them elsewhere. This allows them to set perfectly!
And there you have it — delightful Danish Butter Cookies ready to enjoy! Whether you savor them with tea or share them with friends, I’m sure they’ll become as beloved in your home as they are in mine!
Pro Tips for Making Danish Butter Cookies
Baking these delightful cookies can be a breeze if you keep a few handy tips in mind. Here are some tricks to ensure your Danish Butter Cookies turn out perfectly every time!
- Use room temperature butter – Softened butter is key for achieving that light and fluffy texture. Cold butter won’t incorporate air properly, leading to denser cookies.
- Sift your flour – This helps remove any lumps and incorporates air into the flour, resulting in a lighter texture for your cookies. It’s a small step that makes a big difference!
- Chill the piped dough – Allowing the cookies to chill before baking prevents them from spreading too much. This ensures they maintain their beautiful shape and crisp edges.
- Experiment with flavors – While vanilla is classic, consider adding lemon zest or almond extract for a unique twist on the traditional flavor profile of these cookies.
- Keep an eye on baking time – Every oven is different! Start checking your cookies a couple of minutes before the suggested bake time to avoid over-baking and ensure they stay tender and melt-in-your-mouth delicious.
How to Serve Danish Butter Cookies
These buttery delights are perfect for sharing with friends and family or enjoying during a cozy afternoon tea. Here are some ideas for presenting them beautifully!
Garnishes
- Powdered sugar dusting – A light sprinkle of powdered sugar adds an elegant touch and enhances the sweetness without overwhelming the cookie’s flavor.
- Chocolate drizzle – A simple drizzle of melted dairy-free chocolate can elevate these cookies to an indulgent treat that chocolate lovers will adore.
Side Dishes
- Herbal tea – Pair these cookies with a fragrant cup of herbal tea, like chamomile or peppermint, which complements their buttery richness.
- Fresh fruit platter – Serve with a selection of fresh fruits such as berries or sliced apples for a refreshing contrast to the sweetness.
- Coffee or espresso – The robust flavors of coffee or espresso balance beautifully with the lightness of the cookies, making it an ideal pairing for coffee lovers.
- Non-dairy milkshake – A creamy milkshake made with non-dairy milk can be a delightful accompaniment, offering a sweet, chilled contrast to the warm cookies.
Enjoy making and serving these delightful Danish Butter Cookies! Whether it’s for a special occasion or just because, they’re sure to bring smiles all around.
Make Ahead and Storage
These delightful Danish Butter Cookies are perfect for meal prep! You can easily whip up a batch ahead of time and keep them fresh for whenever you’re in the mood for a sweet treat.
Storing Leftovers
- Place cooled cookies in an airtight container to maintain freshness.
- Keep them at room temperature for up to one week.
- For longer storage, consider refrigeration.
Freezing
- To freeze, layer the cookies between sheets of parchment paper in an airtight container.
- They can be frozen for up to 3 months.
- Allow cookies to thaw at room temperature before enjoying.
Reheating
- If you prefer warm cookies, place them in a preheated oven at 300°F (150°C) for about 5 minutes.
- Be careful not to overheat, as this can make them too crisp.
FAQs
Here are some common questions about making Danish Butter Cookies!
What makes Danish Butter Cookies different from regular cookies?
Danish Butter Cookies are known for their rich, buttery flavor and delicate texture. Unlike many regular cookies that can be chewy or cake-like, these are crisp and melt-in-your-mouth delicious!
Can I use alternatives to butter in Danish Butter Cookies?
While butter is key for that classic flavor, you can substitute with vegan butter or margarine if you’re looking for a dairy-free option. Just remember that it may slightly change the texture.
How should I store my Danish Butter Cookies?
To keep your Danish Butter Cookies fresh, store them in an airtight container at room temperature. They’ll stay delicious for up to a week!
Can I make Danish Butter Cookies without cake flour?
Yes! All-purpose flour works wonderfully as a substitute. Just sift it well before adding it to the mixture for the best results.
Final Thoughts
I hope you find joy in creating these delightful Danish Butter Cookies! Their light and buttery goodness makes them a special treat for any occasion or simply to enjoy with your favorite cup of tea. Remember, baking is all about having fun and experimenting. Enjoy making these cookies and don’t hesitate to share your experience! Happy baking!
Danish Butter Cookies
Indulge in the delightful world of homemade Danish Butter Cookies, a classic treat that’s both simple to prepare and utterly delicious. With just four key ingredients, these light and crisp cookies are perfect for any occasion—whether you’re hosting an afternoon tea or simply want to satisfy your sweet tooth. The melt-in-your-mouth texture and rich buttery flavor make them a favorite among kids and adults alike. Plus, with endless possibilities for customization, you can easily add your favorite flavors or toppings to make each batch unique. Gather your loved ones and embark on a baking adventure that will fill your home with warmth and sweetness!
- Prep Time: 20 minutes
- Cook Time: 15 minutes
- Total Time: 35 minutes
- Yield: Approximately 24 cookies 1x
- Category: Dessert
- Method: Baking
- Cuisine: Scandinavian
Ingredients
- ½ cup butter (at room temperature)
- ½ cup powdered sugar
- 1 teaspoon vanilla extract
- 1 cup cake flour or all-purpose flour
Instructions
- Soften the butter by allowing it to sit at room temperature for at least one hour.
- Cream together the softened butter, powdered sugar, and vanilla extract until light and fluffy.
- Gradually fold in the flour until fully incorporated without overmixing.
- Transfer the dough into a piping bag fitted with a star tip to create beautiful shapes.
- Pipe onto a baking sheet lined with parchment paper and chill for 30 minutes.
- Preheat oven to 300°F (150°C) and bake for about 15 minutes until golden around the edges.
- Cool on the baking sheet for 10 minutes before transferring to wire racks.
Nutrition
- Serving Size: 1 serving
- Calories: 80
- Sugar: 4g
- Sodium: 15mg
- Fat: 5g
- Saturated Fat: 3g
- Unsaturated Fat: 2g
- Trans Fat: 0g
- Carbohydrates: 9g
- Fiber: 0g
- Protein: 1g
- Cholesterol: 15mg