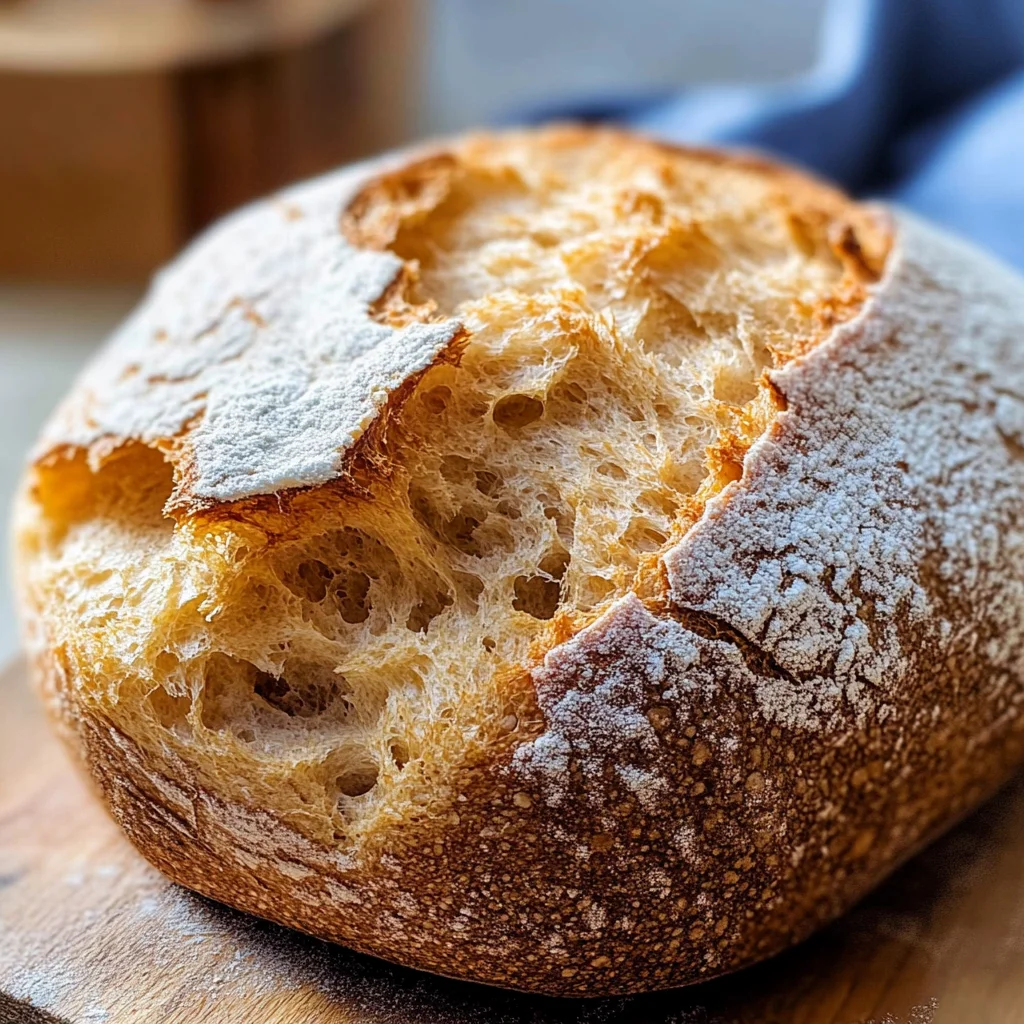
Dairy Free Bread
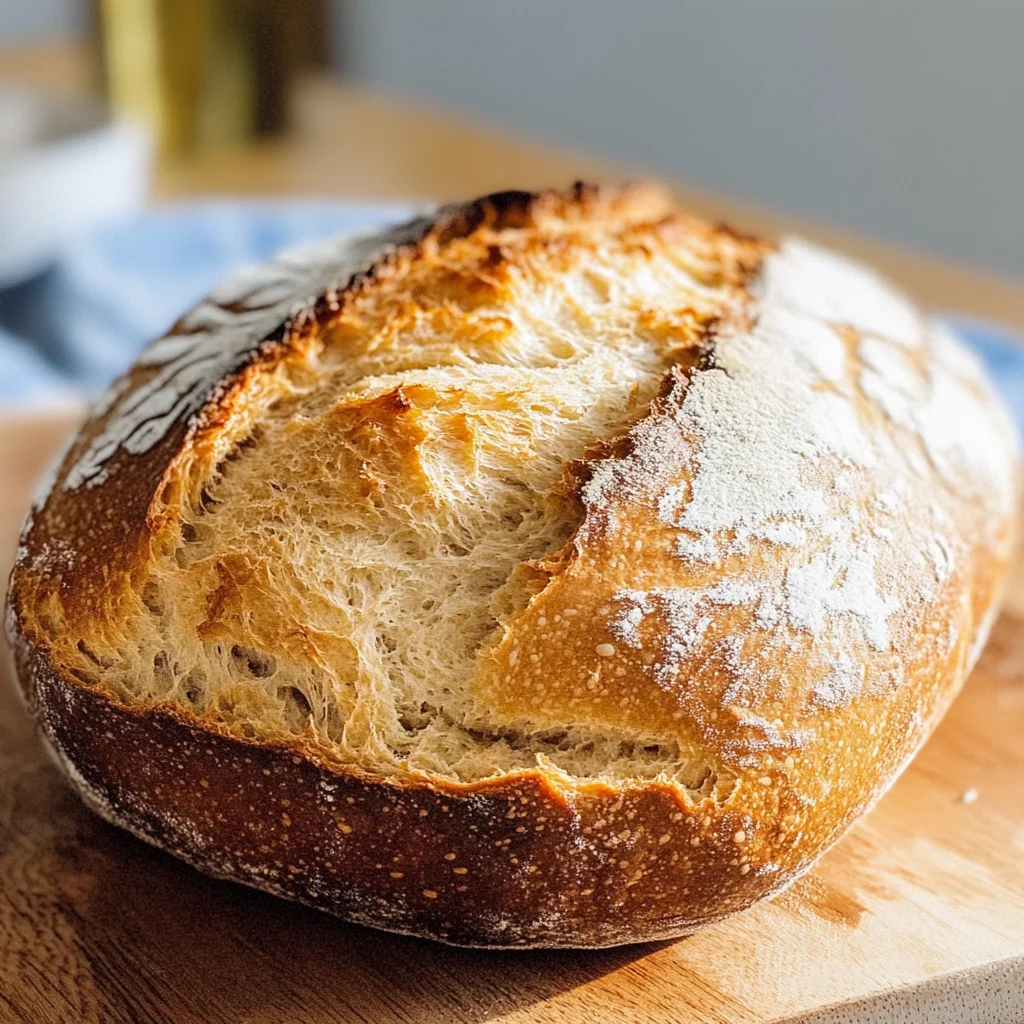
If you’re looking for a quick and delightful addition to your breakfast table, look no further! This Dairy Free Bread recipe is not only simple to whip up, but it also delivers on taste. Imagine pulling a warm, crusty loaf from the oven, ready to be sliced and enjoyed with your favorite spreads. It’s perfect for busy weeknights or family gatherings where everyone can share in the joy of freshly baked bread.
What makes this recipe so special is its ease of preparation—no yeast required! You’ll have a fluffy loaf that everyone will love in just 35 minutes. Whether you’re serving it with soup, making sandwiches, or enjoying it toasted for breakfast, this dairy free bread fits right in any occasion.
Why You’ll Love This Recipe
- Quick and Easy: With only 10 minutes of prep time, you can have fresh bread on your table without the fuss.
- Family-Friendly: Kids love this soft and fluffy bread, making it a hit for family meals or snacks.
- Versatile Use: Perfect for sandwiches, toast, or a side with your favorite soup!
- Wholesome Ingredients: Made with simple pantry staples—no preservatives here!
Ingredients You’ll Need
Let’s gather our ingredients! This recipe uses simple and wholesome items that you probably already have at home. You’ll be amazed at how easy it is to create delicious dairy free bread.
Ingredients:
– 1 cup milk of choice (I used oat milk)
– 2 tablespoons white vinegar
– 2 cups all-purpose flour (Use gluten-free if needed)
– 1/2 teaspoon baking soda
– 1/2 teaspoon salt
– 1 tablespoon sugar
Variations
One of the best things about this dairy free bread recipe is its flexibility! Feel free to get creative and adjust the flavors to suit your taste.
- Add Herbs: Toss in some dried herbs like rosemary or thyme for an aromatic twist.
- Incorporate Seeds: Sprinkle chia seeds or sesame seeds into the dough for added texture and nutrients.
- Make It Sweet: Add a touch of cinnamon or nutmeg for a sweet breakfast treat that pairs wonderfully with jam.
- Go Whole Grain: Substitute half of the all-purpose flour with whole wheat flour for a heartier loaf.
How to Make Dairy Free Bread
Step 1: Preheat Your Oven
Start by preheating your oven to 200C/400F. This ensures that your bread bakes evenly and develops that beautiful golden crust we all love.
Step 2: Prepare the Buttermilk Substitute
In a small bowl, combine your milk of choice with the white vinegar. Let this mixture sit for about 10 minutes until it curdles slightly. This step is key as it mimics buttermilk, adding flavor and moisture to the bread.
Step 3: Mix Dry Ingredients
In a large mixing bowl, whisk together the flour, salt, sugar, and baking soda. Mixing these dry ingredients well ensures even distribution of flavors throughout the loaf.
Step 4: Combine Wet and Dry Ingredients
Gradually add your curdled milk into the dry mixture in two increments while gently stirring. Be careful not to overmix; we want just combined dough that remains slightly sticky.
Step 5: Knead the Dough
Lightly flour your kitchen surface and transfer the dough onto it. Sprinkle a tablespoon of flour on top and knead gently about 8-10 times just until it comes together. Forming a dome shape helps the bread rise nicely during baking.
Step 6: Shape & Bake
Using a sharp knife, make two shallow cuts across the top of your dough in a cross shape—this allows steam to escape while baking. Place your shaped dough onto a lined baking tray and pop it into the oven! Bake for 20-25 minutes until golden brown on top and sounding hollow when tapped from below.
Step 7: Cool & Enjoy
Once baked, remove from the oven and let your dairy free bread cool completely on the tray before slicing. This cooling period helps maintain its structure. Now it’s time to slice it up and enjoy—try it toasted with some avocado or jam for a delightful treat!
Now you have everything you need to make this wonderful dairy free bread at home! Enjoy every comforting bite!
Pro Tips for Making Dairy Free Bread
Making bread can be a delightful experience, and with these pro tips, you’ll create a loaf that’s not only delicious but also perfectly textured!
- Use the right milk: Opt for oat milk or almond milk, as they provide a rich flavor and help achieve that fluffy texture. Avoid sweetened versions to keep your bread neutral in taste.
- Don’t skip the vinegar: The vinegar helps to curdle the milk, giving your dough a lovely tang and aiding in the rising process without yeast. This is key for achieving a nice crumb.
- Knead gently: When kneading, aim for a light touch. Over-kneading can lead to tougher bread. You want just enough action to bring it together while keeping it soft and airy.
- Monitor baking time closely: Ovens can vary greatly in temperature. Start checking your bread around the 20-minute mark to prevent over-baking and ensure you get that perfect golden crust.
- Cool before slicing: Allowing your bread to cool completely on the tray prevents it from becoming gummy when sliced. It’s tempting to dig in right away, but patience will reward you with better texture!
How to Serve Dairy Free Bread
This dairy-free bread is incredibly versatile and can be enjoyed in various ways. Whether for breakfast, lunch, or dinner, here are some delightful serving suggestions!
Garnishes
- Fresh herbs: Sprinkling some chopped parsley or chives on top adds a fresh burst of flavor that complements the bread beautifully.
- Olive oil drizzle: A light drizzle of high-quality olive oil just before serving can enhance its flavor profile and add a lovely sheen.
Side Dishes
- Avocado salad: Creamy mashed avocado mixed with lime juice and diced tomatoes makes for a refreshing side that pairs well with warm bread.
- Roasted vegetables: A mix of seasonal veggies roasted until caramelized provides a hearty complement to your bread’s fluffy texture.
- Soup: Pairing this bread with a bowl of comforting tomato or vegetable soup makes for an ideal cozy meal.
- Hummus platter: Serve with an assortment of hummus flavors and crunchy veggies for dipping; it’s a fantastic way to enjoy your bread as part of an appetizer spread!
Make Ahead and Storage
This dairy-free bread recipe is fantastic for meal prep! You can easily make a batch ahead of time, ensuring you always have fresh, crusty bread on hand to enjoy throughout the week.
Storing Leftovers
- Allow the bread to cool completely before storing.
- Wrap it tightly in plastic wrap or place it in an airtight container.
- Store at room temperature for up to 3 days.
Freezing
- Slice the bread before freezing for easy access.
- Place slices in a freezer-safe bag or container, separating them with parchment paper if desired.
- Freeze for up to 3 months; label with the date for reference.
Reheating
- For best results, toast slices directly from frozen until golden brown and heated through.
- Alternatively, reheat whole loaves in a 350°F (175°C) oven for about 10-15 minutes, wrapped in foil.
FAQs
Here are some common questions you might have about this recipe!
Can I use different types of milk in this dairy free bread?
Absolutely! This recipe is versatile, and you can use any plant-based milk such as almond milk, soy milk, or coconut milk. Just ensure that it’s unsweetened for the best flavor balance.
How can I make this dairy free bread gluten-free?
To make a gluten-free version of this dairy free bread, simply substitute all-purpose flour with a gluten-free all-purpose blend. Ensure your baking soda is also gluten-free.
What makes this dairy free bread different from traditional recipes?
This dairy free bread avoids using any animal-derived products and does not require yeast. Instead, it uses vinegar to curdle the milk, creating a light and fluffy texture that you’ll love!
How long does it take to prepare this dairy free bread?
From start to finish, this recipe takes about 35 minutes—perfect for quick meal prep or breakfast on busy mornings!
Final Thoughts
I hope you enjoy making this delightful dairy-free bread as much as I do! It’s perfect for sandwiches, toast, or just enjoying warm out of the oven. Remember that cooking is all about joy and creativity—don’t hesitate to experiment with flavors or add herbs! Happy baking!
Dairy Free Bread
If you’re searching for a delightful addition to your breakfast table, this Dairy Free Bread recipe is a perfect choice! Simple to prepare and incredibly tasty, this fluffy loaf comes out warm from the oven in just 35 minutes. Its crusty exterior and soft interior make it ideal for slathering with your favorite spreads or serving alongside soups and salads. Plus, without the need for yeast, you can whip it up quickly on busy weeknights or during family gatherings. Everyone will love enjoying the comforting aroma of freshly baked bread.
- Prep Time: 10 minutes
- Cook Time: 25 minutes
- Total Time: 35 minutes
- Yield: About 10 servings 1x
- Category: Breakfast
- Method: Baking
- Cuisine: Plant-Based
Ingredients
- 1 cup milk of choice (oat milk recommended)
- 2 tablespoons white vinegar
- 2 cups all-purpose flour (gluten-free if needed)
- 1/2 teaspoon baking soda
- 1/2 teaspoon salt
- 1 tablespoon sugar
Instructions
- Preheat your oven to 200C/400F.
- In a small bowl, combine milk and vinegar; let sit for 10 minutes until slightly curdled.
- In a large mixing bowl, whisk together flour, salt, sugar, and baking soda.
- Gradually add the curdled milk to dry ingredients while gently stirring until just combined.
- Lightly flour a surface, knead the dough gently for about 8-10 times, then shape into a dome.
- Make shallow cuts across the top of the dough and place it on a lined baking tray.
- Bake for 20-25 minutes until golden brown and hollow-sounding when tapped.
- Cool completely before slicing and enjoy!
Nutrition
- Serving Size: 1 slice (50g)
- Calories: 150
- Sugar: 1g
- Sodium: 120mg
- Fat: 2g
- Saturated Fat: 0g
- Unsaturated Fat: 1g
- Trans Fat: 0g
- Carbohydrates: 28g
- Fiber: 1g
- Protein: 4g
- Cholesterol: 0mg