Crusty Mini Baguettes: The Best Homemade Bakery Treat
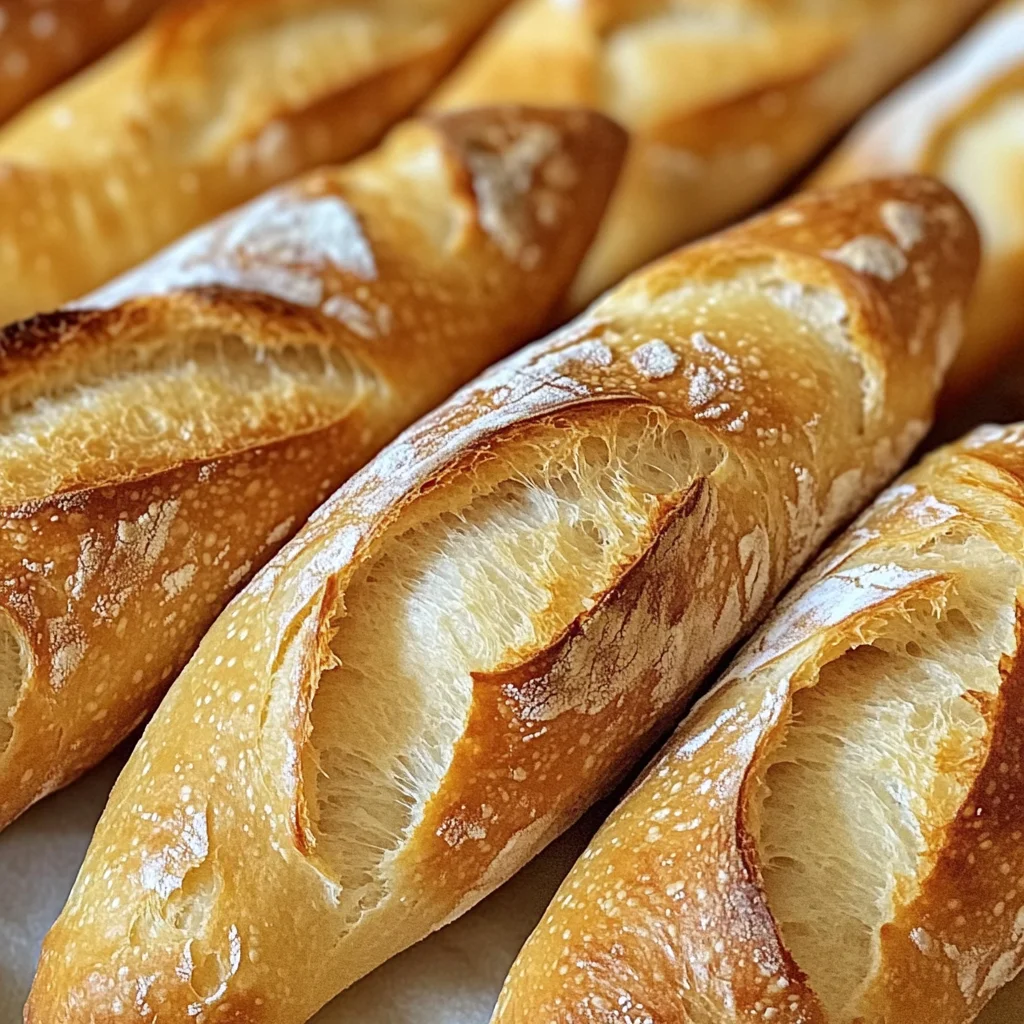
There’s something utterly magical about the aroma of freshly baked bread wafting through your home, isn’t there? It’s like a warm hug from the universe, inviting you to gather around, to share, and to savor. The recipe for Crusty Mini Baguettes: The Best Homemade Bakery Treat isn’t just about making bread; it’s about creating an experience that brings comfort and joy. Each bite is a testament to the simple elegance of flour, water, and love—a symphony of flavors that dances on your palate. I can still recall my first attempt at baking baguettes; the anticipation as they rose in the oven was palpable, and when I finally pulled them out, golden and crusty, my heart soared with pride. It was one of those moments that reminds you why cooking is more than just a task—it’s a way to connect with tradition while infusing a little bit of yourself into every loaf.
Now, let me tell you why these mini baguettes hold a special place in my heart. They’re not just perfect for dinner parties or special occasions; they are versatile companions that can elevate any meal—from a simple soup on a chilly evening to gourmet sandwiches for your next picnic. Their crusty exterior gives way to a soft, airy interior that practically begs for a spread of creamy butter or your favorite jam. And the best part? You don’t need to be an expert baker to create them! With a few key ingredients and some patience—trust me on this—you’ll achieve bakery-level results right in your own kitchen.
Crusty Mini Baguettes: The Best Homemade Bakery Treat: A Cozy Culinary Adventure
Let’s embark on this delightful journey together! Making homemade bread is incredibly rewarding and allows you to fill your kitchen with enchanting aromas while creating something truly extraordinary. Whether you’re experienced in baking or just starting out, these Crusty Mini Baguettes will make you feel like a pro!
Ingredients:
As we gather our ingredients for these irresistible Crusty Mini Baguettes, think of each one as an essential note in our culinary composition. They work harmoniously together to create the magic we crave!
- 3 cups All-purpose Flour. This is the backbone of your baguette! All-purpose flour provides the necessary structure while allowing for a light and fluffy interior. If you’re feeling adventurous and want that delightful chewiness reminiscent of traditional French baguettes, opt for bread flour instead—it has higher protein content which helps develop gluten more effectively. When measuring flour, don’t scoop straight from the bag; gently spoon it into your measuring cup and level off with a knife for accurate results.
- 1 teaspoon Salt. Salt is not just an enhancer of flavor; it plays multiple roles in our dough’s journey! It strengthens gluten structure and regulates yeast activity during fermentation—allowing our baguettes to rise beautifully without overproofing. I always recommend using fine sea salt because it dissolves easily and distributes evenly throughout the dough.
- 1 tablespoon Sugar. This little ingredient does wonders! Sugar feeds the yeast in our dough, helping it activate and rise properly while also adding just a hint of sweetness that balances the flavors beautifully. Don’t worry if you’re trying to cut back on sugar; this amount won’t make your baguette taste sweet but rather enhances its overall flavor profile.
- 2 teaspoons Active Dry Yeast. Yeast is what brings life to our baguette! Make sure it’s fresh; old yeast won’t foam up properly, leading to flat loaves. To check its viability, mix it with warm water (around 110°F/43°C) along with a pinch of sugar before adding it to the dough—if it foams within 5 minutes, it’s good to go!
- 1.25 cups Warm Water. This is crucial for activating our yeast—it needs warmth but not too hot! Water that’s too hot can kill yeast cells; remember, we’re aiming for that cozy temperature where yeast feels comfortable enough to do its job. Using filtered water can also make a difference since chlorine in tap water may inhibit yeast activity.
- 2 tablespoons Olive Oil. Olive oil adds richness and moisture to our dough—think of it as liquid gold! It also contributes to the lovely crust we all adore on baked goods. If you’re looking for an even deeper flavor profile, feel free to substitute melted butter here!
- 1 large Egg. This egg is used solely for an egg wash before baking—a non-negotiable step if you want that gorgeous golden-brown finish! Simply whisk it together with a splash of water or milk before brushing it onto your shaped baguettes for that professional touch.
Equipment You’ll Need:
Before we dive into making these delightful mini baguettes, let’s ensure we have all our tools ready! Having the right equipment makes baking much smoother and enjoyable—like having trusted friends by your side in this culinary adventure.
- Mixing Bowl – A large mixing bowl is essential as we’ll be combining our ingredients here. Look for one that’s sturdy enough to withstand some vigorous mixing yet easy enough to handle as we knead our dough.
- Measuring Cups & Spoons – Accurate measurements are vital when baking! Invest in quality measuring cups and spoons so you can measure out your flour precisely without any guesswork.
- Wooden Spoon or Dough Scraper – While you’re welcome to use your hands (and I often do!), having a sturdy wooden spoon helps combine everything initially without getting too messy. A dough scraper comes in handy later when transferring sticky dough from surface to bowl or cutting portions for shaping!
- Baking Sheet or Stone – To achieve that perfect crustiness on our mini baguettes, using either a baking sheet lined with parchment paper or a preheated baking stone will serve us well during baking time!
Now that we’re equipped with knowledge about our ingredients and tools let’s get down to business—it’s time to prepare these Crusty Mini Baguettes: The Best Homemade Bakery Treat!
Step 1: Activate Your Yeast
Start by pouring warm water into your mixing bowl—a gentle swirl will help distribute heat evenly as we add sugar followed by active dry yeast. Allow this mixture to sit undisturbed for about five minutes until frothy bubbles appear at the surface—it’s like watching magic unfold right before your eyes! Activating yeast properly ensures it’s alive and ready; skipping this step could lead us down an unfortunate path of flat bread—definitely not what we’re aiming for here!
Step 2: Combine Your Dry Ingredients
While waiting for those bubbles of excitement from our yeast mixture, let’s take this moment to blend our dry ingredients together in another bowl: flour and salt will come together beautifully here! Stir them gently until well combined—the salt needs time spent mingling with flour before we add any wet components so they can work their flavorful magic throughout every bite.
Step 3: Forming Our Dough
Once activated yeast looks bubbly and alive (trust me—you’ll know!), it’s time; pour it into those dry ingredients along with olive oil (or melted butter!). Use either hands or wooden spoon (your choice!) now as we mix vigorously until no dry flour remains visible—it should come together into one cohesive mass but don’t worry if it’s slightly sticky—that’s normal at this stage!
Step 4: Kneading Like You Mean It
Turn out this beautiful mixture onto lightly floured surface where we’ll begin kneading—the heart-and-soul exercise behind great bread-making! Knead vigorously but lovingly using palms until smooth elastic texture forms; this usually takes around 8–10 minutes (don’t rush through)! You’ll know when you’ve reached optimal development because it’ll bounce back quickly when poked lightly—a sign telling you gluten strands are working perfectly together.
Stay tuned—we’re just getting started on crafting these magnificent Crusty Mini Baguettes! Trust me when I say every step brings us closer toward achieving those mouthwatering results worth celebrating together!
Step 5: Mixing the Dough – The Heart of Your Baguettes
Now that your yeast is bubbling and frothy, it’s time to combine all the elements into a beautiful dough that will become your Crusty Mini Baguettes. In a large mixing bowl or a stand mixer fitted with a dough hook, you’ll want to add your 3 cups of all-purpose flour – or bread flour if you’re after that delightful chewiness. This choice is crucial because bread flour has a higher protein content, which contributes to that glorious structure we all adore in baguettes. Next, sprinkle in the teaspoon of salt and the tablespoon of sugar. The salt enhances the flavor while regulating yeast activity, ensuring a balanced rise. Sugar, on the other hand, feeds the yeast and adds just a hint of sweetness.
Begin mixing gently, incorporating your warm water – ideally around 110°F (43°C) to coax the yeast into action – and then drizzle in those two tablespoons of olive oil. I love using olive oil here for its rich flavor, but if you prefer melted butter for an even more indulgent touch, go right ahead! As you mix, watch for those lovely clumps forming; this is where the magic happens. If you’re using a stand mixer, allow it to knead on medium speed for about 5-7 minutes until the dough pulls away from the sides of the bowl and becomes smooth and elastic. If you’re kneading by hand, I promise you’ll appreciate every minute as your dough transforms from shaggy to silky under your hands—this tactile experience is incredibly satisfying!
Step 6: First Rise – Patience is Key
Once your dough reaches that perfect silky texture, it’s time for its first rise—a step that’s absolutely paramount in developing flavor and texture. Lightly coat another bowl with olive oil to prevent sticking and place your kneaded dough inside. Cover it with a clean kitchen towel or cling film; this keeps the warmth in while preventing any crust from forming on top of your dough. Now comes the waiting game! Let it rise in a warm spot free from drafts for about an hour or until it has doubled in size. I always find myself peeking at my dough during this time; watching it puff up like a fluffy cloud never gets old!
Why is this rising period so important? During this time, fermentation occurs as the yeast consumes sugar and releases carbon dioxide gas—this process not only creates air pockets but also enhances flavor through complex biochemical reactions. It’s like giving your baguettes a little spa day! When your dough has doubled in size (you’ll know because it looks voluminous and pillowy), gently poke it; if the indentation remains, it’s ready for shaping! But remember: don’t rush this step; good things take time.
Step 7: Shaping Your Mini Baguettes – Crafting Perfection
Now comes one of my favorite parts—shaping your baguettes! Once you’ve allowed that delicious dough to rise beautifully, turn it out onto a lightly floured surface. Gently press down on the dough to release some air without deflating it completely; think of this as giving it some love rather than punishment! Divide the dough into four equal portions using a sharp knife or bench scraper; each piece should weigh around 200 grams (or roughly 7 ounces).
Take one piece and gently flatten it into an oval shape—about 1 inch thick—and then fold over one long edge towards the center before folding over again to create tension on top (this technique is called “pre-shaping”). Then roll from one end to another to elongate it into a baguette shape—aiming for about 12 inches in length. This step is non-negotiable because creating surface tension helps form that gorgeous crust we’re aiming for when baking. Place each shaped baguette seam-side down on a parchment-lined baking sheet or baguette pan, allowing space between each loaf so they have room to grow during their second rise.
Step 8: Second Rise – Building Flavor
With your mini baguettes shaped and resting comfortably on their baking sheet, it’s time for yet another rise—yes, patience is indeed a virtue when making bread! Cover them loosely with plastic wrap or another kitchen towel and let them rest for another 30-45 minutes until they puff up slightly again. You might notice smaller bubbles forming along their surfaces; this is perfectly normal and indicates that fermentation continues!
This second rise is crucial because it allows for improved texture as well as flavor development—your baguettes become lighter and airier when baked due to these gas bubbles expanding further in heat. While they grow, preheat your oven to 450°F (230°C) so when you finally slide those beauties inside, they hit high temperatures immediately, resulting in that coveted crusty exterior we love so much! Keep an eye on them during this stage; if they don’t look puffy after about 40 minutes of rising time, don’t be afraid to give them additional time—trust me on this!
Step 9: Enjoying Your Masterpiece
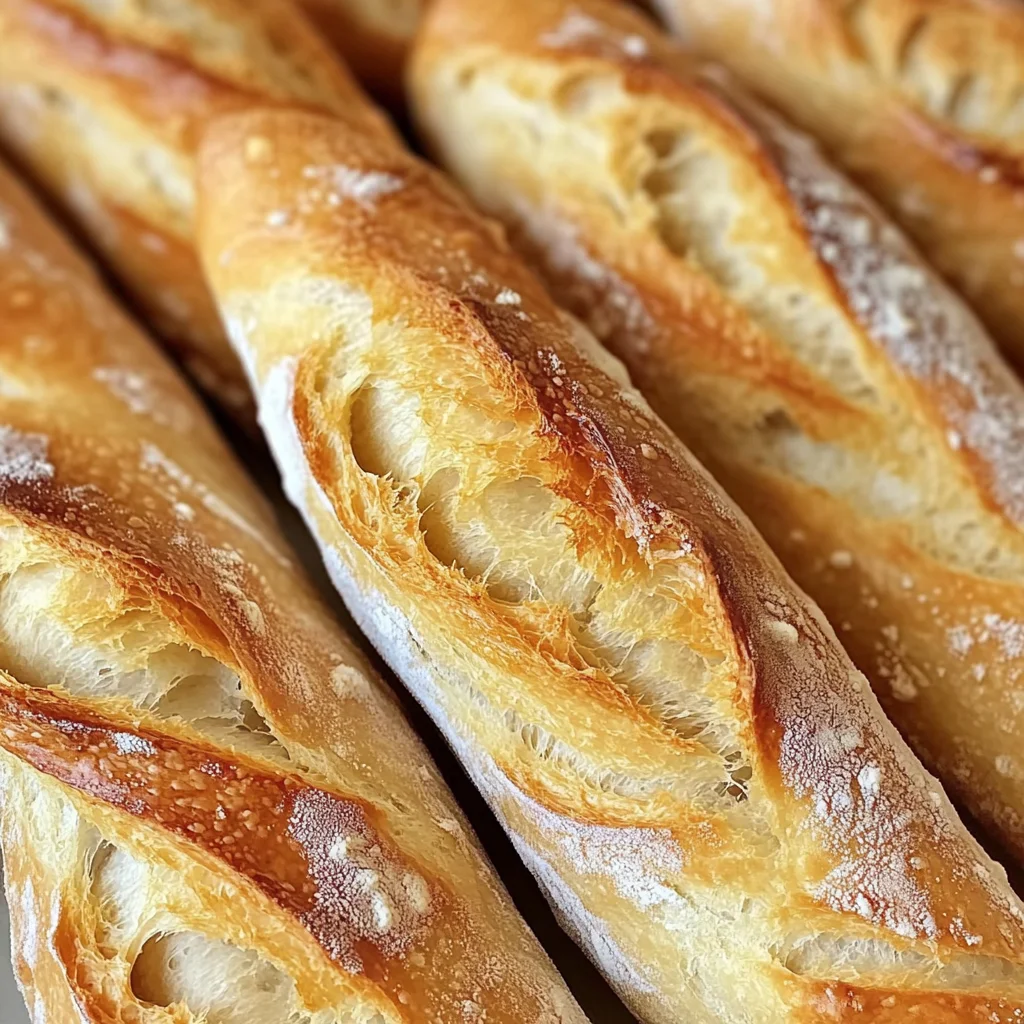
Finally comes what I believe might be one of the most rewarding moments—you’ve made Crusty Mini Baguettes: The Best Homemade Bakery Treats! Allow those beauties to cool just enough so you can handle them without burning yourself (around 10-15 minutes). As you slice into one still warm from its heavenly bake-off—and oh yes, do slice while it’s still warm—I promise you’ll hear that satisfying crunch followed by soft fluffiness inside.
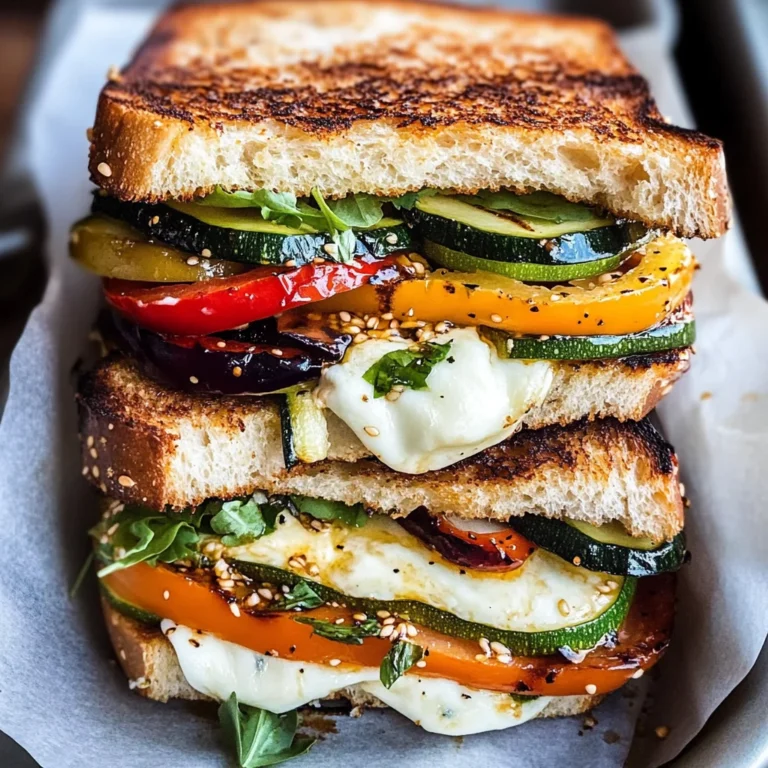
Serve these little wonders alongside soups or salads at dinner or enjoy them fresh with just a smear of good-quality butter or olive oil—it truly doesn’t get any better than dipping crusty bread into fragrant olive oil seasoned with herbs! And don’t forget—they make fantastic sandwich bases too; imagine roasted vegetables nestled between slices… divine!
So there you have it—a labor of love turned into delicious reality right from your own kitchen! There’s nothing quite like sharing homemade bread with friends and family—each bite holds stories worth telling over candlelit dinners or sunny picnics alike. So roll up those sleeves again soon because once you’ve tasted these crusty mini baguettes fresh out of your oven—you’ll find yourself craving every excuse possible to bake more! Happy baking!
Storage and Enjoyment Tips for Your Crusty Mini Baguettes: The Best Homemade Bakery Treat
Now that we’ve journeyed through the delightful process of baking our very own Crusty Mini Baguettes, it’s time to bask in the warm aroma wafting through your kitchen and savor the first bite of this bakery-quality treat. I can already picture you pulling a fresh baguette from the oven, its golden crust crackling as you break it apart. But what happens when you have a few leftover? Fear not, my dear friend! I’m here to share some invaluable tips on how to store these beauties so they remain just as enchanting for days to come.
Storing Leftover Crusty Mini Baguettes: The Best Homemade Bakery Treat
To keep your Crusty Mini Baguettes at their best, opt for a breathable container—think a paper bag or a bread box—to allow just the right amount of air circulation while preventing them from drying out. If you’re feeling particularly ambitious, wrapping them lightly in a clean kitchen towel before placing them in the bag can add an extra layer of protection against staleness. Ideally, you’ll want to enjoy these baguettes within two to three days; however, if stored correctly, they can stay fresh for up to a week! Pro tip: if you find yourself with extra baguettes after a gathering—though I doubt that will happen—slice them before storing; this way, you can take out only what you need without compromising the rest. After storage, you’ll still experience that delightful crunch on the outside and soft chewiness on the inside—trust me on this! To reheat, simply pop them in a preheated oven at 350°F (175°C) for about 5-7 minutes. You’ll be amazed at how quickly they come back to life!
Freezing Crusty Mini Baguettes for Later
If you anticipate needing your delicious baguettes even further down the line, freezing is an excellent option! Just make sure they are completely cool before wrapping each one tightly in plastic wrap or aluminum foil. For added protection against freezer burn, place them into an airtight freezer bag or an airtight container. They can stay frozen for up to three months without losing their irresistible charm! When you’re ready to enjoy one again, take it straight from the freezer and let it thaw at room temperature while preheating your oven. Once thawed, follow the reheating instructions mentioned earlier for that freshly-baked taste and texture! Freezing is such a convenient way to always have warm, crusty goodness at your fingertips—a little taste of joy whenever you need it!
Crusty Mini Baguettes: The Best Homemade Bakery Treat

There’s nothing quite like the comforting aroma of freshly baked bread filling your kitchen. With this easy recipe for Crusty Mini Baguettes, you can create bakery-quality loaves right at home. These delightful baguettes feature a crispy crust and a soft, airy interior, making them perfect for any meal—from soups to gourmet sandwiches. Even if you’re new to baking, this straightforward recipe will guide you step-by-step toward achieving delicious results. So roll up your sleeves and prepare to enjoy the simple pleasure of homemade bread!
- Prep Time: 20 minutes
- Cook Time: 20 minutes
- Total Time: 40 minutes
- Yield: Makes 4 mini baguettes 1x
- Category: Dinner
- Method: Baking
- Cuisine: French
Ingredients
- 3 cups all-purpose flour (or bread flour)
- 1 teaspoon salt
- 1 tablespoon sugar
- 2 teaspoons active dry yeast
- 1.25 cups warm water (110°F/43°C)
- 2 tablespoons olive oil
- 1 large egg (for egg wash)
Instructions
- 1. Activate Yeast: In a mixing bowl, combine warm water and sugar; sprinkle in active dry yeast. Let it sit for about 5 minutes until frothy.
- 2. Mix Dry Ingredients: In a separate bowl, combine flour and salt.
- 3. Form Dough: Add the yeast mixture and olive oil to the dry ingredients; mix until combined.
- 4. Knead Dough: Transfer to a floured surface and knead for about 8–10 minutes until smooth and elastic.
- 5. First Rise: Place the dough in a lightly oiled bowl, cover, and let rise in a warm place for about an hour or until doubled in size.
- 6. Shape Baguettes: Divide dough into four portions; shape each into a baguette and place on a parchment-lined baking sheet.
- 7. Second Rise: Cover shaped baguettes and let them rise for another 30–45 minutes.
- 8. Bake: Preheat oven to 450°F (230°C). Brush baguettes with egg wash and score the tops with a sharp knife. Bake for 18–20 minutes or until golden brown.
Nutrition
- Serving Size: 1 mini baguette (75g)
- Calories: 200
- Sugar: 1g
- Sodium: 180mg
- Fat: 5g
- Saturated Fat: 0.5g
- Unsaturated Fat: 4g
- Trans Fat: 0g
- Carbohydrates: 35g
- Fiber: 2g
- Protein: 6g
- Cholesterol: 25mg