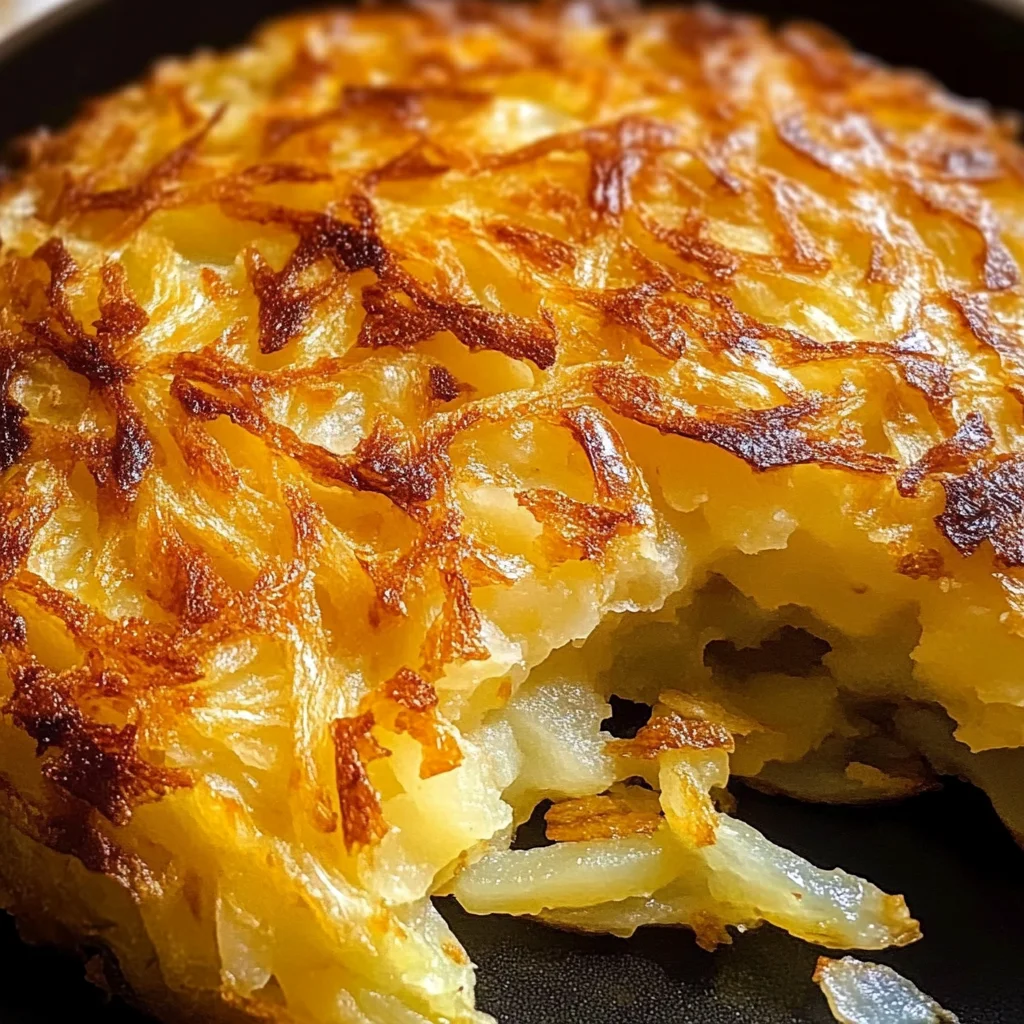
Crispy Potato Rosti
There’s something truly magical about the humble potato, isn’t there? Just think about it: this simple tuber has the power to transform a meal into an experience, with each bite whispering tales of comfort and warmth. When I think of crispy Potato Rosti, I can almost hear the sizzle of the potatoes hitting the hot pan, sending a fragrant aroma wafting through the kitchen that beckons everyone to gather around. It’s more than just food; it’s a symphony of flavors and textures—a golden, crispy exterior that gives way to an irresistibly fluffy inside. The moment you take your first bite, it’s not just a taste; it’s a revelation—a connection to tradition and innovation beautifully intertwined. This recipe for Crispy Potato Rosti is not merely a dish; it’s an embrace from my kitchen to yours.
As we dive into making these delightful Swiss-style potato pancakes, let me share with you some insights that will elevate your cooking game. The secret lies in the preparation method and choice of ingredients. Yes, there are tips and techniques that can make all the difference between a good rosti and an utterly extraordinary one! You see, in Switzerland, where rosti originated as a breakfast staple for farmers, they discovered that using clarified butter (or ghee) creates that perfect balance of flavor and crispiness—something regular butter simply cannot achieve alone. Believe me when I say this makes all the difference! Together, we’ll explore how to get your rostis perfectly golden and crispy, whether you choose to make one giant version or several smaller ones—either way, you’re in for a treat!
Crispy Potato Rosti: A Golden Delight That Stirs the Soul
Let’s embark on this culinary journey together! If you’re anything like me, just hearing crispy potato rosti might already get your heart racing with excitement. These delightful little wonders are perfect as a side dish or even as a main event at brunch gatherings or cozy family dinners. Their versatility allows them to shine alongside anything from poached eggs to sautéed greens or even just on their own with a dollop of sour cream or applesauce. Trust me; once you’ve made them yourself, they’ll become a cherished staple in your kitchen repertoire!
Ingredients:
As we gather our ingredients for this Crispy Potato Rosti masterpiece, let’s take a moment to appreciate each component. Every ingredient plays its role in crafting something truly special.
- 1kg/2 lb potatoes (skin on weight): The star of our show! For this recipe, I recommend using varieties like Yukon Gold or Russet if you’re in the U.S., while Maris Piper or King Edwards work wonderfully if you’re across the pond in the UK. These potatoes have high starch content which results in that fluffy interior we adore while maintaining their shape during cooking. Make sure to scrub them clean but leave the skins on; they add a lovely earthiness and texture.
- 3/4 tsp salt: Salt is not just about seasoning; it’s about enhancing flavors! Using kosher salt here is ideal because its flaky texture allows for even distribution throughout our potatoes without overwhelming them. It draws out moisture from the potatoes while cooking, helping achieve that coveted crispiness.
- 1/2 tsp finely ground black pepper: This little gem adds depth and warmth to our dish. Freshly ground black pepper elevates everything with its aromatic qualities—don’t skimp on this! It complements the natural sweetness of the potatoes perfectly.
- 15g/1 tbsp clarified butter/ghee or normal butter (melted): Clarified butter is where we find our magic! It has higher smoke points than regular butter due to removing milk solids, allowing us to achieve that golden crunch without burning. If you’re feeling adventurous (and I know you are!), making your own ghee is simple and incredibly rewarding—it adds an utterly intoxicating nutty flavor!
- 60g/4 tbsp clarified butter/ghee (separated): This is crucial for frying our rosti effectively! We need enough fat so they fry beautifully without sticking yet achieve that soft interior we crave. Feel free to mix half with vegetable oil if you want an extra layer of flavor while keeping things crispy.
Equipment You’ll Need:
Having the right tools makes all the difference in ensuring a smooth cooking experience! Think of them as essential partners in creating this wonderful dish.
- Large mixing bowl: A spacious bowl will give you room to mix all those grated potatoes thoroughly with seasonings without them flying everywhere—trust me; nobody wants potato shrapnel decorating their kitchen!
- Box grater or food processor: You could go old-school and grate by hand using a box grater—and yes, it’s therapeutic! However, if you’re pressed for time (or patience), using a food processor will speed things up significantly while still giving you those lovely shreds we need for perfect rostis.
- Non-stick frying pan: A non-stick skillet is key here because it helps prevent sticking during frying—nobody likes losing half their beautifully golden rosti to the pan!
- Spatula: A sturdy spatula aids in flipping our rostis gently without crumbling them apart—a vital tool in your arsenal!
Preparing the Crispy Potato Rosti
Step 1: Grate Those Potatoes
The first step is so simple yet essential—grab your box grater or food processor and start shredding those beautiful potatoes! Aim for long strands rather than tiny pieces; after all, we want some texture here! As you grate them into your large mixing bowl, don’t forget about those skins—they’re adding flavor and nutrients too! Once you’ve grated them all up, sprinkle on that kosher salt immediately; this helps draw out excess moisture which is paramount for achieving crispiness later on.
Step 2: Let Them Rest
Now comes one of my favorite parts—the waiting game! Allow those grated potatoes to sit for about 10 minutes after salting. Why chill? This resting period encourages moisture release; it’s crucial because excess water can lead to soggy rostis instead of crispy perfection! Use this time wisely—maybe pour yourself another cup of coffee or dance around your kitchen while imagining how delicious your creation will be!
Step 3: Drain Excess Liquid
After letting those beauties rest, you’ll notice some liquid pooling at the bottom of your bowl—that’s what we’ve been waiting for! Carefully drain off any excess liquid but be gentle—don’t rinse away all that lovely salt you’ve added earlier as it enhances flavor dramatically. You want shreds packed with flavor but not drowning wetness.
Step 4: Combine With Fat
Here’s where things get exciting! Add melted clarified butter (or ghee) into our drained potato mixture along with freshly cracked black pepper—you’ll want every strand coated evenly here so they fry beautifully together later on. Mix gently but thoroughly; trust me when I say this step is non-negotiable—it ensures every single bit gets that rich buttery flavor infused throughout!
Stay tuned as we continue crafting these delightful Crispy Potato Rostis together—they’re nearly ready for their hot date with destiny in that sizzling skillet!
Step 5: Grating the Potatoes – Unleashing Flavor and Texture
Now, let’s talk about grating those glorious potatoes! You’ll want to take your 1kg of skin-on potatoes and give them a good scrub under running water. Trust me, you don’t want any dirt sneaking into your beautiful rosti. Once they’re clean, grab your trusty box grater or food processor—both work wonders here. If you’re using a box grater, I recommend the large holes for that perfect combination of texture; it allows for both crispy edges and fluffy insides. Grate the potatoes directly into a bowl to catch all those lovely potato juices. This step is absolutely crucial because those precious juices contain starch, which helps bind everything together.
After grating, let’s sprinkle in that 3/4 teaspoon of salt and give the mixture a gentle toss with your hands. This isn’t just about seasoning; it’s about drawing out excess moisture from the potatoes. Allowing them to sit for about 10-15 minutes will help you achieve that delightful crispiness later on. What happens here is pure magic—the salt works its wonders by breaking down cell walls, releasing moisture and allowing those grated beauties to tighten up together when they hit the pan. You might notice some liquid pooling at the bottom of the bowl; this is normal! Just don’t forget to squeeze out that excess liquid before we move on.
Step 6: Prepping for Cooking – The Importance of Clarified Butter
Next up, let’s get our clarified butter or ghee ready! Remember that 60g (or 4 tablespoons) we set aside? It’s time to melt it down until it becomes beautifully liquid gold. If you’ve never used clarified butter before, you’re in for a treat! Unlike regular butter, which can burn easily due to its milk solids, clarified butter has been purified and has a higher smoke point—ideal for achieving that golden crust we all crave in our Crispy Potato Rosti.
Heat it gently in a small saucepan over low heat until just melted—about 2-3 minutes should do the trick. Pay close attention to avoid browning it; we want that pristine buttery flavor without any burnt bits interfering with our rosti experience. Once melted, allow it to cool slightly before incorporating it into our potato mixture along with that tablespoon of melted butter we prepared earlier. This combination not only enhances the flavor but also helps with binding our grated potatoes so they hold their shape during cooking.
Step 7: Combining Ingredients – The Heart of Rosti Magic
Now comes one of my favorite steps: combining everything together! Add your cooled clarified butter directly into the bowl with your grated potatoes and give it a good mix with your hands or a spatula until everything is beautifully coated. This is where magic begins—each shred of potato enveloped in luscious butter will crisp up delightfully when they meet the heat of our skillet later on. Sprinkle in that finely ground black pepper as well; it’s not just for taste but adds an aromatic depth that’s truly extraordinary.
But wait! Before jumping straight into cooking, here’s where patience pays off again: let this mixture rest for about 15 minutes at room temperature after mixing. This brief interlude allows the potatoes to further absorb that buttery goodness while allowing their natural starches to bond even more tightly—a non-negotiable step if you want those glorious crispy edges we’ve been dreaming about! The final result will be nothing short of heavenly!
Step 8: Cooking Your Rosti – The Art of Perfect Pan Frying
Alright, my dear friend, it’s time to bring this beauty to life on the stovetop! Grab a large non-stick skillet and place it over medium heat—this is where all the action happens. Add about 4 tablespoons of clarified butter (or ghee) to the pan and allow it to melt completely until bubbly but not smoking; this ensures an even cook while creating that delectable crust on our rosti.
Once your skillet is sizzling nicely, carefully add in your potato mixture—either as one giant rosti or divide it into smaller portions for individual servings (the tiny ones are super crispy!). Spread it out evenly using a spatula or simply press down gently with your hands—that’s right! We want them tightly packed so they hold their shape beautifully during cooking. Now here’s what you need to know: don’t rush this step! Lowering the heat at this point can result in soggy potatoes instead of crispy perfection.
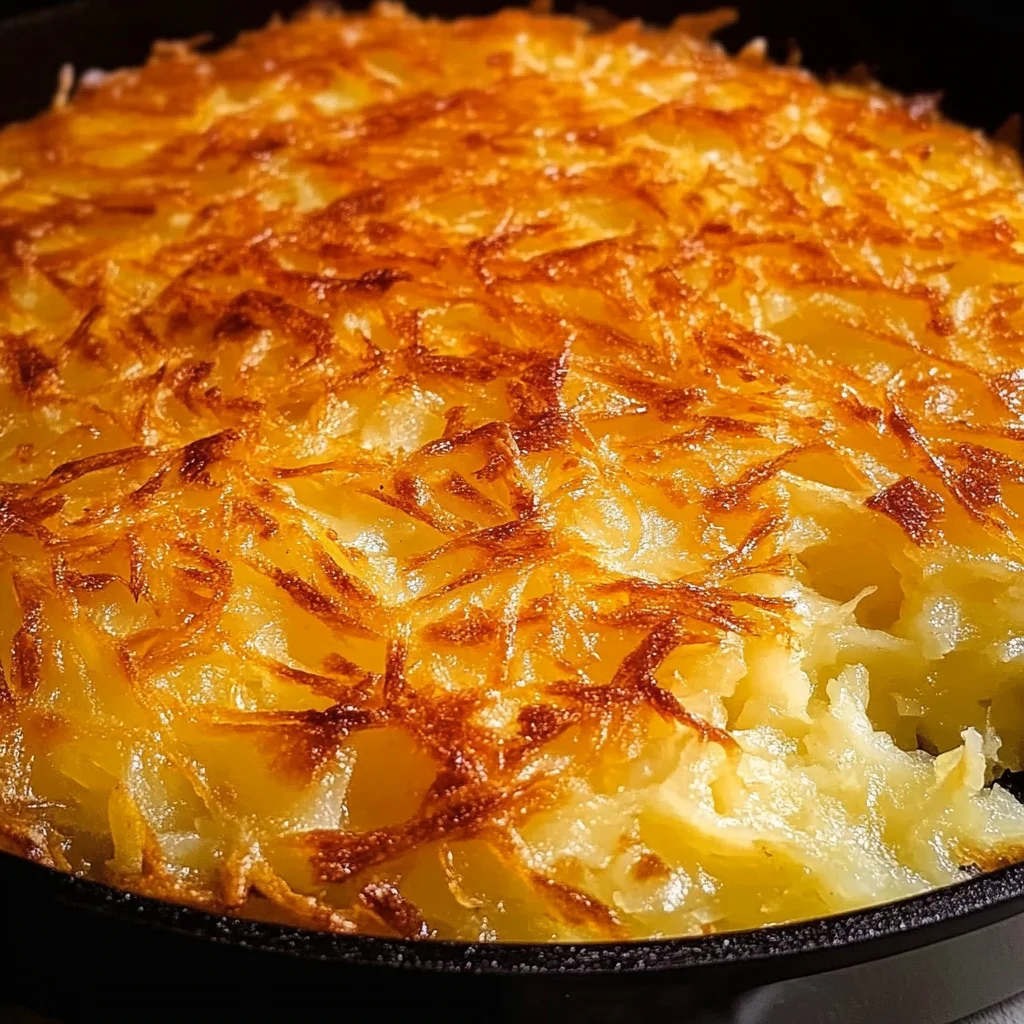
Cook each side for about 8-10 minutes, keeping an eye out for that gorgeous golden-brown color forming beneath. You might need to adjust the heat slightly; remember, patience is key here! Once it’s beautifully crisped up on one side (you’ll smell that intoxicating aroma wafting through your kitchen), flip it over carefully using two spatulas if necessary—it’s like flipping pizza dough but much more satisfying! Cook until both sides achieve that coveted golden hue and feel firm yet tender when pressed lightly in the center.
Conclusion:
As we wrap up our delightful journey through crafting these Crispy Potato Rostis, I can’t help but feel a surge of excitement about what you’ve just created! Each step was filled with purpose—from selecting the right potatoes to mastering that perfect golden crust—and I hope my enthusiasm has inspired you as much as this recipe inspires me every time I make it. The balance of flavors and textures is simply magical; each bite delivers an irresistible crunch followed by silky potato warmth that dances on your palate. It’s these simple yet profound elements that elevate this dish from ordinary to truly extraordinary.
This recipe isn’t just about taste; it’s also about joy—the joy of cooking something special that brings people together around the table. Imagine serving these crispy beauties at brunch with friends or alongside grilled vegetables for dinner—every occasion becomes brighter with a plate of rosti. Just picture pulling them out of the oven or off the stove, their enticing aroma filling your kitchen, while everyone gathers around excitedly awaiting their first bite. That’s what food is all about: creating memories full of laughter and satisfaction.
For serving suggestions, why not try pairing one with a dollop of tangy sour cream or homemade applesauce? The contrast of flavors adds yet another layer of enjoyment! Or perhaps for an afternoon pick-me-up with your favorite herbal tea? And let’s not forget enjoying these crispy wonders alongside hearty soups for a cozy family dinner—truly comforting! Feeling adventurous? You could even top them with sautéed mushrooms or creamy avocado slices; they would complement those crispy edges wonderfully.
This recipe is wonderfully adaptable too; feeling adventurous? Why not experiment with adding shredded cheese into the mix before cooking for added richness? Or maybe throw in some finely chopped herbs like chives or parsley for freshness? Each variation brings its own charm and twist to this classic dish—so go ahead and get creative! I encourage you wholeheartedly to dive into this culinary adventure, share your experiences, and connect with others who are equally passionate about food. After all, nothing brings people together quite like sharing delicious meals made from love!
Crispy Potato Rosti

Discover how to make Crispy Potato Rosti that’s perfectly golden and fluffy inside. Try this easy recipe today and elevate your next meal!
- Prep Time: 20 minutes
- Cook Time: 20 minutes
- Total Time: 40 minutes
- Yield: Approximately 6 servings 1x
- Category: Side Dish
- Method: Frying
- Cuisine: Swiss
Ingredients
- 1 kg (2 lb) potatoes (Yukon Gold or Russet)
- 3/4 tsp salt
- 1/2 tsp finely ground black pepper
- 15g (1 tbsp) clarified butter or ghee (melted)
- 60g (4 tbsp) clarified butter or ghee (for frying)
Instructions
- Grate the cleaned potatoes with skin on using a box grater or food processor. Place in a large mixing bowl.
- Sprinkle salt over the grated potatoes and let them rest for 10 minutes to draw out moisture.
- Drain excess liquid from the bowl without rinsing away the salt.
- Mix in melted clarified butter and black pepper until evenly coated.
- Heat remaining clarified butter in a non-stick skillet over medium heat until bubbly.
- Add the potato mixture to the skillet, pressing down gently.
- Cook each side for about 8-10 minutes until golden brown and crispy.
- Remove from skillet and drain on paper towels before serving.
Nutrition
- Serving Size: 1 serving
- Calories: 114
- Sugar: 0g
- Sodium: 158mg
- Fat: 7g
- Saturated Fat: 4g
- Unsaturated Fat: 2g
- Trans Fat: 0g
- Carbohydrates: 13g
- Fiber: 1g
- Protein: 2g
- Cholesterol: 15mg