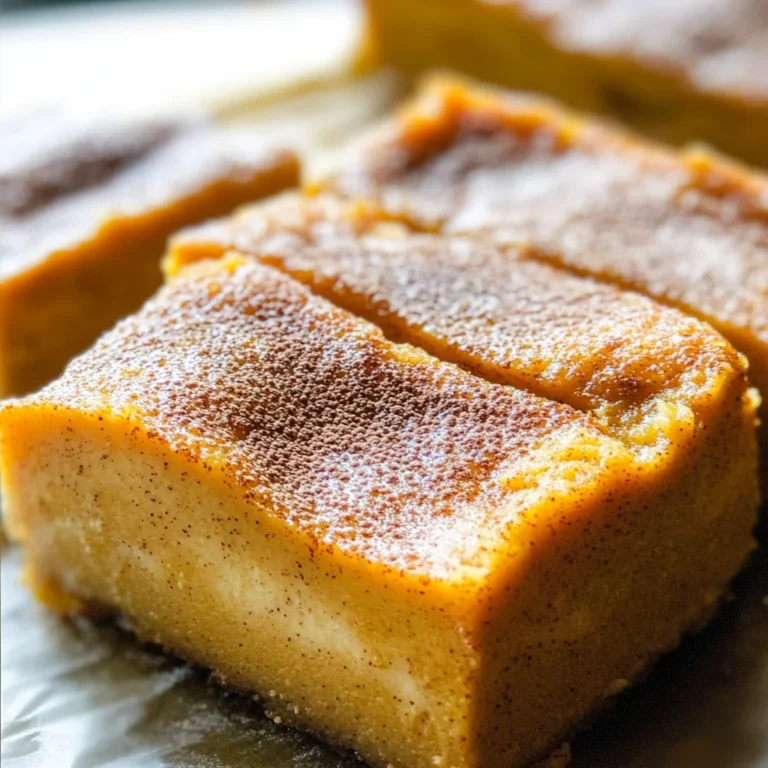
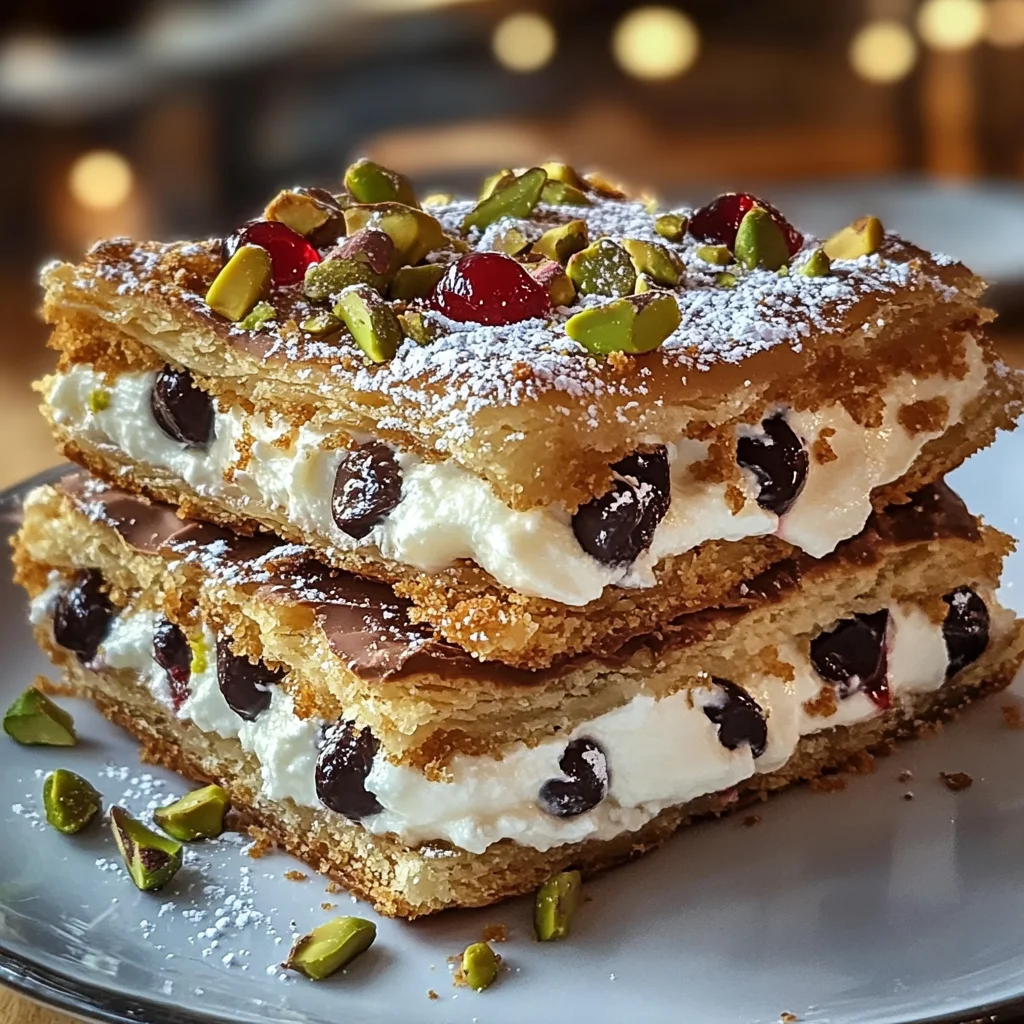
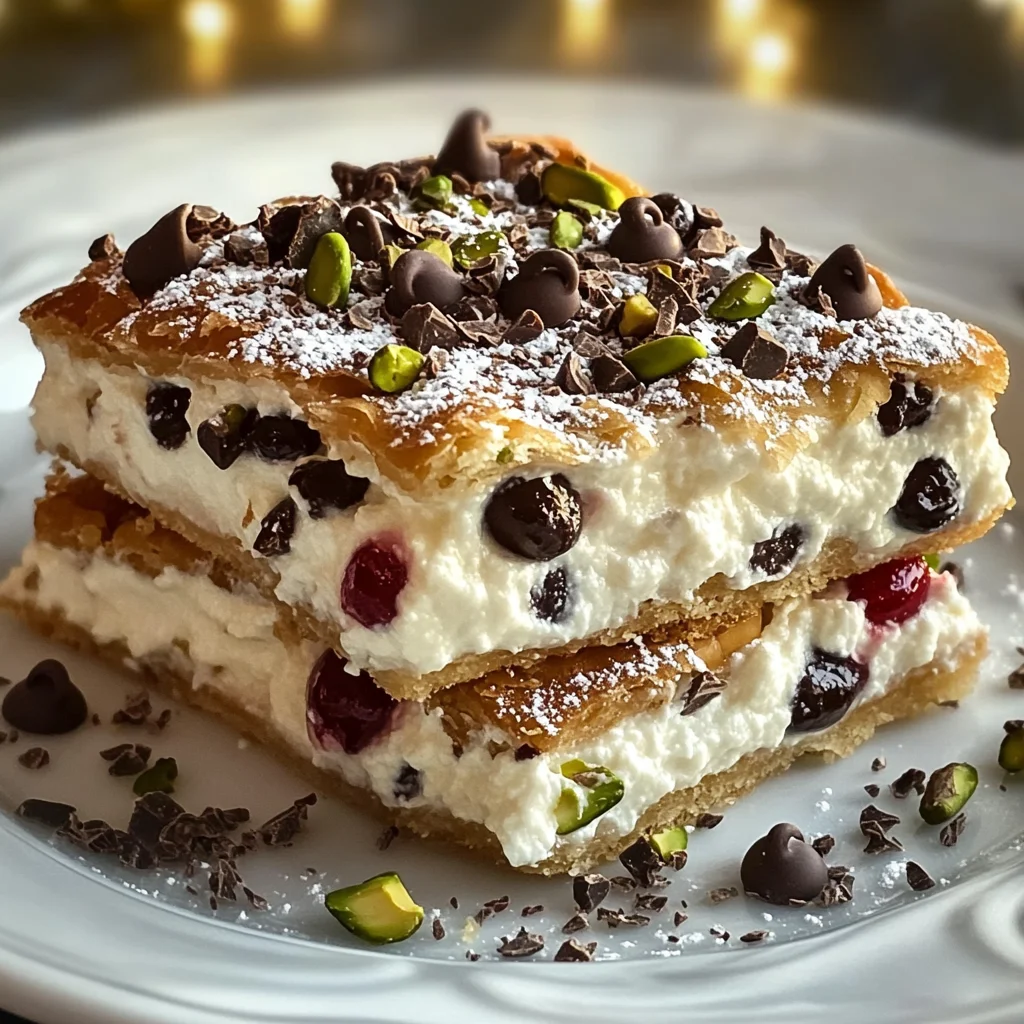
Classic Cannoli Squares That Will Wow Your Taste Buds
If you’re looking for a delightful dessert that’s both easy to prepare and sure to impress, you’ve come to the right place! These Classic Cannoli Squares That Will Wow Your Taste Buds offer a fun twist on the beloved Italian treat. With a creamy ricotta filling nestled in a golden crust, they capture all the flavors of traditional cannoli without the fuss. Whether you’re celebrating a birthday, hosting a family gathering, or just want to treat yourself on a busy weeknight, these squares will bring joy to any occasion.
There’s something truly special about sharing desserts with loved ones. The smiles that appear with each bite are priceless! Plus, this recipe is so simple that even beginner bakers can whip it up with confidence. So let’s dive into the world of cannoli squares!
Why You’ll Love This Recipe
- Easy Preparation: With just a few simple steps, you’ll have a stunning dessert ready in no time.
- Family-Friendly Appeal: Kids and adults alike will adore these sweet squares—perfect for all ages!
- Make-Ahead Convenience: You can prepare these in advance, making them ideal for busy days or unexpected guests.
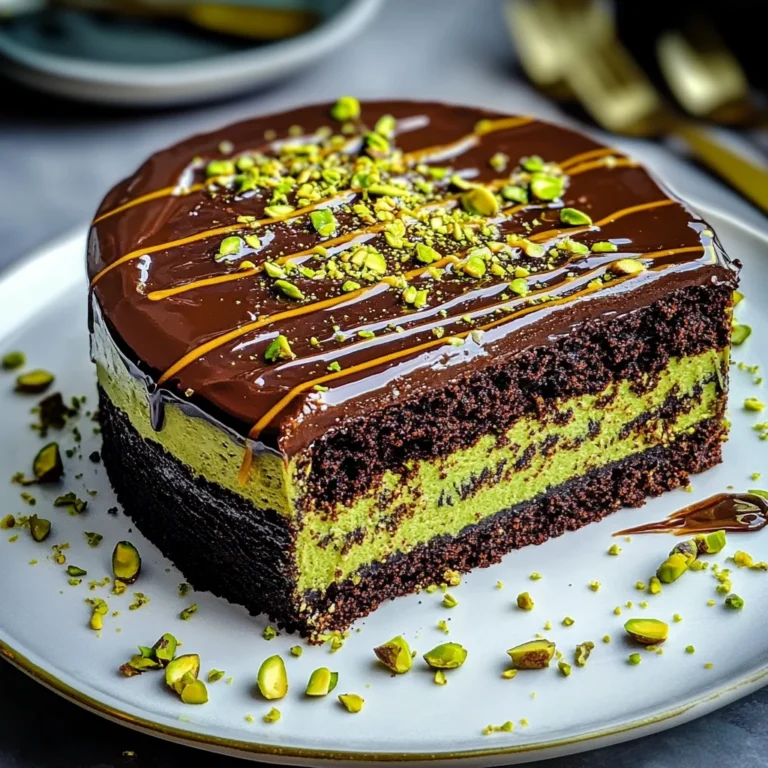
- Delicious Flavor: The creamy ricotta filling combined with chocolate chips and crunchy pistachios creates an explosion of taste.
- Beautiful Presentation: The colorful toppings make these squares as lovely to look at as they are to eat!
Ingredients You’ll Need
Gathering your ingredients is half the fun! This recipe calls for simple, wholesome ingredients you may already have in your kitchen. Let’s take a look at what you’ll need:
For the Filling
- 2 cups Ricotta Cheese (use whole milk for a richer texture)
- 1 cup Powdered Sugar (substitute with coconut sugar for a healthier option)
- 1 teaspoon Vanilla Extract (opt for pure vanilla for the best taste)
- 1/2 teaspoon Cinnamon (omit if you prefer a classic cannoli flavor)
- 1/2 cup Mini Chocolate Chips (dark chocolate enhances richness)
For the Crust
- 2 pre-made pie crusts (homemade crust works beautifully, too)
- 1 large Egg (for an egg wash that gives a glossy finish)
For Toppings
- Sugar (for sprinkling) (adds a sweet crunch on top when baked)
- 1/4 cup Chopped Pistachios (offers a delightful crunch and color)
- 3 pieces Maraschino Cherries (adds a pop of sweetness and decoration)
- 1/4 cup Extra Chocolate Chips (for those who can’t get enough chocolate)
Variations
One of the best things about Classic Cannoli Squares is their flexibility! Feel free to customize this recipe based on your tastes. Here are some fun ideas:
- Switch Up the Sweetener: If you want an alternative to powdered sugar, try using maple syrup or honey for a different flavor profile.
- Experiment with Flavors: Add citrus zest like orange or lemon to brighten up the filling—citrus pairs beautifully with ricotta!
- Go Nut-Free: If you have nut allergies, simply skip the pistachios and use more chocolate chips instead.
- Make It Gluten-Free: Use gluten-free pie crusts to adapt this classic dessert for gluten-sensitive friends.
How to Make Classic Cannoli Squares That Will Wow Your Taste Buds
Step 1: Prepare Your Oven and Pie Crusts
Preheat your oven to 375°F (190°C). While it heats up, lay out your pre-made pie crusts in your baking dish. Press them down gently so they fit snugly into the dish. This step ensures that each square has a beautifully baked base that supports the creamy filling.
Step 2: Mix the Filling
In a large mixing bowl, combine ricotta cheese, powdered sugar, vanilla extract, cinnamon (if using), and mini chocolate chips. Stir until everything is well blended and creamy. The key here is to mix thoroughly; this will ensure that every bite is rich and flavorful.
Step 3: Assemble Your Squares
Pour your delicious ricotta mixture over one of the pie crusts in your baking dish. Spread it evenly so each square will have consistent flavor. Then cover it with the second pie crust. Gently press down around the edges to seal everything in.
Step 4: Add Finishing Touches
Beat your egg in a small bowl and brush it over the top crust. This gives it that lovely golden color as it bakes. Sprinkle sugar generously over the top for added sweetness and crunch! Finally, sprinkle chopped pistachios on top before placing it in the oven.
Step 5: Bake Until Golden
Place your baking dish in the preheated oven and bake for about 35 minutes or until golden brown on top. Keep an eye on it—every oven is different! The goal is a perfect golden hue that promises deliciousness.
Step 6: Cool and Serve
Once baked, remove from the oven and let your Classic Cannoli Squares cool completely before slicing them into squares. Garnish each piece with maraschino cherries on top if desired. Trust me; this final touch makes them irresistibly cute!
Now go ahead and enjoy these delightful squares with friends or family—and don’t be surprised when everyone asks for seconds!
Pro Tips for Making Classic Cannoli Squares That Will Wow Your Taste Buds
Creating the perfect batch of Classic Cannoli Squares is easier than you think! Keep these helpful tips in mind to ensure your dessert turns out spectacular every time.
- Choose Quality Ingredients: Using high-quality ricotta cheese and pure vanilla extract not only enhances the flavor but also elevates the overall texture of your filling, making it creamy and delicious.
- Pre-bake the Crust: For an extra crispy crust, consider pre-baking the pie crust for about 5-7 minutes before adding the filling. This helps prevent a soggy bottom and gives your squares a delightful crunch.
- Chill Before Serving: Allowing your cannoli squares to chill in the refrigerator for at least an hour after baking allows the flavors to meld beautifully. Plus, it makes slicing easier!
- Experiment with Fillings: Don’t hesitate to get creative! You can add different flavors like orange zest or almond extract to the ricotta filling for a unique twist that will surprise your guests.
- Presentation is Key: A well-presented dessert can make all the difference. Dusting powdered sugar on top just before serving adds an elegant touch that catches the eye.
How to Serve Classic Cannoli Squares That Will Wow Your Taste Buds
Serving your Classic Cannoli Squares can be as fun as making them! Here are some ideas on how to present this delicious dessert.
Garnishes
- Powdered Sugar: A light dusting of powdered sugar right before serving adds a sweet touch and makes your squares look extra inviting.
- Chopped Pistachios: Sprinkling additional chopped pistachios on top not only enhances presentation but also adds a lovely crunch and color contrast.
- Fresh Mint Leaves: Adding a few sprigs of fresh mint on the side brightens up your plate and complements the rich flavors beautifully.
Side Dishes
- Fresh Berries: Serve alongside a medley of fresh strawberries, blueberries, or raspberries. The tartness of the berries balances out the sweetness of the cannoli squares perfectly.
- Vanilla Ice Cream: A scoop of creamy vanilla ice cream elevates this dessert experience. The cold ice cream pairs wonderfully with warm or chilled cannoli squares.
- Espresso or Coffee: Offering a small cup of espresso or brewed coffee creates a lovely Italian-style finish to your meal, enhancing the flavors of both the drink and dessert.
- Citrus Salad: A refreshing citrus salad made with oranges and grapefruits drizzled with honey provides a zesty contrast that brightens up each bite.
Now you’re all set to impress your friends and family with these Classic Cannoli Squares that will truly wow their taste buds! Enjoy baking and sharing this delightful treat!
Make Ahead and Storage
These Classic Cannoli Squares are perfect for meal prep! You can make them in advance, allowing the flavors to meld beautifully and making your dessert planning a breeze.
Storing Leftovers
- Allow the squares to cool completely before storing.
- Place them in an airtight container to maintain freshness.
- Store in the refrigerator for up to 3 days.
Freezing
- Cut the squares into individual portions for easy serving.
- Wrap each piece tightly in plastic wrap, then place them in a freezer-safe bag or container.
- These can be frozen for up to 2 months. Just remember to label with the date!
Reheating
- If desired, let the squares thaw in the refrigerator overnight before reheating.
- To warm, preheat your oven to 350°F (175°C) and bake for about 10 minutes until heated through and crispy on top.
- For a quick fix, you can also microwave for 30 seconds, but this may soften the crust slightly.
FAQs
Here are some common questions you might have about making these delicious squares!
Can I use ricotta cheese for Classic Cannoli Squares?
Absolutely! Ricotta cheese is essential for the creamy filling that makes these Classic Cannoli Squares so delightful. Opt for whole milk ricotta for extra richness.
How do I prevent my Classic Cannoli Squares from getting soggy?
To keep your Classic Cannoli Squares crispy, ensure they are cooled completely before storing. Also, avoiding excessive moisture in your filling will help maintain that delightful crunch.
Can I substitute chocolate chips in Classic Cannoli Squares?
Yes! Feel free to use chopped nuts or dried fruit as alternatives. This way, you can customize your Classic Cannoli Squares according to your taste preferences!
What is the best way to serve Classic Cannoli Squares?
Classic Cannoli Squares are best served chilled with a sprinkle of powdered sugar on top. Add some fresh berries or mint leaves for an extra touch!
Final Thoughts
I hope you’re as excited as I am about making these Classic Cannoli Squares! They truly are a crowd-pleaser with their rich filling and crispy crust. Whether it’s a special occasion or just a sweet treat for yourself, they’re sure to impress. Enjoy every bite, and don’t forget to share this delightful recipe with friends and family. Happy baking!
Classic Cannoli Squares That Will Wow Your Taste Buds
Indulge in the delightful experience of Classic Cannoli Squares That Will Wow Your Taste Buds! This easy-to-make dessert captures the essence of traditional Italian cannoli with a creamy ricotta filling, mini chocolate chips, and a golden, flaky crust. Perfect for any occasion—from birthdays to casual family gatherings—these squares are sure to impress your guests and bring smiles all around. With simple ingredients and straightforward steps, even beginner bakers can create these delicious treats effortlessly. Dive into this sweet adventure and enjoy sharing the joy of homemade cannoli squares with your loved ones!
- Prep Time: 15 minutes
- Cook Time: 35 minutes
- Total Time: 50 minutes
- Yield: Makes approximately 12 servings 1x
- Category: Dessert
- Method: Baking
- Cuisine: Italian
Ingredients
- 2 cups Ricotta Cheese
- 1 cup Powdered Sugar (or coconut sugar)
- 1 teaspoon Vanilla Extract
- 1/2 cup Mini Chocolate Chips
- 2 pre-made Pie Crusts
- 1 large Egg (for egg wash)
- 1/4 cup Chopped Pistachios
Instructions
- Preheat oven to 375°F (190°C). Place pie crusts in a baking dish.
- In a bowl, mix ricotta cheese, powdered sugar, vanilla extract, and mini chocolate chips until smooth.
- Pour the mixture over one pie crust and cover with the second crust, sealing edges.
- Brush top crust with beaten egg and sprinkle with sugar and chopped pistachios.
- Bake for about 35 minutes until golden brown.
- Let cool completely before slicing into squares.
Nutrition
- Serving Size: 1 serving
- Calories: 210
- Sugar: 12g
- Sodium: 150mg
- Fat: 10g
- Saturated Fat: 4g
- Unsaturated Fat: 5g
- Trans Fat: 0g
- Carbohydrates: 27g
- Fiber: 1g
- Protein: 4g
- Cholesterol: 30mg