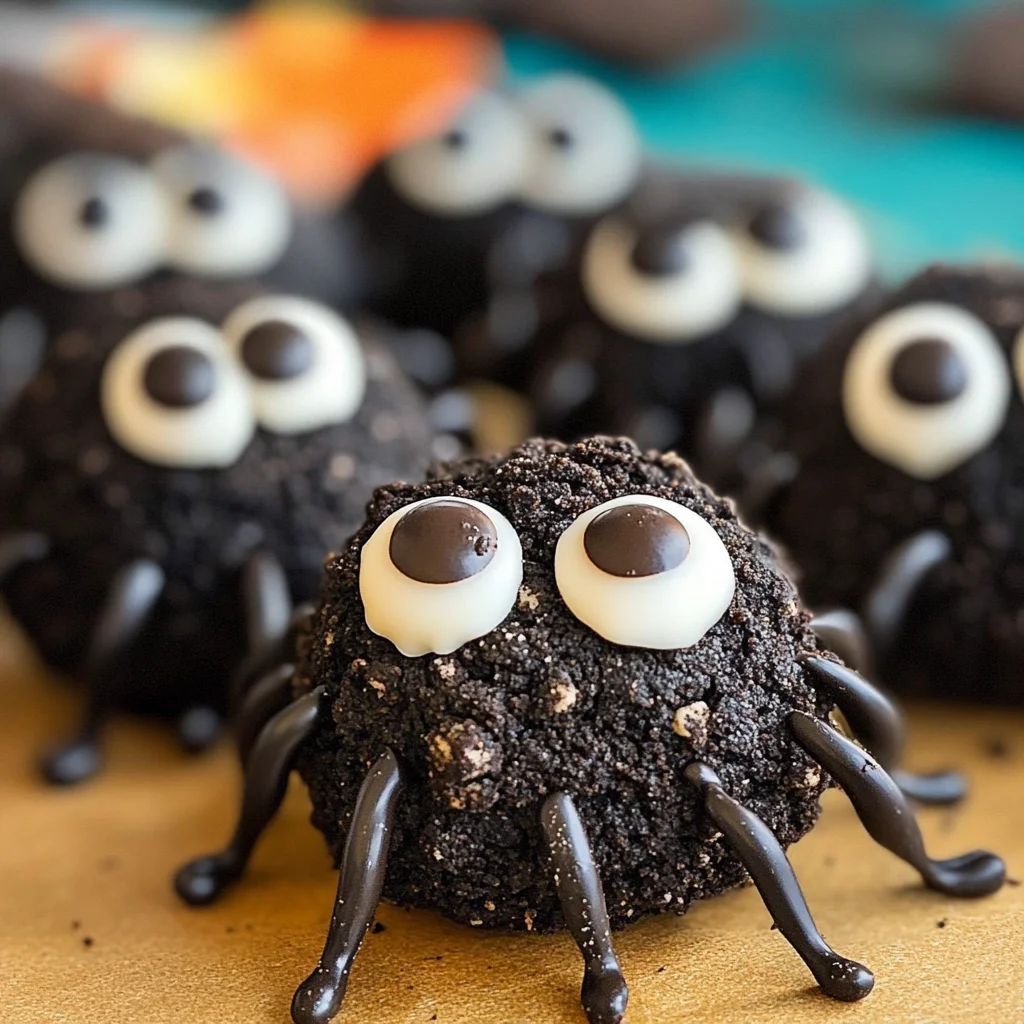
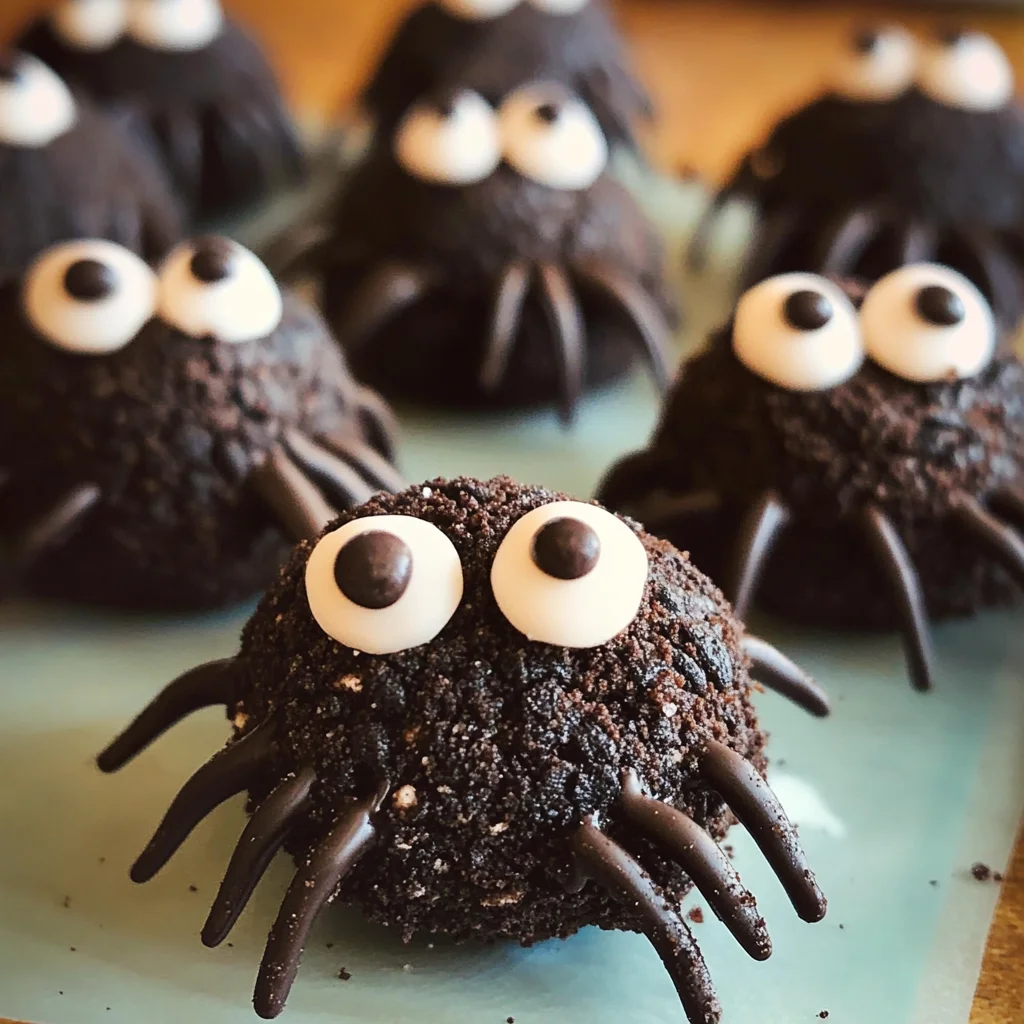
Spider Oreo Treats
If you’re looking for a fun and easy dessert to make this Halloween, let me tell you about my beloved Spider Oreo Treats! These adorable little spiders are not only cute but also incredibly simple to whip up with just four ingredients. I love how they bring everyone together—whether it’s a family gathering or a spooky-themed party, these treats are sure to be a hit!
What makes these Spider Oreo Treats special is the combination of creamy goodness from the cream cheese and the delightful crunch of Oreo cookies. Plus, they’re super versatile! You can make them ahead of time, freeing you up on busy days to enjoy the festivities instead of being stuck in the kitchen.
Why You’ll Love This Recipe
- Quick and Easy: With only four ingredients and straightforward steps, you’ll have these treats ready in no time!
- Family-Friendly Fun: Kids love helping out in the kitchen, especially when it involves rolling balls and decorating creepy crawlers.
- Deliciously Irresistible: The mix of chocolate and cream cheese with crunchy Oreos is nothing short of heavenly.
- Perfect for Any Occasion: These Spider Oreo Treats are great for Halloween parties, school events, or just a fun dessert at home.
- Make-Ahead Convenience: Prep them in advance and store them in the fridge until you’re ready to impress your guests!
Ingredients You’ll Need
Let’s gather our simple and wholesome ingredients for these delightful Spider Oreo Treats. You probably have most of them in your pantry already!
- 18 oz. package of Oreo cookies
- 8 oz. cream cheese (softened)
- 6 oz. chocolate melting wafers
- 50 candy eyeballs
Variations
This recipe is wonderfully flexible! Here are some fun variations you can try to make your Spider Oreo Treats even more exciting:
- Add Some Crunch: Mix in some chopped nuts or pretzels for an extra layer of texture.
- Change Up the Toppings: Use colorful sprinkles instead of candy eyeballs to add a festive touch.
- Go for Different Flavors: Swap out regular Oreos for mint or peanut butter-flavored ones for a unique twist.
- Make Them Gluten-Free: Use gluten-free Oreos to cater to those with dietary restrictions.
How to Make Spider Oreo Treats
Step 1: Prepare the Crumbs
Start by putting all your Oreo cookies into a food processor. Blend them until they become very fine crumbs. This step is crucial because those fine crumbs will help create the body of our spiders!
Step 2: Mix with Cream Cheese
Take out about 2/3 cup of those cookie crumbs and set them aside for later use. Now, cut your softened cream cheese into chunks and add it to the food processor with the remaining cookie crumbs. Blend everything together until it’s well combined. This mixture will give our spiders their creamy, delicious body.
Step 3: Shape the Spiders
Scoop out small balls from your Oreo mixture using a small spoon or melon baller—about 25 should do! Roll each scoop into a ball and then roll them in the reserved Oreo crumbs to coat. This gives each spider its signature look!
Step 4: Create the Legs
Melt your chocolate melting wafers in a microwavable bowl, stirring every 20 seconds until smooth. Transfer this melted chocolate into a squeeze bottle or ziploc bag with a tiny corner cut off. Pipe out lines that resemble spider legs onto parchment paper on a baking sheet. It’s okay if they’re not perfect; they just need to look spooky!
Step 5: Chill the Legs
Once you’ve piped all your spider legs, pop that baking sheet into the freezer for about 10 minutes or until hardened. Chilling helps ensure that they hold their shape when we attach them later.
Step 6: Assemble Your Spiders
Put a little dot of melted chocolate on each candy eyeball and stick it onto one of your spider bodies. Once those adorable legs are hardened, add six legs to each spider’s body—now they’re really starting to come alive!
And there you have it—your very own Spider Oreo Treats! Enjoy these creepy yet delicious bites at any Halloween gathering or whenever you’re in need of something fun and sweet!
Pro Tips for Making Spider Oreo Treats
Creating these adorable Spider Oreo Treats can be a fun and rewarding experience, especially with a few handy tips to guide you!
- Use room temperature cream cheese: This makes it easier to blend with the Oreo crumbs, resulting in a smoother mixture that holds together better.
- Chill the mixture: If you find the Oreo mixture too sticky, pop it in the fridge for about 15 minutes. This helps make rolling the balls much easier and keeps their shape.
- Experiment with chocolate colors: While classic chocolate melting wafers work perfectly, consider using colored meltable chocolates (like orange or purple) to add an extra festive touch to your spiders!
- Make extra legs: If you’re feeling creative, pipe additional legs for each spider. Not only will they look even more whimsical, but you can also create different spider species!
- Use a variety of candy eyeballs: Mix sizes or colors of candy eyeballs to give your spiders unique personalities. Kids will love spotting the differences!
How to Serve Spider Oreo Treats
Serving these delightful treats can be just as fun as making them! Here are some ideas to make your Halloween party truly spooktacular.
Garnishes
- Chocolate drizzle: A light drizzle of melted chocolate over the top adds an elegant touch while enhancing the visual appeal.
- Sprinkles: Use Halloween-themed sprinkles around the serving platter for a festive vibe that excites both kids and adults alike.
Side Dishes
- Pumpkin Spice Muffins: These moist and flavorful muffins bring seasonal flavors to your table and make for a perfect sweet complement.
- Spooky Fruit Cups: Fill small cups with cut fruits like oranges, grapes, and apple slices. They provide a refreshing contrast to the sweetness of the spiders.
- Crispy Veggie Platter: A colorful assortment of veggies served with hummus or ranch dip offers a crunchy side that balances out the dessert.
- Haunted Cheese Board: Create a cheese platter featuring various cheeses, crackers, and nuts shaped like Halloween symbols. It’s perfect for grazing throughout the night.
Now that you have all the tips and serving suggestions, get ready to impress your guests with these charming Spider Oreo Treats! Happy Halloween baking!
Make Ahead and Storage
These Spider Oreo Treats are perfect for meal prep, making them a delightful addition to your Halloween celebrations! You can easily prepare them in advance and store them for later enjoyment.
Storing Leftovers
- Store leftover spider treats in an airtight container at room temperature for up to 3 days.
- If you prefer, you can refrigerate them for a longer shelf life, up to one week.
- Ensure they are separated with parchment paper if stacking to prevent sticking.
Freezing
- To freeze, place the spider treats on a baking sheet and freeze until solid.
- Once frozen, transfer them to an airtight container or freezer bag.
- They can be stored in the freezer for up to 2 months.
Reheating
- Thaw frozen spider treats in the refrigerator overnight before serving.
- For a quick option, allow them to sit at room temperature for about 30 minutes before enjoying.
FAQs
Here are some common questions about making Spider Oreo Treats!
Can I make Spider Oreo Treats without cream cheese?
Yes! You can substitute cream cheese with a dairy-free cream cheese alternative or use a nut-based spread for a similar texture.
How many servings do I get from this Spider Oreo Treats recipe?
This recipe yields 25 adorable Spider Oreo Treats, making it perfect for parties or gatherings!
What can I use instead of chocolate melting wafers?
If you don’t have melting wafers, you can use any chocolate chips. Just remember to melt them gently to avoid burning.
Final Thoughts
I hope you enjoy making these charming Spider Oreo Treats as much as I do! They’re not only easy to prepare but also bring a touch of fun and festivity to any Halloween gathering. Whether you’re surprising kids or impressing your friends, these treats are sure to be a hit. Have fun creating these spooky delights in your kitchen, and don’t forget to share your creations with loved ones!
Spider Oreo Treats
Get ready to impress your guests with delightful Spider Oreo Treats! These charming Halloween-themed desserts are not only fun to make but also irresistibly delicious. With just four main ingredients, you can create these spooky little spiders that are perfect for parties and gatherings. The creamy texture of cream cheese combined with the crunch of Oreo cookies makes each bite a heavenly experience. Plus, they’re simple enough for kids to help out in the kitchen, making it a great family activity. Prepare them ahead of time and store them in the fridge to ensure you’re ready for any festive occasion. Let’s dive into this easy recipe!
- Prep Time: 20 minutes
- Cook Time: 10 minutes
- Total Time: 30 minutes
- Yield: Approximately 25 servings 1x
- Category: Dessert
- Method: No-Bake
- Cuisine: American
Ingredients
- 18 oz. package of Oreo cookies
- 8 oz. cream cheese (softened)
- 6 oz. chocolate melting wafers
- 50 candy eyeballs
Instructions
- In a food processor, blend the Oreo cookies until fine crumbs form. Reserve about 2/3 cup of these crumbs.
- Add softened cream cheese to the remaining crumbs in the food processor and blend until well combined.
- Roll small balls (about 25) from the mixture and coat them in reserved Oreo crumbs.
- Melt chocolate wafers in the microwave, stirring every 20 seconds until smooth. Pipe spider legs onto parchment paper and freeze until hardened.
- Assemble by attaching candy eyeballs and legs to each spider body.
Nutrition
- Serving Size: 1 Spider Treat (30g)
- Calories: 140
- Sugar: 10g
- Sodium: 50mg
- Fat: 7g
- Saturated Fat: 4g
- Unsaturated Fat: 2g
- Trans Fat: 0g
- Carbohydrates: 17g
- Fiber: 1g
- Protein: 1g
- Cholesterol: 10mg