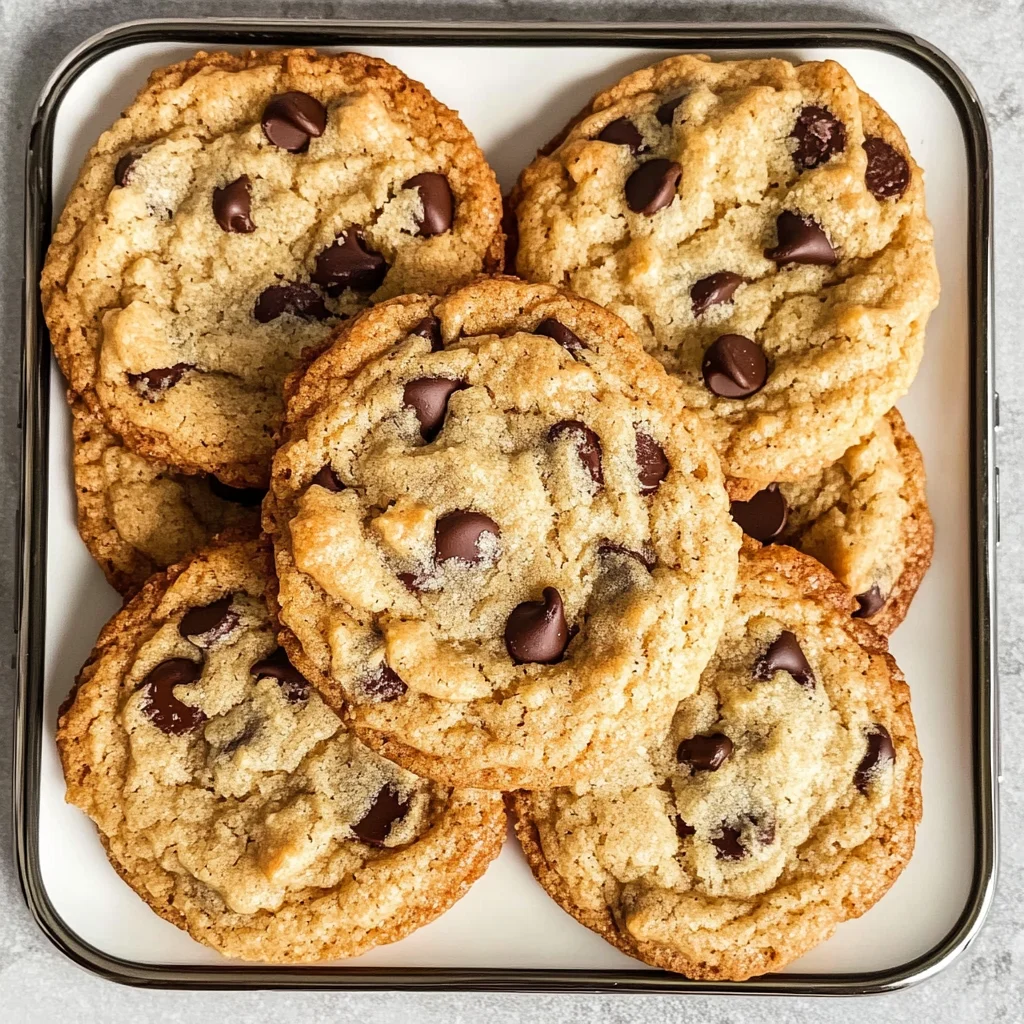
Bakery Style Chocolate Chip Cookies
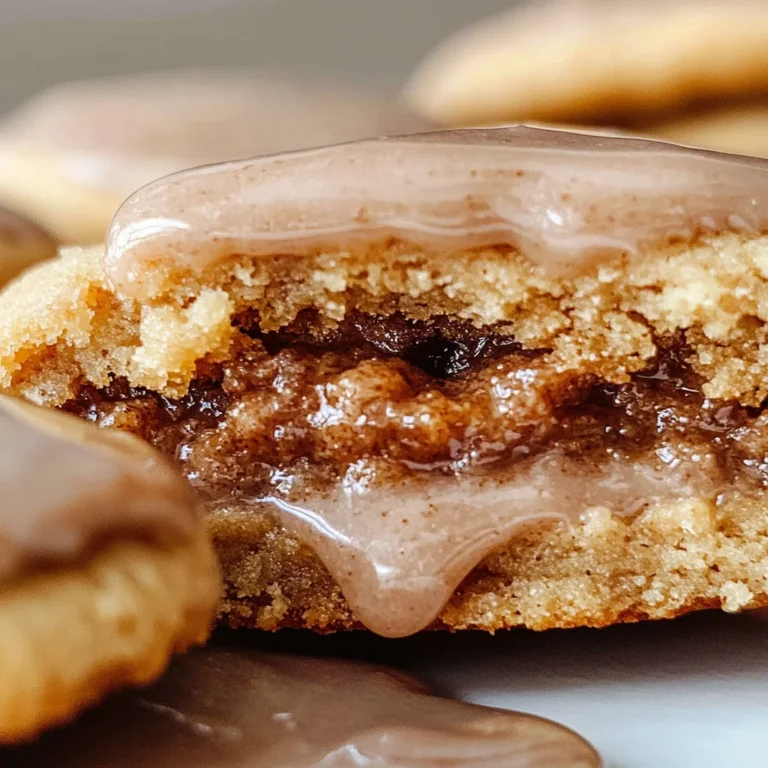
There’s something truly magical about the aroma of freshly baked cookies wafting through the house. It evokes nostalgia, warmth, and the kind of comfort that wraps around you like a favorite sweater. When I think about my childhood, I can’t help but remember those afternoons spent in the kitchen with my family, eagerly awaiting the moment when our homemade treats would emerge from the oven, golden brown and utterly intoxicating. That’s why I’m so excited to share with you my beloved recipe for Bakery Style Chocolate Chip Cookies. These cookies are not just desserts; they’re an experience—soft and chewy in the center with perfectly crisp edges, just like you’d find at your favorite bakery.
Baking these cookies is more than merely following a set of instructions; it’s about creating an atmosphere of joy and indulgence. Picture this: your friends gathered around the table, laughter filling the air as you all dig into still-warm cookies that are meltingly delicious. The chocolate chips create little pockets of sweetness that burst open with every bite, making each cookie a small moment of happiness. I promise you, once you master this recipe, you’ll be known as the “cookie whisperer” among your friends and family. So let’s dive into this delightful adventure together!
Ingredients:
As we embark on this culinary journey, let’s take a moment to appreciate each ingredient that will play a crucial role in crafting our Bakery Style Chocolate Chip Cookies. Each component adds its own flair and functionality, ensuring we achieve that perfect balance between texture and flavor.
- 1 cup (2 sticks or 226g) unsalted butter, softened: This is crucial for creaming properly and creating that light, airy texture we’re aiming for in our Bakery Style Chocolate Chip Cookies. If your butter is too cold, it won’t cream effectively; if it’s melted, your cookies will spread too much. The quality of butter matters here – European-style butter with higher fat content will give you even richer results. Look for butter labeled as unsalted because it allows us to control the saltiness of our cookies better.
- 3/4 cup granulated sugar: This sugar plays a vital role beyond just sweetness; it contributes to the overall structure of our cookies. Granulated sugar helps create those delightful crispy edges while keeping the centers soft and chewy. Trust me when I say that using high-quality sugar can elevate your cookies significantly – avoid any off-brand options that might leave a strange aftertaste.
- 3/4 cup packed light brown sugar: Brown sugar brings moisture and depth to our cookies thanks to its molasses content. When packed firmly into measuring cups, it creates density that ensures our cookies come out beautifully chewy rather than dry and crumbly. Plus, that caramel-like flavor? Absolutely paramount! Use fresh brown sugar for best results—it should feel soft and pliable.
- 2 large eggs: Eggs bind everything together while also providing moisture that contributes to the tender texture of our cookies. The proteins in eggs coagulate during baking, which helps achieve that beautiful rise we’re looking for. Always use room-temperature eggs so they incorporate seamlessly into the batter—this small detail makes a world of difference!
- 1 teaspoon vanilla extract: Ahh, vanilla—the secret weapon in many baking recipes! This liquid gold enhances every flavor in your cookies while adding its own sweet aroma that makes them smell divine as they bake. Opt for pure vanilla extract over imitation for richer flavor; it’s worth every penny in terms of taste.
- 2 1/4 cups all-purpose flour: Flour is where the magic happens! It provides structure to our cookies through gluten formation when mixed with wet ingredients. Too much flour can lead to dry cookies while too little could cause them to spread too much—so precision is key here! Always spoon flour into your measuring cup instead of scooping directly from the bag to avoid packing it down.
- 1 teaspoon baking soda: Baking soda is essential for leavening; it reacts with acidic ingredients (like brown sugar) to produce bubbles that help our cookies rise beautifully in the oven while keeping them soft inside. Make sure your baking soda is fresh by checking expiration dates—old baking soda won’t provide adequate lift.
- 1/2 teaspoon salt: Salt may seem like an afterthought but trust me—it’s absolutely critical! It balances out sweetness and enhances all other flavors in these Bakery Style Chocolate Chip Cookies. A touch of salt elevates them from ordinary to extraordinary!
- 2 cups chocolate chips (milk, semi-sweet, or a mix): You can’t have chocolate chip cookies without chocolate chips! They’re what make these treats irresistible—each bite filled with gooey melted chocolate is sheer bliss! Feel free to mix varieties; semi-sweet adds depth while milk chocolate gives a creamy sweetness.
Equipment You’ll Need:
Now that we have our ingredients lined up like eager participants ready for action, let’s talk about some essential tools you’ll need to make this process smooth and enjoyable. While not technically ingredients themselves, having the right equipment can transform your baking experience into something truly delightful!
- Mixing bowls: A good set of mixing bowls is non-negotiable; they allow for efficient mixing without making a mess everywhere else! I recommend having at least two sizes—a large bowl for creaming ingredients together and a medium one for whisking dry components separately.
- Electric mixer: While you could use muscle power alone (which I applaud!), an electric mixer saves time and effort when creaming butter and sugars together until fluffy—a step that’s crucial for achieving those soft centers we adore.
- Measuring cups and spoons: Precision matters in baking! Invest in sturdy measuring cups (both liquid and dry) along with measuring spoons because accurate measurements ensure consistent results every time you bake these scrumptious cookies.
- Rubber spatula: This handy tool aids tremendously in scraping down bowls during mixing sessions so no precious batter goes wasted—and trust me; you’ll want every bit of this cookie dough!
- Parchment paper: Lining your baking sheets with parchment paper prevents sticking while allowing even cooking on all sides—a simple yet effective trick every baker should know!
Preparing the Bakery Style Chocolate Chip Cookies
Step 1: Creaming Together Wet Ingredients
In a large bowl fitted with your electric mixer (or using elbow grease), start by creaming together the softened butter along with both sugars until you achieve a light and fluffy consistency—this usually takes about 2-3 minutes on medium speed. This process is known as creaming—it incorporates air into the mixture which leads to wonderfully tender baked goods later on! You’re looking for a pale yellow color with volume—don’t rush this step because it sets the foundation for how airy those gorgeous cookies will be!
Step 2: Adding Eggs & Vanilla
Next up are those two large eggs—you’ll want to add them one at a time while mixing on low speed until fully incorporated before adding in your beloved vanilla extract as well! By incorporating eggs slowly rather than dumping them all at once ensures they blend evenly throughout without curdling or breaking any previous air established during creaming—this technique leads us toward cookie perfection!
Step 3: Whisking Dry Ingredients
While everything is coming together beautifully in one bowl, grab another medium-sized bowl where you’ll whisk together flour along with baking soda and salt until combined evenly (you’ll see some air forming!). This step prevents clumping when added later on—it’s like giving us assurance that each bite will have balanced flavors throughout rather than pockets of floury dryness hiding amongst glorious chunks o’ chocolate!
Step 4: Bringing It All Together
Once you’ve whisked those dry ingredients thoroughly (and maybe even had fun doing so), it’s time to gradually add this mixture into our buttery concoction from earlier while mixing at low speed until just combined—be careful not overmix—which could lead us astray towards toughened cookie disasters instead of glorious delights! To finish off this batter symphony fold gently folded chocolate chips using spatula ensuring they’re distributed evenly throughout—we want pockets bursting forth from each cookie not mere whispers hiding within!
I hope you’re feeling as excited as I am at this point because we’re inching closer to cookie bliss! Remember those important steps we’ve taken thus far—they’re all part of creating something truly special here today whereas next we’ll discuss chilling dough which brings flavors full circle… Stay tuned as we continue crafting these delightful treats together!
Step 5: Folding in the Chocolate Chips – A Moment of Joy
Now comes one of my favorite parts of making these Bakery Style Chocolate Chip Cookies—the moment when you fold in those delectable chocolate chips! This step is almost like wrapping a warm embrace around your dough, ensuring that every bite will be bursting with rich, melty chocolate goodness. Grab a sturdy spatula or a wooden spoon, and gently incorporate the chocolate chips into your dough. I recommend using a mix of milk and semi-sweet chips for that perfect balance of sweetness and depth; it’s like composing a symphony of flavors that dance together in your mouth!
Take care to fold rather than stir vigorously—this is absolutely paramount. You want to keep your dough light and airy, which is crucial for achieving that soft center we all crave. As you fold, you’ll notice how the luxurious chocolate begins to meld with the buttery richness of the dough, creating an utterly intoxicating mixture. Trust me on this: don’t rush through this step! Take your time to ensure that each chip finds its home within the dough, so every cookie boasts a generous share of chocolatey delight.
Step 6: Cover and Chill – The Science Behind Perfection
Once you’ve folded in those luscious chocolate chips, it’s time for one of the most transformative steps in cookie-making: chilling the dough! Transfer your beautifully mixed cookie dough into an airtight container or cover it tightly with plastic wrap. Now, here’s where patience pays off—let the dough chill in the refrigerator for at least 30 minutes, but if you can spare more time (up to 24 hours), I promise you it’s worth it. Why chill? Well, when the dough rests, it allows the flour to fully hydrate and gives the butter a chance to firm up slightly. This prevents spreading during baking and enhances the overall flavor profile by letting the sugars dissolve just right.
Imagine this: as those cookies bake, they will develop beautifully crisp edges while maintaining soft centers—a texture contrast that is profoundly satisfying! Plus, chilling intensifies the flavors as they meld together over time. So while it may feel difficult to wait, know that you’re setting yourself up for cookie success. Use this time to envision how wonderful your kitchen will smell once these beauties start baking!
Step 7: Prepping Your Baking Environment – Setting Up for Success
While your cookie dough chills, let’s get everything ready for baking! Preheat your oven to 375°F (190°C). This temperature is key; it’s hot enough to create those golden edges while allowing the centers to remain soft and chewy. As you wait for it to come up to temperature, line your baking sheets with parchment paper. This simple act makes such a difference; not only does it prevent sticking (a non-negotiable!), but it also helps with even baking by allowing heat circulation beneath each cookie.
When you’re ready to scoop out that chilled dough, make sure you have enough space between each mound on your baking sheet—about 2 inches apart should do just fine! This spacing allows each cookie room to expand without merging into one giant cookie blob (which would be a tragedy!). I often use a 2-tablespoon cookie scoop for consistent sizing; this ensures even baking and gives you those beautiful bakery-style cookies we all dream about.
Step 8: Baking – The Moment Has Arrived
Now comes perhaps the most exhilarating part—the actual baking! Slide those trays into your preheated oven and set a timer for 9-12 minutes. But don’t walk away just yet; keep an eye on them! You’re looking for those enticing golden brown edges while ensuring that the centers still look slightly underbaked—that’s where magic happens! Remember that they will continue cooking even after being removed from the oven due to residual heat.
Don’t be surprised if they puff up a bit during baking—that’s normal! It means they are rising beautifully and getting ready to settle into their final shape. If you’re unsure about doneness, gently press on one of the cookies; if it springs back but still feels soft in the center, you’ve hit perfection! Once they’re out of the oven, allow them to cool on the baking sheets for about five minutes before transferring them to a wire rack. This brief resting period allows them to firm up just enough so they won’t crumble when moved.
Conclusion:
As we wrap up this delightful journey through making Bakery Style Chocolate Chip Cookies, I hope you feel as inspired as I do every time I whip up this recipe! There’s something profoundly satisfying about transforming simple ingredients into a symphony of flavors that dance across your palate. The combination of rich butter, sweet sugars, and luscious chocolate chips creates an experience that’s truly extraordinary—one that evokes warmth and nostalgia with every bite.
This recipe is not just about the taste; it embodies joy in its creation. It brings loved ones together, whether you’re baking on a quiet afternoon or preparing treats for a festive gathering. Imagine pulling these golden-brown beauties from the oven and watching everyone gather around, their eyes lighting up with anticipation—the experience itself is part of what makes this cookie a must-try! It’s accessible enough for novice bakers yet rewarding enough to impress seasoned pros alike.
When it comes to serving suggestions, imagine savoring one with an ice-cold glass of almond milk or perhaps pairing it with a dollop of creamy coconut yogurt for an afternoon pick-me-up. For a truly decadent experience, consider sandwiching two warm cookies around a scoop of dairy-free vanilla ice cream—now that’s what I call bliss! Whether enjoyed solo or shared with friends and family, each moment spent indulging in these cookies adds sweetness to life.
Feeling adventurous? This recipe is wonderfully adaptable! You could swap out chocolate chips for chunks of creamy peanut butter or sprinkle in some toasted nuts for an added crunch. You might even fold in dried fruit like cranberries or apricots for an unexpected twist that elevates these cookies further into the realm of greatness. The possibilities are endless! So go ahead—try this recipe out today and share your experience with me. Let’s connect over our love for baking and create even more delicious memories together!
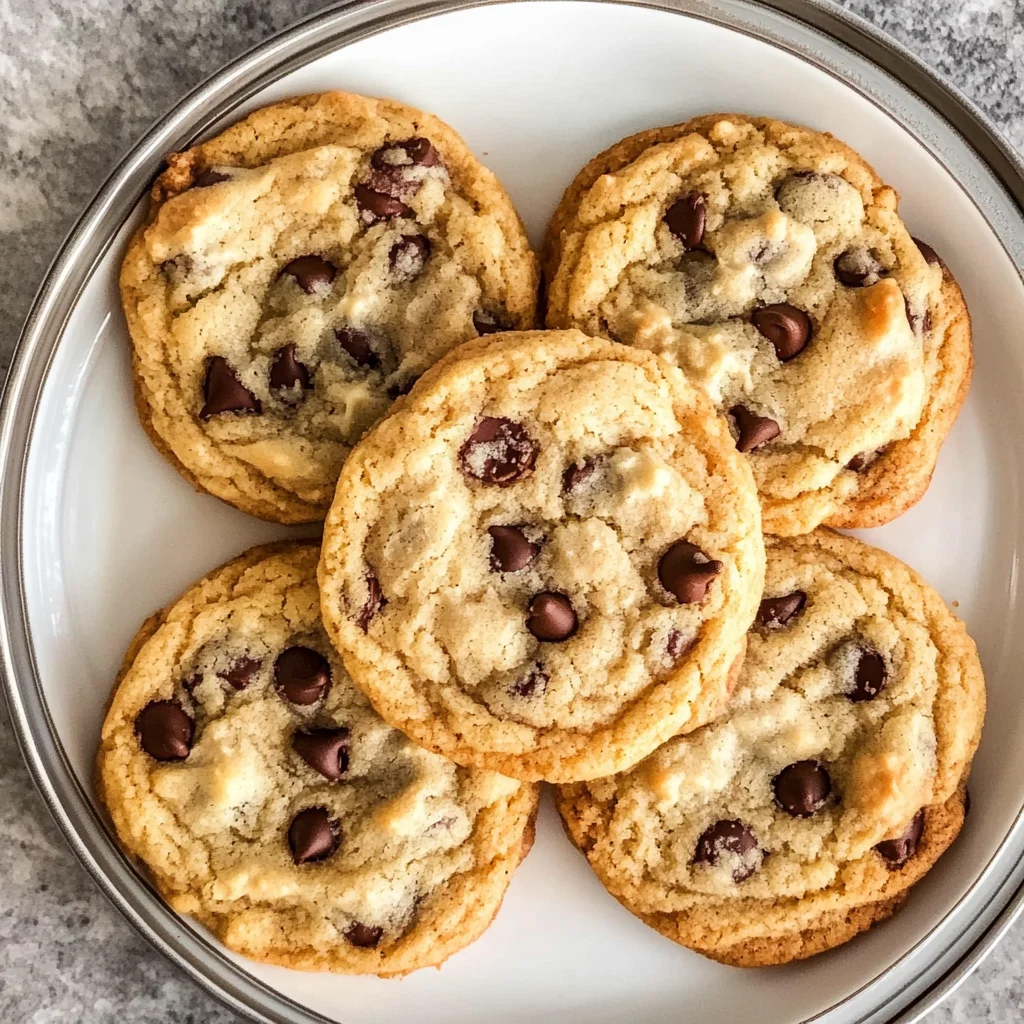
Bakery Style Chocolate Chip Cookies
Indulge in the delightful experience of homemade Bakery Style Chocolate Chip Cookies, where every bite offers a perfect balance of soft, chewy centers and crispy edges. This easy recipe is designed to evoke nostalgia and warmth, making it ideal for sharing with family and friends or enjoying as a sweet treat any time of the day. With rich chocolate goodness and the comforting aroma wafting through your kitchen, these cookies are sure to become a favorite. Master the art of cookie making and impress everyone with your baking prowess!
- Prep Time: 15 minutes
- Cook Time: 12 minutes
- Total Time: 27 minutes
- Yield: Approximately 24 cookies 1x
- Category: Dessert
- Method: Baking
- Cuisine: American
Ingredients
- 1 cup unsalted butter, softened
- 3/4 cup granulated sugar
- 3/4 cup packed light brown sugar
- 2 large eggs
- 1 teaspoon vanilla extract
- 2 1/4 cups all-purpose flour
- 1 teaspoon baking soda
- 1/2 teaspoon salt
- 2 cups chocolate chips (milk or semi-sweet)
Instructions
- Preheat oven to 375°F (190°C) and line baking sheets with parchment paper.
- In a large bowl, cream together softened butter, granulated sugar, and brown sugar until light and fluffy.
- Add eggs one at a time, mixing well after each addition. Stir in vanilla extract.
- In another bowl, whisk together flour, baking soda, and salt.
- Gradually add dry ingredients to the wet mixture until just combined.
- Gently fold in chocolate chips.
- Chill dough for at least 30 minutes in the refrigerator.
- Scoop dough onto prepared baking sheets about 2 inches apart.
- Bake for 9-12 minutes until edges are golden but centers appear slightly underbaked.
- Allow cookies to cool on baking sheets for five minutes before transferring to wire racks.
Nutrition
- Serving Size: 1 cookie (35g)
- Calories: 150
- Sugar: 10g
- Sodium: 100mg
- Fat: 8g
- Saturated Fat: 5g
- Unsaturated Fat: 3g
- Trans Fat: 0g
- Carbohydrates: 17g
- Fiber: <1g
- Protein: 2g
- Cholesterol: 20mg