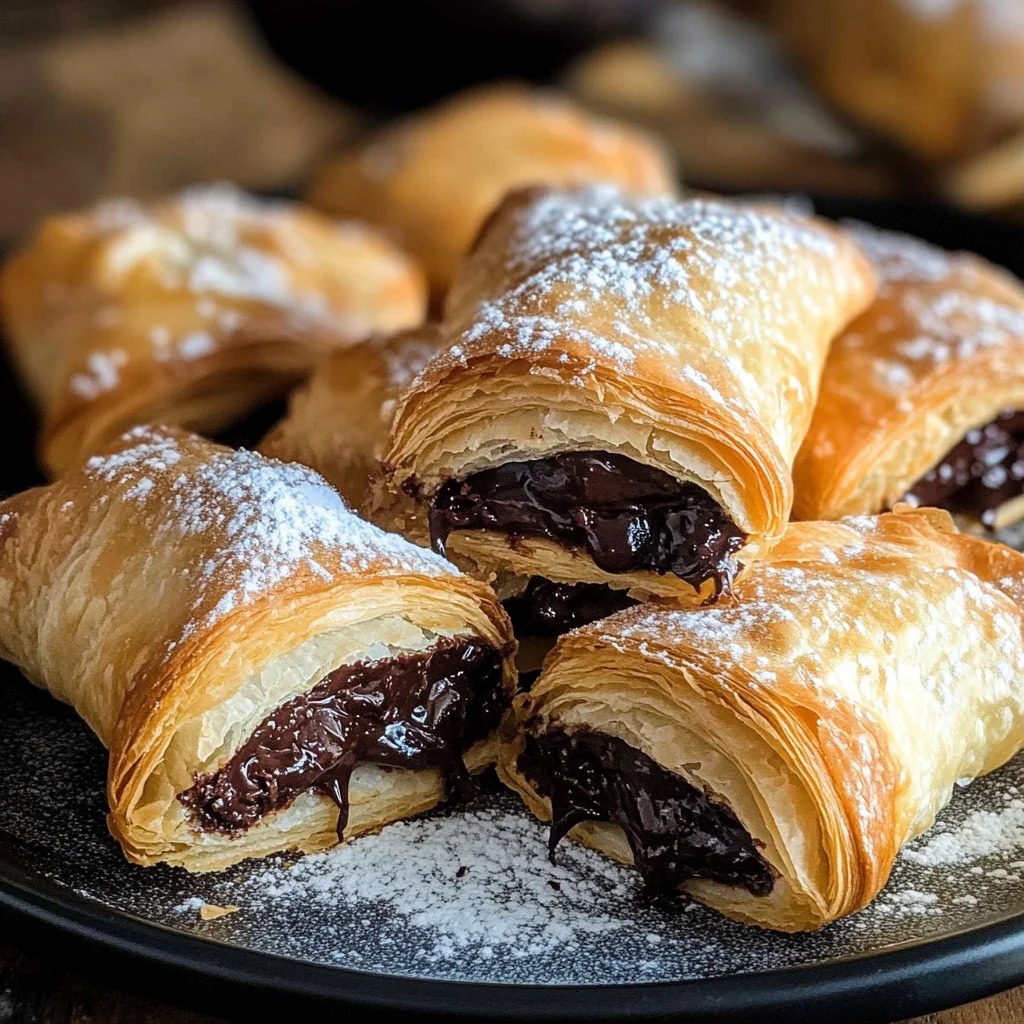
Chocolate Puff Pastries
If you’re looking for a simple yet indulgent treat, these Chocolate Puff Pastries are just what you need! They are flaky, crispy, and filled with rich chocolate—perfect for breakfast, brunch, or as a delightful dessert. I love whipping these up when friends come over or even on busy weeknights when I crave something sweet but don’t have much time. With just three ingredients, you’ll wonder why you didn’t make them sooner!
Everyone in the family will adore these pastries, making them a fantastic choice for gatherings or an after-school snack. Plus, they’re so easy to prepare that even the little ones can join in the fun of rolling them up. Trust me; once you try this recipe, it’ll become a favorite in your kitchen too!
Why You’ll Love This Recipe
- Quick and Easy: With only three ingredients and minimal prep time, you can enjoy fresh Chocolate Puff Pastries in no time!
- Family-Friendly: Kids love helping to make these treats, and they’ll enjoy eating them even more!
- Versatile Treat: Whether for breakfast or dessert, these pastries fit perfectly into any meal—who says you can’t have chocolate for breakfast?
- Make Ahead: You can prepare them in advance and bake them just before serving for that warm and fresh-out-of-the-oven experience.
Ingredients You’ll Need
These Chocolate Puff Pastries are made with simple and wholesome ingredients that are likely already in your pantry. Let’s take a look at what you’ll need:
For the Pastries
- 2 sheets frozen puff pastry
- 1 cup dark (semisweet) chocolate chips (or use your favorite chocolate)
- 1 tablespoon powdered (icing) sugar
Variations
This recipe is wonderfully flexible! Feel free to play around with different flavors and fillings.
- Try Different Chocolates: Experiment with milk chocolate or white chocolate chips for a sweeter taste.
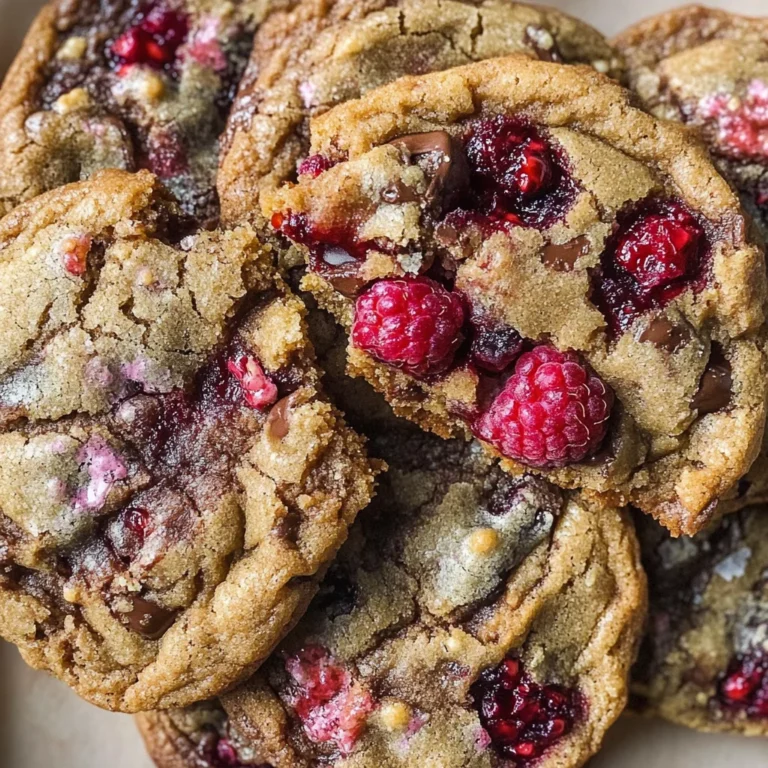
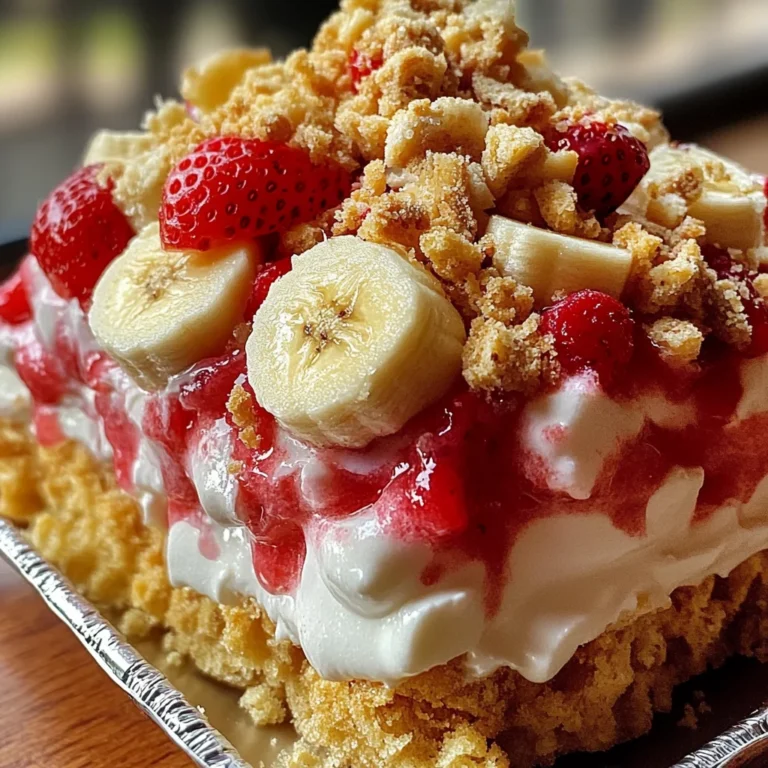
- Add Fruit: Toss some fresh berries or sliced bananas into the filling for a fruity twist.
- Nutty Delight: Add chopped nuts like almonds or hazelnuts along with the chocolate chips for extra crunch.
- Spice It Up: Sprinkle in some cinnamon or chili powder to give your pastries a unique flavor profile.
How to Make Chocolate Puff Pastries
Step 1: Thaw the Pastry
Thaw the frozen puff pastry sheets according to the manufacturer’s instructions. This step is crucial because it allows the pastry to become pliable and easy to work with. If you skip this step, your pastry might tear when cutting!
Step 2: Preheat Your Oven
Preheat your oven to 400ºF (200ºC) and line a baking sheet with non-stick parchment paper. Preheating ensures that your pastries will rise beautifully and achieve that golden-brown color we all adore.
Step 3: Cut the Pastry
Lay one sheet of thawed puff pastry on a cutting board and cut it into 6 rectangles approximately 3 inches by 5 inches (8cm x 12.5 cm). Cutting them evenly gives each pastry a uniform look while ensuring they bake at the same rate.
Step 4: Add Chocolate Chips
Scatter half of the chocolate chips over one piece of pastry. This is where the magic begins! The more chocolate, the better—so feel free to be generous!
Step 5: Roll Them Up
From the short end, roll up each rectangle capturing those delicious chocolate chips inside. Rolling from this end allows for a tighter spiral of pastry which enhances its texture when baked.
Step 6: Repeat
Repeat with the remaining pastry and chocolate chips until you’ve got all your delicious rolls ready. Each bite will be packed with gooey goodness!
Step 7: Arrange on Baking Sheet
Arrange rolled pastries on your prepared baking sheet seam-side down. This helps keep those precious fillings securely inside while they bake.
Step 8: Bake Until Golden
Bake for about 20 minutes until golden brown and crispy. Keep an eye on them towards the end; every oven is different, and we want those perfect puff pastries!
Step 9: Cool Completely
Transfer baked pastries to a wire rack to cool completely. This step not only makes them safer to eat but also helps maintain their delightful crispiness.
Step 10: Dust with Sugar
Finally, sieve powdered sugar over your pastries before serving. This final touch adds sweetness and makes them look oh-so-inviting!
Pro Tips for Making Chocolate Puff Pastries
Making Chocolate Puff Pastries is a delightful experience, and with a few handy tips, you can ensure they turn out perfectly every time!
- Use cold ingredients: Keeping your puff pastry cold until baking helps it rise beautifully in the oven, giving you that irresistible flaky texture.
- Don’t overfill: It’s tempting to add extra chocolate chips, but overfilling can cause the pastries to burst while baking. Stick to the recommended amount for the best results.
- Keep an eye on baking time: Ovens can vary, so start checking your pastries a couple of minutes before the suggested time. You want them golden brown and crispy, not overly dark.
- Experiment with chocolate types: While dark chocolate chips are delicious, don’t hesitate to try white chocolate or even flavored chocolates for a unique twist on this classic recipe.
- Let them cool before serving: Although it’s hard to resist warm pastries, letting them cool for a few minutes allows the chocolate to set slightly, making them easier to handle and eat.
How to Serve Chocolate Puff Pastries
These delightful pastries are perfect for any occasion! Whether you’re preparing a cozy breakfast or an elegant dessert, presentation can enhance their appeal.
Garnishes
- Powdered sugar: A light dusting of powdered sugar adds a touch of sweetness and makes the pastries look extra inviting.
- Fresh berries: Adding fresh strawberries or raspberries on the side not only offers a pop of color but also provides a refreshing contrast to the rich chocolate.
Side Dishes
- Fruit salad: A light fruit salad composed of seasonal fruits offers a refreshing balance to the richness of the puff pastries. Consider using a mix of melons, berries, and citrus for vibrant flavors.
- Coffee or tea: Pairing these pastries with a cup of your favorite coffee or herbal tea creates a comforting experience perfect for brunch gatherings or afternoon snacks.
- Yogurt parfaits: Layer some dairy-free yogurt with granola and fruit for a wholesome side dish that complements the sweetness of the pastries while adding some creaminess.
- Nut butter dip: Serve with a small bowl of almond or cashew butter for dipping. The nutty flavor pairs wonderfully with chocolate and adds an extra layer of richness.
With these tips and serving suggestions in hand, you’re all set to impress your family and friends with your delicious Chocolate Puff Pastries! Enjoy every bite!
Make Ahead and Storage
This recipe for Chocolate Puff Pastries is fantastic for meal prep, allowing you to whip up a batch in advance and enjoy them throughout the week. Let’s explore how to store, freeze, and reheat these delightful pastries!
Storing Leftovers
- Store any leftover puff pastries in an airtight container at room temperature for up to 2 days.
- If you prefer them fresh from the oven, place parchment paper between layers to prevent sticking.
Freezing
- Allow the baked pastries to cool completely before freezing.
- Place them in a single layer on a baking sheet and freeze until solid.
- Transfer to a freezer-safe bag or container, labeling it with the date. They can be frozen for up to 2 months.
Reheating
- For best results, reheat the pastries in a preheated oven at 350ºF/175ºC for about 10 minutes until warmed through and crispy again.
- Alternatively, you can microwave them for about 15-20 seconds, but keep in mind they may lose some of their crispness.
FAQs
If you’re curious about Chocolate Puff Pastries or have some questions, you’ve come to the right place!
Can I use different types of chocolate for Chocolate Puff Pastries?
Absolutely! You can use dark chocolate chips, semisweet chocolate, or even white chocolate if that’s what you prefer. The choice is yours!
How do I ensure my Chocolate Puff Pastries are crispy?
To achieve that delightful crispiness, make sure your puff pastry is well-thawed and bake at a high temperature. Also, avoid overloading with chocolate so that the pastry can cook evenly.
How long do Chocolate Puff Pastries last?
When stored correctly at room temperature, your Chocolate Puff Pastries will stay fresh for about 2 days. If frozen, they can last up to 2 months.
Can I add other fillings to my Chocolate Puff Pastries?
Definitely! Feel free to experiment with various ingredients like almond butter, Nutella alternatives, or even fruit preserves alongside the chocolate.
Final Thoughts
I hope this recipe brings as much joy to your kitchen as it has to mine! These Chocolate Puff Pastries are not just quick and easy; they’re also versatile and absolutely delicious. Whether you serve them for breakfast or as a sweet treat during brunch, I’m sure they’ll become a favorite. Enjoy making them and sharing with those you love—happy baking!
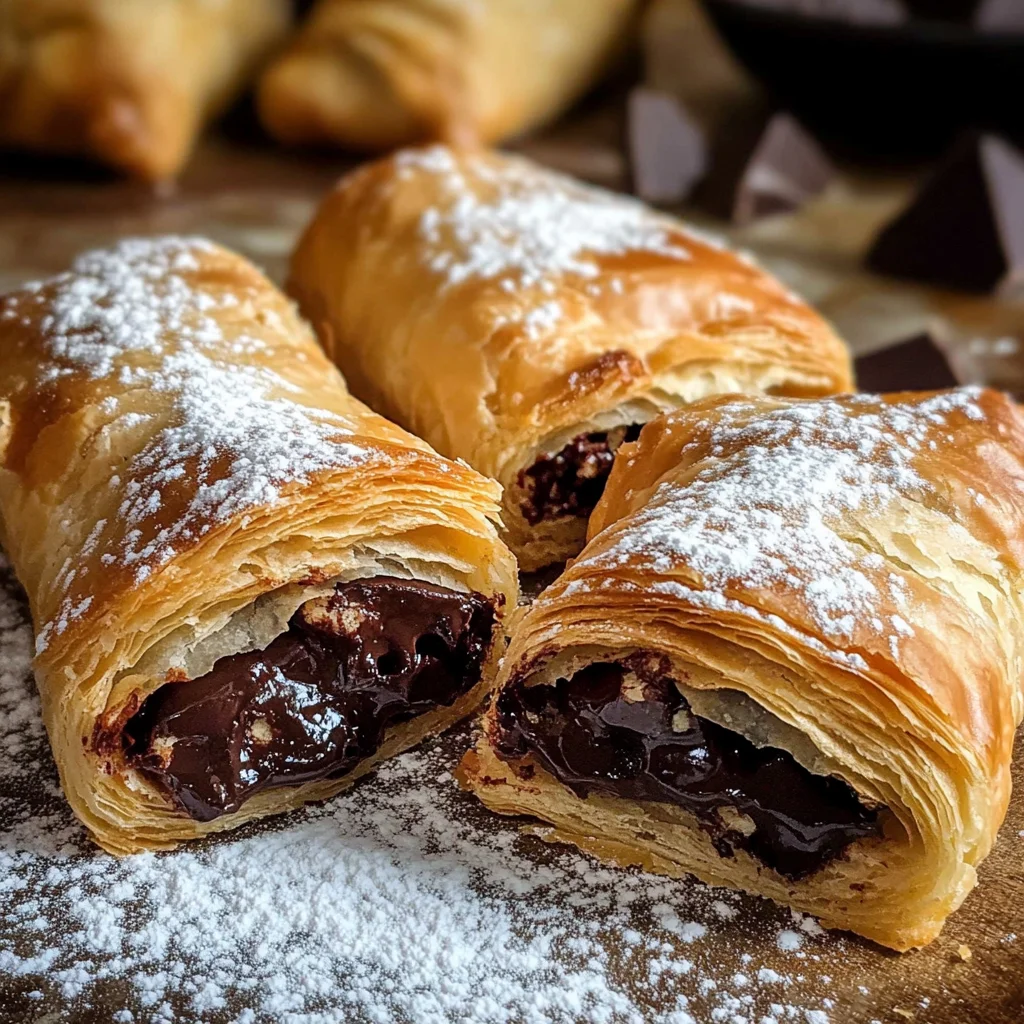
Chocolate Puff Pastries

If you’re in the mood for a delightful treat that combines flakiness and rich chocolate, look no further than these Chocolate Puff Pastries! With just three simple ingredients, this easy-to-follow recipe will have you whipping up these indulgent pastries in no time. Perfect for breakfast, brunch, or as a sweet dessert, they’re sure to impress family and friends at any gathering. Their crispy exterior and gooey chocolate filling make them a must-try—plus, kids will love getting involved in the fun of preparing them. Once you taste these pastries, they’ll quickly become a favorite in your kitchen!
- Prep Time: 15 minutes
- Cook Time: 20 minutes
- Total Time: 35 minutes
- Yield: Makes 12 pastries 1x
- Category: Dessert
- Method: Baking
- Cuisine: American
Ingredients
- 2 sheets frozen puff pastry
- 1 cup dark chocolate chips (or preferred chocolate)
- 1 tablespoon powdered sugar
Instructions
- Thaw the puff pastry sheets as per package instructions.
- Preheat the oven to 400ºF (200ºC) and line a baking sheet with parchment paper.
- Cut each pastry sheet into 6 rectangles.
- Place half the chocolate chips on one rectangle; roll from the short end to enclose the filling.
- Repeat with remaining pastry and chocolate.
- Arrange on the baking sheet seam-side down and bake for about 20 minutes until golden brown.
- Cool on a wire rack before dusting with powdered sugar.
Nutrition
- Serving Size: 1 pastry
- Calories: 185
- Sugar: 8g
- Sodium: 75mg
- Fat: 10g
- Saturated Fat: 6g
- Unsaturated Fat: 4g
- Trans Fat: 0g
- Carbohydrates: 22g
- Fiber: 1g
- Protein: 2g
- Cholesterol: 0mg