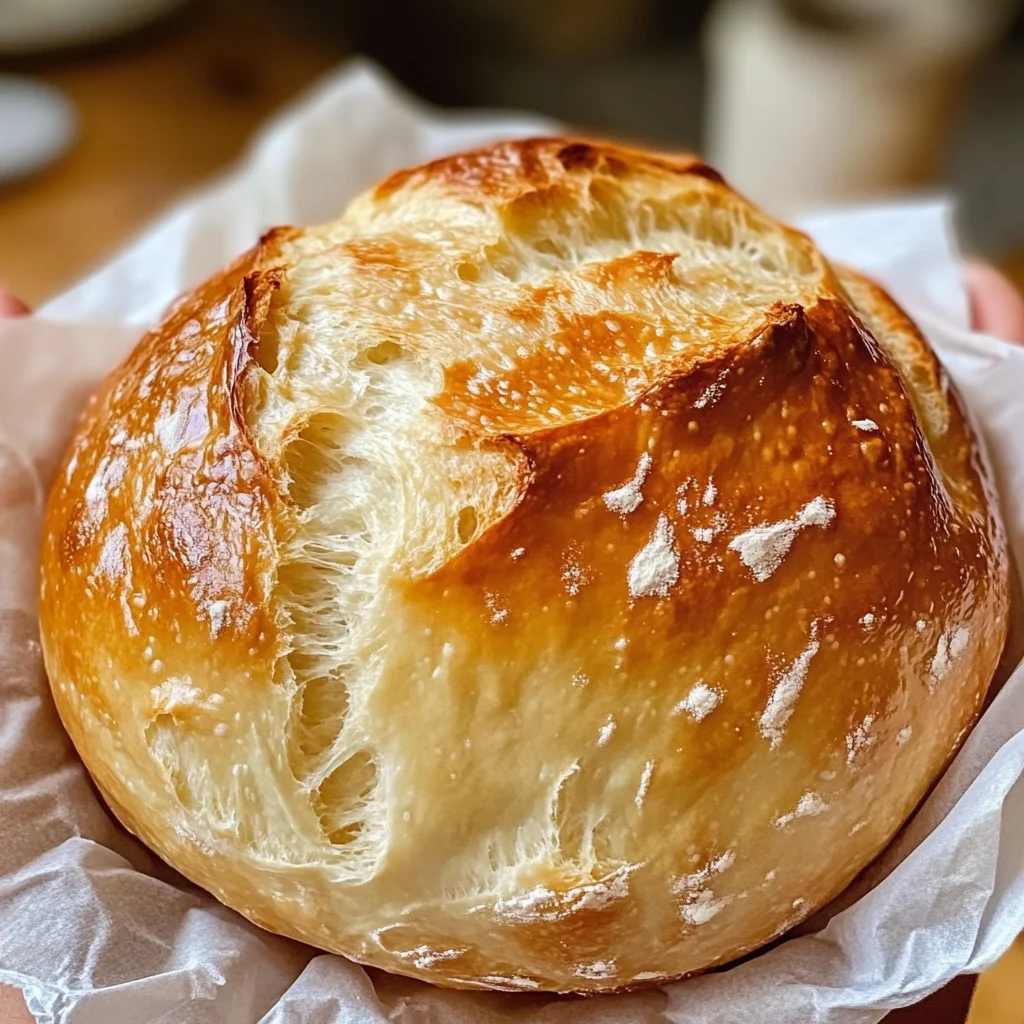
20-Minute Homemade Bread
If you’re looking for a quick and satisfying way to enjoy warm, homemade bread, then this 20-Minute Homemade Bread recipe is just what you need! There’s something magical about the smell of fresh bread wafting through your kitchen, and with this recipe, you won’t have to wait long at all. It’s perfect for busy weeknights when you want to whip up a comforting meal for your family or when unexpected guests drop by. Trust me, this easy recipe will quickly become one of your go-to favorites!
What I love most about this bread is its versatility. You can serve it alongside soups, use it for sandwiches, or simply enjoy it with a pat of butter and jam. No rise time means you can make it in a flash, which is always a win in my book!
Why You’ll Love This Recipe
- Quick preparation: You can have fresh bread on the table in just 20 minutes!
- Family-friendly: Kids love helping out with this fun and easy recipe.
- Versatile uses: Perfect for sandwiches, sides, or as a delicious snack.
- No special equipment needed: Just a bowl and a baking sheet—easy peasy!
- Customizable flavors: Add herbs, cheese, or garlic to make it uniquely yours.
Ingredients You’ll Need
This recipe calls for simple, wholesome ingredients that you probably already have in your pantry. Let’s gather everything we need to make this fluffy delight!
For the Bread
- 2 cups all-purpose flour
- 1 tablespoon baking powder
- 1 teaspoon salt
- 1 tablespoon sugar
- 1 cup milk
- 1/4 cup vegetable oil
- Optional: herbs, cheese, or garlic for flavor
Variations
One of the best things about this 20-Minute Homemade Bread is how flexible it is! Feel free to experiment with different flavors and add-ins to create your perfect loaf.
- Add some herbs: Mix in dried oregano or rosemary for an aromatic twist.
- Cheesy goodness: Fold in shredded cheese like cheddar or mozzarella for a cheesy delight.
- Garlic lover’s dream: Incorporate minced garlic into the dough for a savory touch.
- Sweet touch: Substitute some sugar with honey or add cinnamon for a sweet variation.
How to Make 20-Minute Homemade Bread
Step 1: Preheat Your Oven
First things first—preheat your oven to 400°F (200°C). This step ensures that your bread will bake evenly and develop that beautiful golden crust we all love. Don’t forget to grease your baking sheet so the bread doesn’t stick!
Step 2: Combine Dry Ingredients
In a large bowl, whisk together the flour, baking powder, salt, and sugar. This is where the magic begins! Mixing these dry ingredients well allows the baking powder to distribute evenly throughout the dough, ensuring that every bite rises beautifully.
Step 3: Add Wet Ingredients
Next, pour in the milk and vegetable oil. Stir until everything comes together into a dough. The combination of wet and dry ingredients creates that lovely texture we crave in homemade bread. Don’t worry if it feels slightly sticky; that’s perfectly normal!
Step 4: Knead the Dough
Turn the dough onto a floured surface and knead it gently for about one minute until it’s smooth. Kneading helps develop gluten which gives our bread structure. It’s also quite therapeutic—just think of it as giving your dough a little love!
Step 5: Shape Your Loaf
Shape the dough into a round loaf and place it on your prepared baking sheet. This step not only makes your bread look pretty but also allows it to bake evenly. If you’re feeling fancy, score the top with a knife—it adds decorative flair!
Step 6: Bake Your Bread
Pop that loaf into the oven and bake for 15-20 minutes until it’s golden brown and sounds hollow when tapped on the bottom. Keep an eye on it during those last few minutes; nothing beats freshly baked bread coming out of the oven!
Step 7: Cool and Serve
Once done, let your bread cool slightly before slicing into it. This waiting period helps set its shape but trust me—it’s hard not to sneak a piece! Enjoy this delightful bread warm with butter or as part of any meal.
Now you have everything you need to whip up this fantastic 20-Minute Homemade Bread! Enjoy making memories as you bake—and even more as you share slices with loved ones!
Pro Tips for Making 20-Minute Homemade Bread
Making bread at home can be a delightful experience, especially when it takes just 20 minutes! Here are some pro tips to ensure your homemade bread turns out perfect every time.
- Measure accurately: Use a kitchen scale for precise measurements. Accurate ingredient ratios are key to achieving the right texture and flavor.
- Don’t over-knead: Knead the dough just until smooth (about 1 minute). Overworking the dough can lead to tough bread instead of soft and fluffy goodness.
- Experiment with flavors: Add herbs, cheese, or minced garlic to the dough for an extra flavor boost. This simple addition transforms your bread into something special!
- Keep an eye on baking time: Ovens vary, so check your bread a few minutes before the recommended time. Looking for a golden brown crust and a hollow sound when tapped is your best indicator of doneness.
- Store properly: To keep leftover bread fresh, wrap it in a clean kitchen towel and store it in a bread bag or container. This helps maintain its softness longer.
How to Serve 20-Minute Homemade Bread
This quick homemade bread is not only delicious on its own but can also be dressed up in various ways to enhance your meal. Here are some ideas for serving this delightful loaf!
Garnishes
- Fresh herbs: Sprinkle chopped parsley or rosemary on top before baking for an aromatic touch.
- Olive oil drizzle: A light drizzle of high-quality olive oil adds richness and flavor when served warm.
- Flavored butter: Whip some softened butter with garlic or herbs as a spread to elevate each slice.
Side Dishes
- Salad: A refreshing green salad with vinaigrette complements the bread perfectly, adding balance to your meal.
- Soup: Pairing this bread with a hearty vegetable or lentil soup creates a cozy and satisfying dinner experience.
- Roasted vegetables: Serve alongside roasted seasonal vegetables seasoned with olive oil and spices for a deliciously healthy option.
- Dips: Offer hummus or tzatziki on the side—perfect for dipping slices of warm bread and enhancing flavor.
Enjoy your freshly baked 20-Minute Homemade Bread with these serving suggestions, making every meal feel special!
Make Ahead and Storage
This 20-Minute Homemade Bread is not only quick to make, but it’s also perfect for meal prep! You can easily whip up a batch and store it for later use, making your meals even more convenient.
Storing Leftovers
- Allow the bread to cool completely before storing.
- Wrap it tightly in plastic wrap or place it in an airtight container.
- Store at room temperature for up to 3 days.
Freezing
- Slice the bread before freezing for easy access.
- Wrap each slice individually in plastic wrap and then place them in a freezer-safe bag.
- Freeze for up to 3 months.
Reheating
- For best results, thaw slices in the refrigerator overnight before reheating.
- Warm in a toaster or oven at 350°F (175°C) for about 5-10 minutes until heated through.
- Enjoy fresh bread again with that delightful warmth!
FAQs
Here are some common questions about this delightful recipe.
How can I make 20-Minute Homemade Bread gluten-free?
You can easily substitute all-purpose flour with a gluten-free flour blend. Just ensure the blend contains xanthan gum for the best texture!
Can I add flavors to my 20-Minute Homemade Bread?
Absolutely! You can mix in herbs, cheese, or garlic before baking to enhance the flavor. Feel free to get creative with your favorite additions!
Is this recipe suitable for beginners?
Yes! This simple recipe is perfect for novice bakers as it requires no kneading or rising time, making it an easy introduction to homemade bread.
Final Thoughts
I hope you enjoy making this 20-Minute Homemade Bread as much as I do! It’s such a special treat that brings comfort and warmth to any meal. Whether you’re sharing it with family or enjoying a quiet moment with a slice and some butter, this recipe is sure to become a staple in your kitchen. Happy baking, and may your home be filled with the delightful aroma of fresh bread!
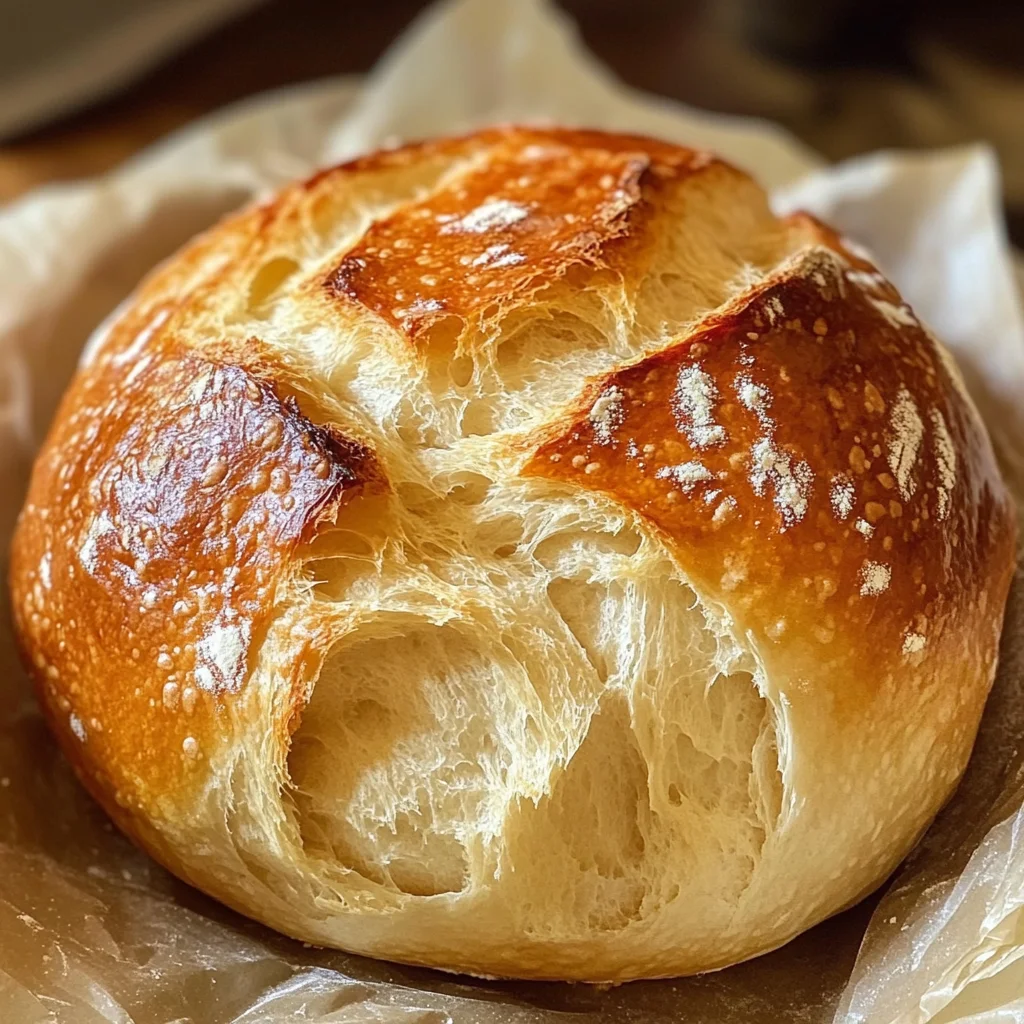
20-Minute Homemade Bread

If you’re in search of a quick, satisfying homemade bread that fills your kitchen with an irresistible aroma, this 20-Minute Homemade Bread recipe is your answer! This fluffy loaf comes together in just 20 minutes—perfect for busy weeknights or last-minute gatherings. With no rise time, you can bake it alongside your favorite soups, serve it as sandwiches, or enjoy it warm with butter and jam. Its simplicity will make it a staple in your home kitchen. Customize it with herbs, cheese, or garlic to create variations that suit your taste and elevate any meal!
- Prep Time: 10 minutes
- Cook Time: 15 minutes
- Total Time: 25 minutes
- Yield: Approximately 8 servings 1x
- Category: Bread
- Method: Baking
- Cuisine: American
Ingredients
- 2 cups all-purpose flour
- 1 tablespoon baking powder
- 1 teaspoon salt
- 1 tablespoon sugar
- 1 cup milk
- 1/4 cup vegetable oil
- Optional: herbs, cheese, or garlic for flavor
Instructions
- Preheat your oven to 400°F (200°C) and grease a baking sheet.
- In a large bowl, whisk together the flour, baking powder, salt, and sugar.
- Add the milk and vegetable oil; stir until a dough forms.
- Knead the dough on a floured surface for about one minute until smooth.
- Shape the dough into a round loaf and place it on the prepared baking sheet.
- Bake for 15-20 minutes until golden brown and sounds hollow when tapped.
- Allow cooling slightly before slicing.
Nutrition
- Serving Size: 1 slice (40g)
- Calories: 130
- Sugar: 1g
- Sodium: 200mg
- Fat: 5g
- Saturated Fat: 0.5g
- Unsaturated Fat: 4g
- Trans Fat: 0g
- Carbohydrates: 19g
- Fiber: 0.5g
- Protein: 3g
- Cholesterol: 0mg