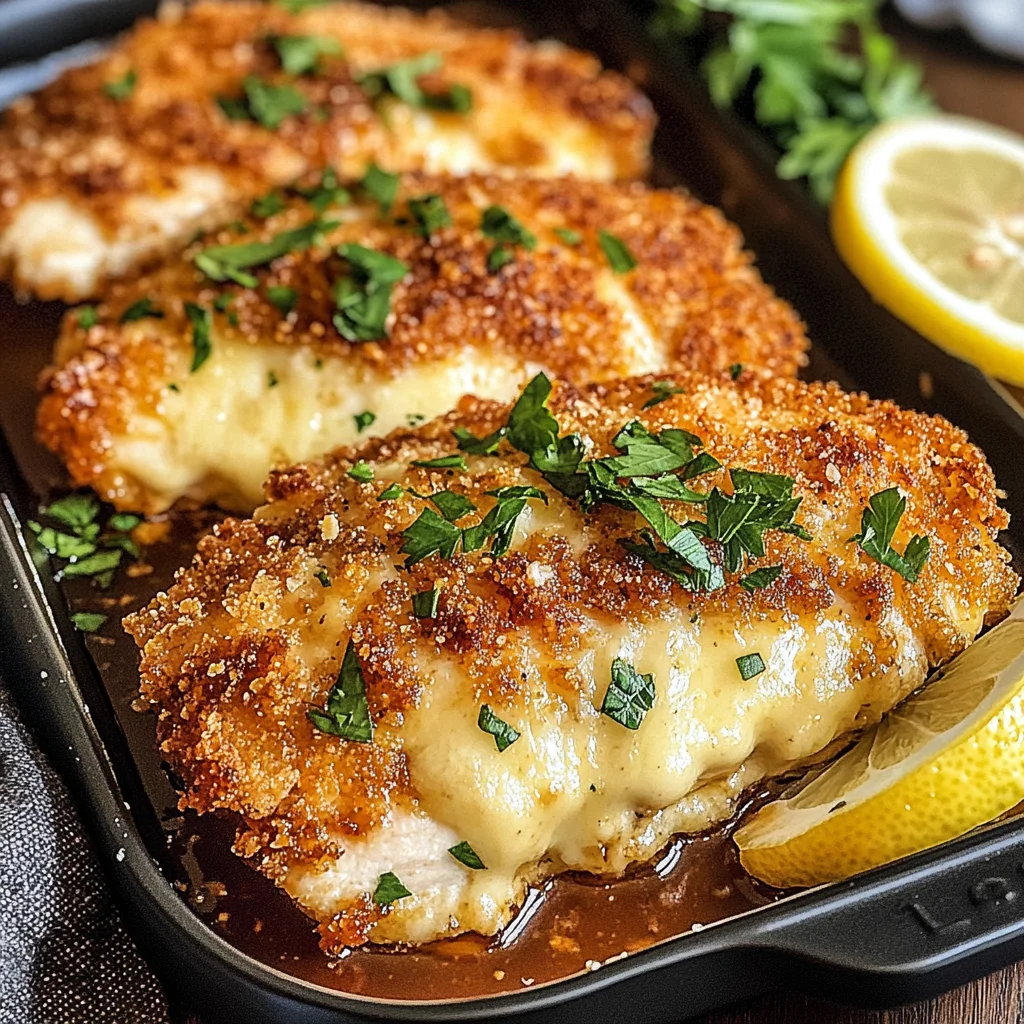
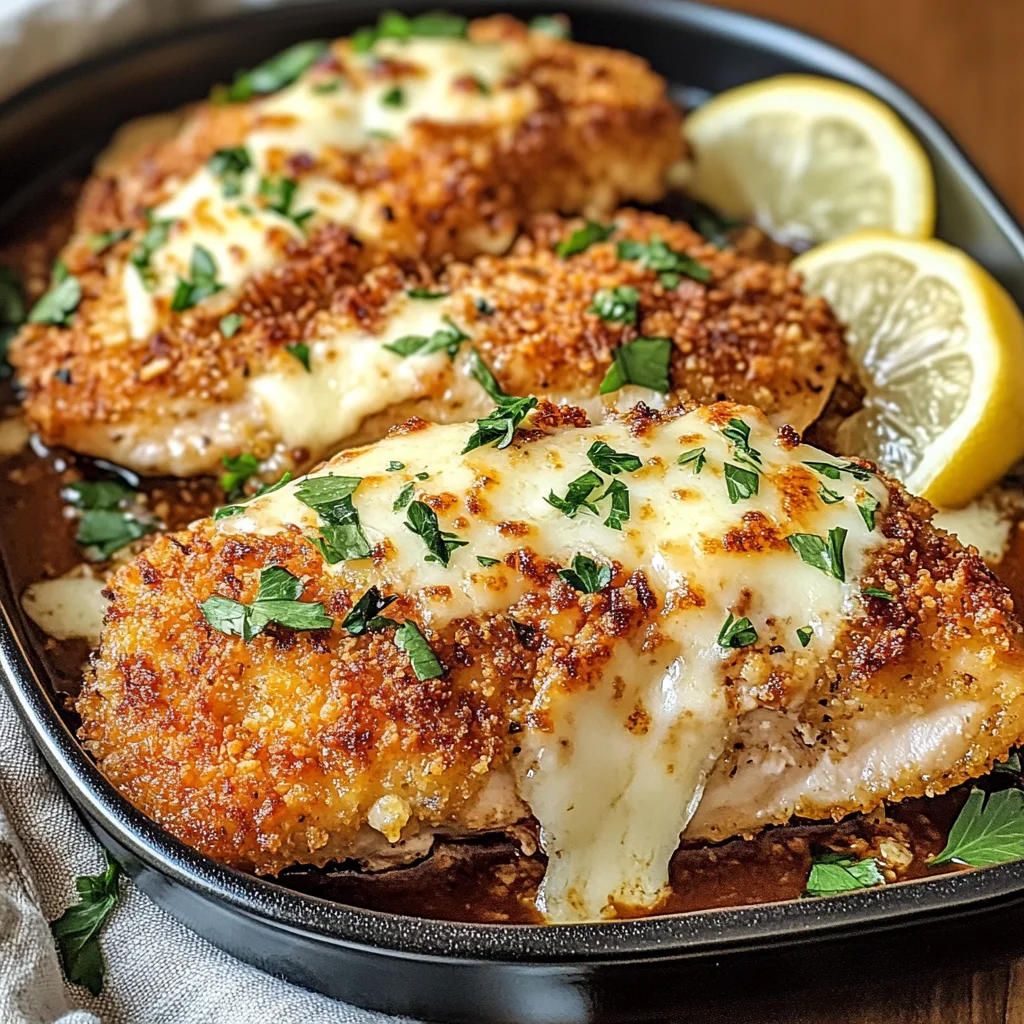
Chicken Romano
If you’re looking for a dish that brings comfort and joy to the table, Chicken Romano is just what you need. This recipe has a special place in my heart because it combines simple ingredients into something truly delicious. Whether it’s a busy weeknight or a family gathering, Chicken Romano shines in any setting, making it perfect for both quick dinners and larger celebrations.
What I love most about this dish is how easy it is to make while still impressing everyone who gets to enjoy it. Imagine crispy, cheesy chicken served with fresh lemon wedges and a sprinkle of parsley—it’s hard not to fall in love!
Why You’ll Love This Recipe
- Quick Preparation: With just 15 minutes of prep time, you can have this delightful dish on the table before you know it!
- Family-Friendly Appeal: The delicious flavors of Chicken Romano make it a hit with kids and adults alike—everyone will be asking for seconds!
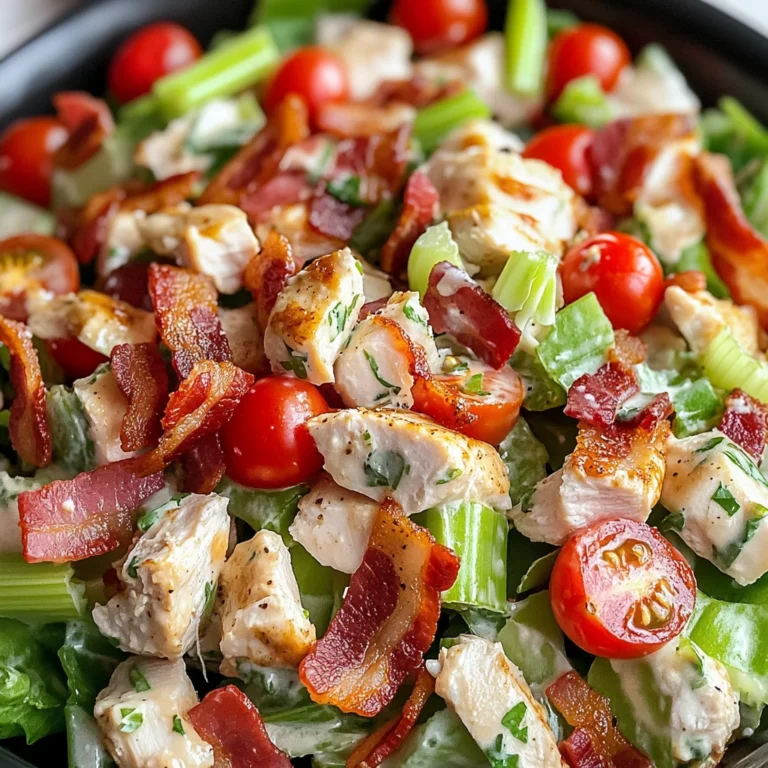
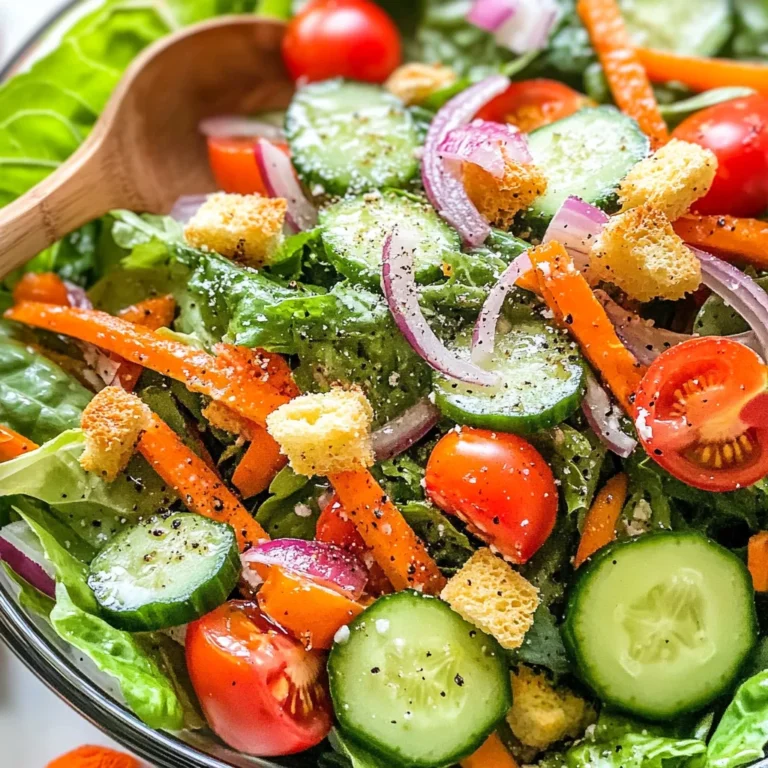
- Versatile Serving Options: Serve it with a side salad, pasta, or steamed veggies; this dish pairs well with anything.
- Make-Ahead Convenience: You can prepare the chicken ahead of time and simply fry it when you’re ready to eat.
- Bursting with Flavor: The combination of crispy breadcrumbs and savory Romano cheese creates a mouthwatering experience that’s hard to resist.
Ingredients You’ll Need
Let’s gather our ingredients! These are simple, wholesome items that you might already have in your kitchen. They come together beautifully to create that wonderful Chicken Romano experience.
For the Chicken
- 4 boneless, skinless chicken breasts
- ½ cup all-purpose flour
- 2 large eggs
- ¼ cup milk
- 1 cup grated Romano cheese
- 1 cup Italian-style breadcrumbs
- ½ teaspoon salt
- ½ teaspoon black pepper
- ½ teaspoon garlic powder
- ½ teaspoon paprika
For Frying
- ¼ cup olive oil (for frying)
- 2 tablespoons unsalted butter
For Garnish
- Fresh parsley, chopped (for garnish)
- Lemon wedges (for serving)
Variations
One of the best things about Chicken Romano is its flexibility! Feel free to get creative with these variations:
- Swap the protein: Try using turkey cutlets instead of chicken for a lighter option.
- Add some spice: Mix in some crushed red pepper flakes with your breadcrumbs for an extra kick!
- Make it cheesy: Layer on even more cheese by adding mozzarella slices on top during the last few minutes of cooking.
- Go gluten-free: Substitute the all-purpose flour and breadcrumbs with gluten-free alternatives to suit your dietary needs.
How to Make Chicken Romano
Step 1: Prepare the Chicken
Start by placing your chicken breasts between two sheets of plastic wrap. Gently pound them down with a meat mallet until they are about ½ inch thick. This step ensures even cooking and helps keep the chicken tender. Season both sides with salt and pepper for added flavor.
Step 2: Set Up Your Breading Station
In three separate bowls, arrange your flour, beaten eggs mixed with milk, and the combination of grated Romano cheese, breadcrumbs, garlic powder, and paprika. This setup makes breading the chicken super easy and prevents messes!
Step 3: Bread the Chicken
Take each piece of chicken and first coat it with flour, shaking off any excess. Next, dip it into the egg mixture before finally coating it generously in the breadcrumb mix. Press down lightly so that everything sticks well—a good breading equals a delicious crunch!
Step 4: Fry It Up
In a large skillet over medium heat, warm up your olive oil and butter until shimmering but not smoking. Carefully add the coated chicken pieces into the pan, being mindful not to overcrowd them. Fry for about 5-7 minutes on each side until golden brown and cooked through. This step creates that irresistible crispy texture we all love!
Step 5: Serve It Right
Once cooked, transfer your Chicken Romano to a plate lined with paper towels to absorb any excess oil. Garnish with fresh parsley and serve alongside lemon wedges for squeezing over the top—trust me; this brightens up everything! Enjoy your meal!
Pro Tips for Making Chicken Romano
Making Chicken Romano is a breeze, especially with these handy tips to elevate your dish!
- Choose the Right Chicken: Opt for fresh, high-quality chicken breasts for the best flavor and texture. This ensures your dish is juicy and tender.
- Season Your Flour: Adding a pinch of salt and pepper to your flour mixture enhances the overall taste. It’s a simple step that makes a big difference in flavor.
- Double-Dip for Extra Crunch: For an extra crispy coating, dip each chicken breast in the egg mixture and then again in the breadcrumbs. This creates a thicker crust that holds up beautifully while frying.
- Control the Heat: Maintain medium heat when frying. Too high, and you risk burning the breadcrumbs before the chicken cooks through; too low, and it won’t get that lovely golden color.
- Rest Before Serving: Allow your cooked Chicken Romano to rest for a few minutes before serving. This helps lock in juices and keeps your dish moist.
How to Serve Chicken Romano
Serving Chicken Romano can be as delightful as cooking it! Here are some ideas to present this scrumptious meal beautifully.
Garnishes
- Fresh Parsley: A sprinkle of freshly chopped parsley adds a pop of color and freshness to your plate.
- Lemon Wedges: Serve with lemon wedges on the side for a zesty burst that complements the rich flavors of the cheese.
Side Dishes
- Garlic Mashed Potatoes: Creamy mashed potatoes with roasted garlic are a comforting side that pairs perfectly with the crispy chicken.
- Steamed Broccoli: Bright green steamed broccoli adds a nutritious touch and balances out the richness of Chicken Romano.
- Caesar Salad: A classic Caesar salad brings crunchy romaine lettuce and tangy dressing, providing a fresh contrast to your main dish.
- Quinoa Pilaf: Fluffy quinoa mixed with herbs and vegetables makes for a light yet satisfying side that combines well with any protein.
Enjoy your delicious Chicken Romano, beautifully plated with these thoughtful garnishes and sides!
Make Ahead and Storage
This Chicken Romano recipe is perfect for meal prep, allowing you to enjoy delicious homemade meals throughout the week. You can easily make a batch in advance and store it for later, saving you time on busy evenings.
Storing Leftovers
- Allow the cooked Chicken Romano to cool completely before storing.
- Place the chicken in an airtight container, separating layers with parchment paper if necessary.
- Store in the refrigerator for up to 3-4 days.
Freezing
- For longer storage, freeze leftover Chicken Romano.
- Wrap each piece tightly in plastic wrap or aluminum foil before placing them in a freezer-safe bag.
- Label with the date and freeze for up to 3 months.
Reheating
- Thaw frozen chicken in the refrigerator overnight before reheating.
- To reheat, place chicken in a preheated oven at 350°F (175°C) for about 15-20 minutes or until heated through.
- Alternatively, reheat in a skillet over medium heat with a little olive oil until warm.
FAQs
Here are some common questions about Chicken Romano that might help you out!
Can I use other cheeses instead of Romano cheese in Chicken Romano?
Absolutely! While Romano cheese adds a unique flavor, you can substitute it with Parmesan or Pecorino cheese if you prefer.
What sides pair well with Chicken Romano?
Chicken Romano pairs wonderfully with a fresh salad, roasted vegetables, or pasta. You can also serve it with lemon wedges for an extra zing!
How do I ensure my Chicken Romano stays crispy when reheating?
To keep your Chicken Romano crispy while reheating, consider using the oven instead of the microwave. This will help maintain its crunchy texture.
Can I make Chicken Romano ahead of time?
Yes! You can prepare the breaded chicken breasts ahead of time and store them in the refrigerator until you’re ready to fry them up for dinner.
Final Thoughts
I hope you find this Chicken Romano recipe as delightful as I do! It’s not just about filling your belly; it’s about sharing good food and creating joyful moments around the dinner table. Enjoy making this dish, and don’t forget to share it with family and friends. Happy cooking!
Chicken Romano

If you’re on the hunt for a comforting and satisfying chicken dish, Chicken Romano is the answer. This delightful recipe combines tender chicken breasts with a crispy, cheesy coating that will impress your family and friends alike. With its bright lemon garnish and fresh parsley, this dish not only looks fantastic but also delivers an explosion of flavor. Perfect for busy weeknights or festive gatherings, Chicken Romano is sure to become a staple in your home.
- Prep Time: 15 minutes
- Cook Time: 15 minutes
- Total Time: 30 minutes
- Yield: Serves 4
- Category: Dinner
- Method: Frying
- Cuisine: Italian
Ingredients
- 4 boneless, skinless chicken breasts
- ½ cup all-purpose flour
- 2 large eggs
- ¼ cup milk
- 1 cup grated Romano cheese
- 1 cup Italian-style breadcrumbs
- ¼ cup olive oil (for frying)
- 2 tablespoons unsalted butter
- Fresh parsley, chopped (for garnish)
- Lemon wedges (for serving)
Instructions
- Prepare the chicken by placing the breasts between plastic wrap and gently pounding them to about ½ inch thick. Season both sides with salt and pepper.
- Set up a breading station with three bowls: one for flour, one for beaten eggs mixed with milk, and one for a mixture of Romano cheese, breadcrumbs, garlic powder, and paprika.
- Coat each chicken breast first in flour, then in the egg mixture, and finally in the breadcrumb mixture. Press lightly to ensure the coating sticks.
- Heat olive oil and butter in a skillet over medium heat until shimmering. Fry the coated chicken breasts for about 5-7 minutes on each side until golden brown and cooked through.
- Transfer cooked chicken to paper towels to absorb excess oil, garnish with parsley, and serve with lemon wedges.
Nutrition
- Serving Size: 1 chicken breast (approximately 150g)
- Calories: 410
- Sugar: 2g
- Sodium: 700mg
- Fat: 24g
- Saturated Fat: 8g
- Unsaturated Fat: 14g
- Trans Fat: 0g
- Carbohydrates: 25g
- Fiber: 1g
- Protein: 28g
- Cholesterol: 180mg