Cherries in the Snow
If you’re looking for a dessert that feels like a warm hug on a plate, then you’ve got to try this recipe for Cherries in the Snow! This delightful treat combines fluffy angel food cake with creamy layers of smooth cream cheese and sweet cherries. It’s perfect for any occasion, from busy weeknights to festive family gatherings. Trust me, once you taste this dessert, it will quickly become a favorite!
What makes Cherries in the Snow so special is how easy it is to prepare. You can whip it up in no time and let it chill while you spend time with your loved ones. Plus, each bite is a nostalgic reminder of retro desserts that just make you smile.
Why You’ll Love This Recipe
- Quick to Prepare: With just 20 minutes of prep time, you can have this delicious dessert ready to chill.
- Family-Friendly: Kids and adults alike adore the fluffy layers and sweet cherry topping.
- Make-Ahead Delight: Perfect for meal prep! Just let it sit overnight for the best flavor.
- Versatile & Fun: Great for potlucks, picnics, or a simple weeknight treat!
- Cool & Creamy: This dessert is refreshingly light—ideal for warm days!
Ingredients You’ll Need
This recipe uses simple and wholesome ingredients that come together beautifully. Let’s take a look at what you’ll need to create this dreamy dessert!
For the Cake Base
- 1 pre-baked 9-inch angel food cake
For the Cream Cheese Layer
- 8 ounces cream cheese, softened
- 1/2 cup powdered sugar
- 1/2 cup milk
- 1 teaspoon vanilla extract
- 12 ounces Cool Whip, thawed
For the Topping
- 1 (21-ounce) can cherry pie filling
Variations
One of the best things about Cherries in the Snow is its flexibility! Here are some fun variations to try:
- Change the Fruit: Swap out cherry pie filling for blueberries or strawberries for a fruity twist!
- Add Some Crunch: Sprinkle crushed graham crackers or nuts between layers for added texture.
- Experiment with Flavors: Try almond extract instead of vanilla for a unique flavor profile.
- Go Dairy-Free: Use plant-based cream cheese and whipped topping to make it dairy-free!
How to Make Cherries in the Snow
Step 1: Cut the Angel Food Cake
Start by cutting your pre-baked angel food cake into 1-inch cubes. This gives us those fluffy layers we love! Set them aside as we prepare our creamy filling.
Step 2: Make the Cream Cheese Mixture
In a large bowl, beat your softened cream cheese until it’s super smooth. Gradually mix in powdered sugar, milk, and vanilla extract until everything comes together nicely. This step is key because it creates that luscious creaminess that pairs so well with our cake.
Step 3: Fold in the Cool Whip
Now comes the fun part! Gently stir your thawed Cool Whip into the cream cheese mixture until just combined. This adds a lightness and airiness that makes each layer melt in your mouth.
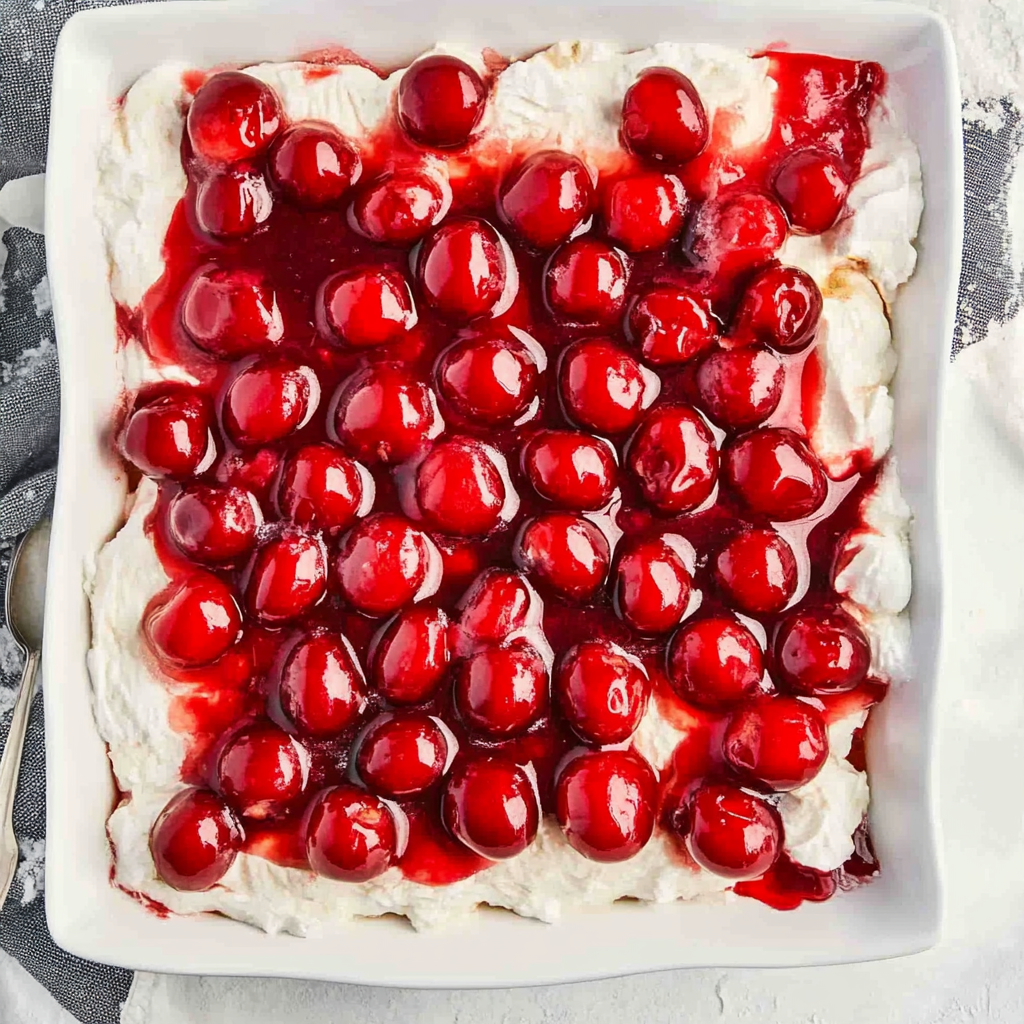
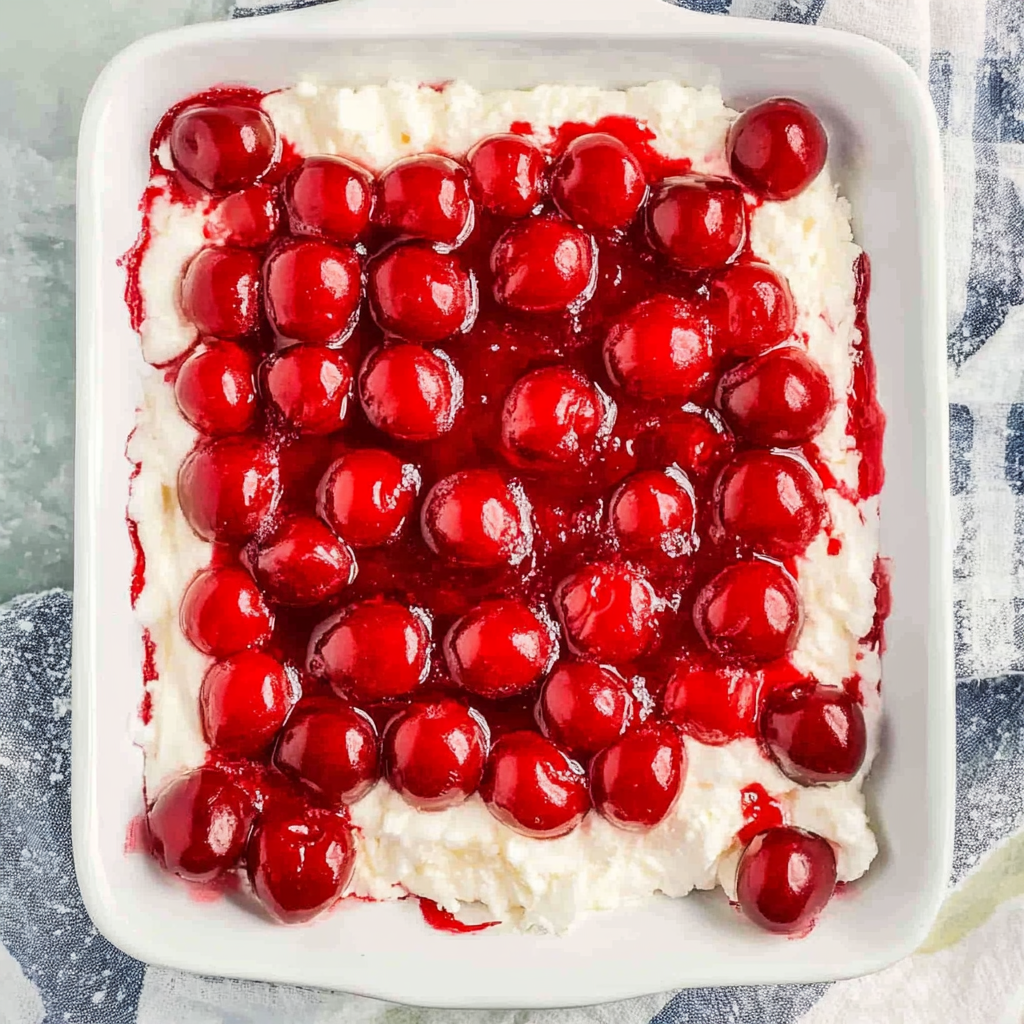
Step 4: Layer It Up
In a trifle dish or a 9×13 inch pan, place a layer of angel food cake cubes at the bottom. Spread half of your creamy mixture over these cubes and then spoon half of your cherry pie filling on top. Repeat these layers again—it’s like building a delicious tower of goodness!
Step 5: Chill Before Serving
Cover your creation and pop it into the refrigerator for at least 4 hours—or ideally overnight. This chilling time allows all those wonderful flavors to meld together beautifully!
Step 6: Serve & Enjoy!
To serve your Cherries in the Snow, scoop out portions ensuring each serving has those lovely layers. Your friends and family will love this cool, creamy retro dessert! Enjoy every bite!
Pro Tips for Making Cherries in the Snow
Creating this delightful dessert is a breeze when you follow these handy tips!
- Use fresh ingredients: Opting for freshly opened cherry pie filling can enhance the flavor and freshness of your dish, making each bite taste even more delightful.
- Chill overnight: Allowing the dessert to sit overnight in the fridge not only melds the flavors beautifully but also gives the cake time to soak up the creaminess, resulting in a more luscious texture.
- Layer creatively: Feel free to mix up the layers! Alternate between cake cubes and cream mixture using different patterns; it adds visual excitement and makes each serving uniquely appealing.
- Experiment with toppings: While cherries are a classic choice, try adding other fruits like blueberries or strawberries on top for an extra burst of color and flavor.
- Make it gluten-free: If you need a gluten-free option, simply use a gluten-free angel food cake. It tastes just as good and ensures everyone can enjoy this sweet treat!
How to Serve Cherries in the Snow
Serving Cherries in the Snow can be just as fun as making it! Presenting this dish beautifully can impress your guests and elevate your dessert game.
Garnishes
- Fresh mint leaves: A sprig of mint on top adds a pop of color and a refreshing hint that complements the sweetness of the cherries.
- Chocolate shavings: For a touch of indulgence, sprinkle some chocolate shavings on top. The richness of chocolate pairs wonderfully with the creamy layers.
Side Dishes
- Simple green salad: A light salad with mixed greens, cucumbers, and a vinaigrette is perfect for balancing out the sweetness of Cherries in the Snow. It adds a refreshing contrast to your meal.
- Grilled fruit skewers: Skewers with seasonal fruits like peaches, pineapples, or strawberries bring a smoky sweetness that pairs well with this creamy dessert.
- Lemon sorbet: The tartness of lemon sorbet provides a great palate cleanser alongside Cherries in the Snow. Its icy texture complements the creaminess beautifully.
- Nutty granola: A scoop of nutty granola offers crunch and texture contrast. Just sprinkle some on each serving for added enjoyment.
With these tips and serving suggestions, you’re all set to create an unforgettable dessert experience! Enjoy every moment spent savoring Cherries in the Snow with friends and family.
Make Ahead and Storage
Cherries in the Snow is a fantastic option for meal prep, allowing you to enjoy a delightful dessert without the last-minute fuss. This recipe stores beautifully, making it perfect for gatherings or simply indulging over a few days.
Storing Leftovers
- Cover the trifle dish or pan tightly with plastic wrap or aluminum foil.
- Store in the refrigerator for up to 3 days.
- Keep in mind that the texture may soften slightly over time, but it will still taste delicious!
Freezing
- While freezing isn’t recommended for this dessert due to its creamy texture, you can freeze individual servings if needed.
- Place portions in an airtight container, separating layers with parchment paper.
- Freeze for up to 2 months. Thaw in the refrigerator before serving.
Reheating
- This dessert is best served cold and doesn’t require reheating.
- Simply remove from the fridge and scoop out portions as desired.
FAQs
Here are some common questions about making Cherries in the Snow:
Can I make Cherries in the Snow ahead of time?
Absolutely! This recipe is perfect for making ahead of time. In fact, allowing it to chill overnight enhances the flavors, making it even more delightful when served.
What variations can I try with Cherries in the Snow?
You can get creative with your layers! Consider adding crushed graham crackers for extra crunch or substituting different fruit fillings like blueberries or strawberries. The possibilities are endless!
How long can I store Cherries in the Snow?
You can keep this dessert covered in the refrigerator for up to 3 days. Just be sure to enjoy it while it’s fresh!
What is special about Cherries in the Snow?
Cherries in the Snow combines light and airy angel food cake with a rich cream cheese mixture and sweet cherries, creating a lovely contrast that makes it irresistible.
Final Thoughts
I hope you find joy in making this delightful Cherries in the Snow recipe! It’s a wonderful way to bring back memories of family gatherings and celebrations. With its luscious layers and refreshing taste, it’s sure to become a favorite at your table too. Enjoy every bite, and don’t hesitate to share your creations with friends and family!
Cherries in the Snow

Indulge in the delightful layers of Cherries in the Snow, a refreshing dessert that combines fluffy angel food cake with creamy cream cheese and sweet cherry filling. This easy-to-make treat offers a nostalgic nod to retro desserts, making it perfect for any occasion, from casual family dinners to festive celebrations. With just a few simple ingredients and minimal prep time, you can create this cool and creamy delight that is sure to become a favorite among kids and adults alike. Serve it chilled and watch as each bite brings smiles all around!
- Prep Time: 20 minutes
- Cook Time: None
- Total Time: 0 hours
- Yield: Serves approximately 10 1x
- Category: Dessert
- Method: No-bake
- Cuisine: American
Ingredients
- 1 pre-baked 9-inch angel food cake
- 8 ounces cream cheese, softened
- 1/2 cup powdered sugar
- 1/2 cup milk
- 1 teaspoon vanilla extract
- 12 ounces Cool Whip, thawed
- 1 (21-ounce) can cherry pie filling
Instructions
- Cut the angel food cake into 1-inch cubes and set aside.
- In a large bowl, beat the softened cream cheese until smooth. Gradually mix in powdered sugar, milk, and vanilla extract until well combined.
- Gently fold the thawed Cool Whip into the cream cheese mixture until just combined.
- In a trifle dish or a 9×13 inch pan, layer half of the angel food cake cubes at the bottom. Spread half of the cream cheese mixture over the cake cubes, followed by half of the cherry pie filling. Repeat these layers.
- Cover and refrigerate for at least 4 hours or overnight to allow flavors to meld.
- To serve, scoop out portions ensuring each serving has layers of cake and filling.
Nutrition
- Serving Size: 1 slice (150g)
- Calories: 270
- Sugar: 30g
- Sodium: 180mg
- Fat: 11g
- Saturated Fat: 6g
- Unsaturated Fat: 5g
- Trans Fat: 0g
- Carbohydrates: 39g
- Fiber: 0g
- Protein: 4g
- Cholesterol: 30mg