Homemade Bread
If you’re looking for a delightful way to bring warmth into your home, then you’re in the right place! There’s something truly magical about the smell of Homemade Bread baking in the oven. This recipe has been a staple in my kitchen for years, and I can’t wait to share it with you. It’s simple, rewarding, and perfect for any occasion—from busy weeknights to family gatherings. Trust me, once you get that first loaf out of the oven, you’ll want to make it every week!
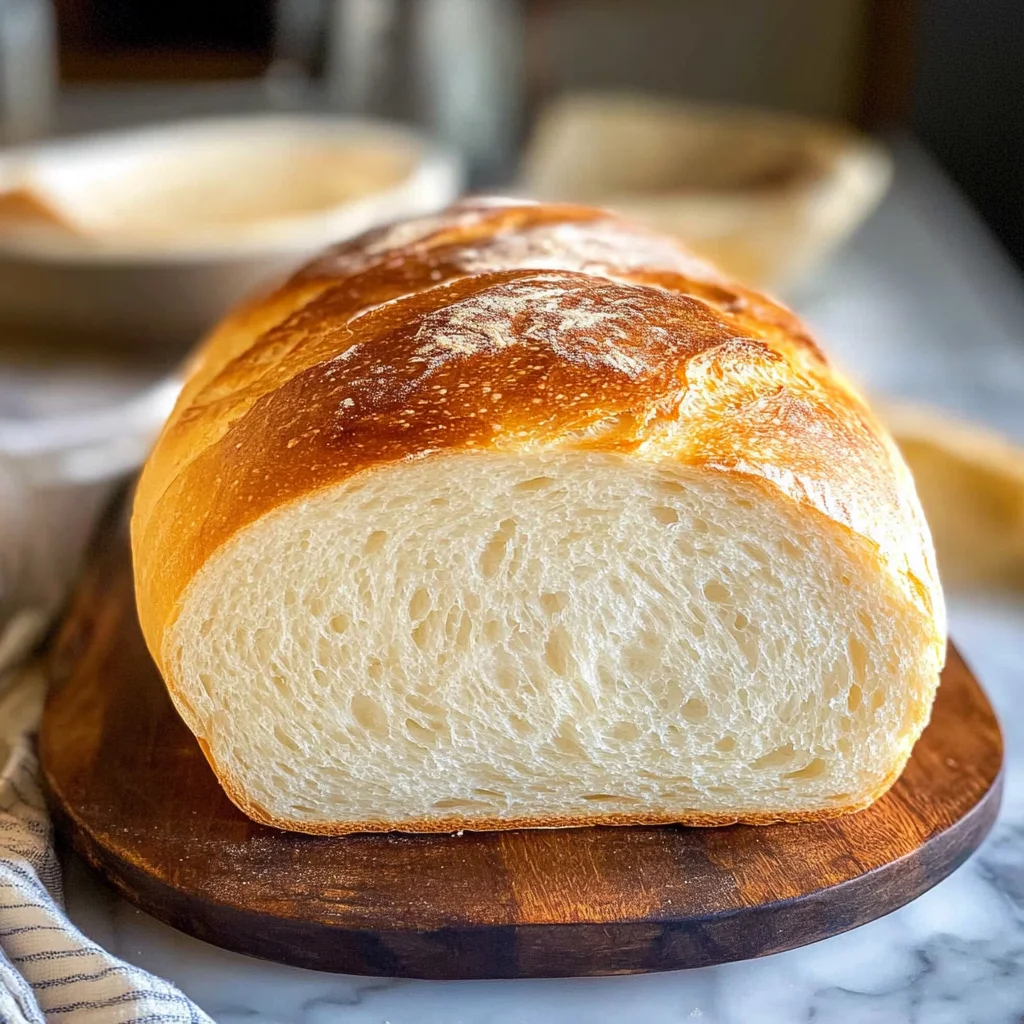
This homemade bread is soft, fluffy, and absolutely ideal for sandwiches or just slathering with butter. Plus, it freezes beautifully, so you can always have fresh bread on hand whenever the craving strikes!
Why You’ll Love This Recipe
- Simplicity at its best: With just six ingredients from your pantry, making homemade bread is easier than ever!
- Family-friendly: Kids love helping with this recipe; they can mix, knead, and punch down the dough—what’s not to enjoy?
- Freezer-friendly: Bake extra loaves and store them for later. You’ll always have fresh bread ready to go!
- Deliciously comforting: There’s nothing quite like warm bread straight from the oven. It’s pure comfort food!
- Versatile uses: Whether it’s for sandwiches or toast, this bread fits perfectly into any meal.
Ingredients You’ll Need
Let’s gather our ingredients! This homemade bread recipe uses simple and wholesome items that you probably already have in your kitchen.
For the Dough
- 2 cups warm water (105-115 degrees)
- 1 Tablespoon active dry yeast
- 1/4 cup honey or sugar
- 2 teaspoons salt
- 2 Tablespoons oil (canola or vegetable)
- 4 – 5 1/2 cups all-purpose or bread flour
Variations
One of the great things about this homemade bread recipe is its flexibility! You can easily tweak it to suit your tastes or dietary needs. Here are a few fun ideas:
- Add herbs: Mix in dried herbs like rosemary or thyme to give your bread an aromatic twist.
- Whole wheat swap: Substitute half of the all-purpose flour with whole wheat flour for a heartier texture.
- Seeds galore: Toss in sunflower seeds or sesame seeds for added crunch and nutrition.
- Sweeten it up: Add a teaspoon of cinnamon or nutmeg to the dough for a hint of warmth and spice.
How to Make Homemade Bread
Step 1: Prepare the Dough
In a large bowl or stand mixer, combine the yeast with warm water and a pinch of honey or sugar. Let it rest for 5-10 minutes until it’s foaming and bubbly. This step is crucial as it ensures that your yeast is active; if it doesn’t foam, you might need fresh yeast!
Step 2: Mix It Up
Once your yeast is ready, add the remaining honey or sugar, salt, oil, and about 3 cups of flour. Mix everything together until combined. The mixture should start coming together into a dough.
Step 3: Flour Power
Gradually add another cup of flour while mixing. Continue adding flour by half-cups until the dough pulls away from the sides of the bowl. It should be smooth and elastic but still slightly sticky—this is where you adjust based on how it feels!
Step 4: Knead Away
Now it’s time to knead! Either use a stand mixer on medium speed for about 4-5 minutes or knead by hand on a floured surface for about 5-8 minutes. Kneading develops gluten which gives your bread structure and chewiness.
Step 5: First Rise
Grease a large bowl with oil and place your dough inside, turning it to coat all sides. Cover with a dish towel or plastic wrap and let rise in a warm spot until doubled in size—this usually takes around 1½ hours.
Step 6: Shape Your Loaves
After rising, punch down your dough gently to release air bubbles. Divide it into two equal portions and shape each into long logs before placing them into greased loaf pans.
Step 7: Second Rise
Cover your pans again with a lightweight towel (or lightly greased plastic wrap). Let them rise once more until they are about an inch above the pan edges—this typically takes around 45 minutes to an hour.
Step 8: Bake Time!
Preheat your oven to 350°F (175°C). Bake those beauties for about 30-33 minutes until golden brown on top. Give them a gentle tap; they should sound hollow when done.
Step 9: Cool Down
Invert your loaves onto wire racks and brush their tops with butter if you’d like! Let them cool at least 10 minutes before slicing—this will help maintain their structure.
Step 10: Enjoy!
Once cooled completely, store your homemade bread in an airtight container at room temperature for up to three days or refrigerate for five days longer if needed. Enjoy every slice knowing that you created something wonderful!
Pro Tips for Making Homemade Bread
Making homemade bread might seem daunting, but with these simple tips, you’ll be on your way to baking perfect loaves every time!
- Use Fresh Yeast: Ensure your yeast is fresh and active. Expired yeast can lead to dense bread that doesn’t rise properly, so always check the expiration date before starting your recipe.
- Warm Water is Key: The water temperature should be between 105-115 degrees Fahrenheit. This warmth activates the yeast, helping it to ferment and produce carbon dioxide, which makes your bread rise beautifully.
- Don’t Rush the Rise: Allowing the dough to rise in a warm place ensures it develops flavor and texture. A draft-free environment helps maintain consistent warmth, which is crucial for proper fermentation.
- Knead Well: Kneading develops gluten, giving the bread its structure. If you’re kneading by hand, don’t skip this step; it’s essential for achieving that perfect chewy texture.
- Store Properly: To keep your bread fresh longer, store it in an airtight container or bag at room temperature. Alternatively, slice and freeze portions for later enjoyment without compromising quality.
How to Serve Homemade Bread
Homemade bread is not only delicious but also incredibly versatile! You can present it in a variety of ways to impress your family and friends.
Garnishes
- Herb Butter: Mix softened butter with fresh herbs like parsley or chives to create a flavorful spread that complements the bread perfectly.
- Olive Oil and Balsamic Vinegar: Serve with a small dish of high-quality olive oil and balsamic vinegar for dipping; it’s a classic pairing that adds a gourmet touch.
- Sea Salt Flakes: A sprinkle of flaky sea salt on top just before baking enhances the flavor and gives your loaves an artisanal look.
Side Dishes
- Soups: Pairing your homemade bread with a hearty soup, like tomato basil or minestrone, creates a comforting meal that’s perfect for chilly nights.
- Salads: A fresh garden salad or Caesar salad complements the bread nicely and adds a refreshing crunch to your meal.
- Cheese Platter: Serve alongside an assortment of cheeses and fruits for a delightful appetizer or snack spread that encourages sharing.
- Roasted Vegetables: Roasted seasonal vegetables provide a beautiful contrast in both color and flavor when enjoyed with slices of warm homemade bread.
Enjoy every bite of your delicious homemade bread! With these tips and serving suggestions, you’ll elevate your baking game and create memorable meals.
Make Ahead and Storage
This homemade bread recipe is perfect for meal prep! You can easily make a big batch and enjoy fresh bread throughout the week. Here’s how to store and preserve your delicious loaves.
Storing Leftovers
- Allow the bread to cool completely before storing.
- Place it in an airtight container or a resealable bag.
- Keep at room temperature for 2-3 days, or refrigerate for up to 5 days.
Freezing
- Wrap the cooled loaves tightly in plastic wrap or aluminum foil.
- Place wrapped bread into a freezer-safe bag or container.
- Freeze for up to 3 months. To thaw, place the bread in the refrigerator overnight.
Reheating
- Preheat your oven to 350°F (175°C).
- Unwrap the bread and place it directly on the oven rack (or use a baking sheet).
- Heat for about 10-15 minutes until warmed through. Enjoy that freshly baked aroma!
FAQs
Here are some common questions that might help you as you prepare your homemade bread!
What is the best way to ensure my Homemade Bread rises properly?
To ensure your homemade bread rises well, make sure your yeast is fresh and has been activated correctly during the proofing stage. Keeping the dough in a warm, draft-free area will also help it rise beautifully!
Can I use whole wheat flour instead of all-purpose flour for Homemade Bread?
Yes, you can substitute whole wheat flour for some of the all-purpose flour. For best results, start by replacing half of the all-purpose flour with whole wheat flour and adjust as necessary based on the dough’s texture.
How long does Homemade Bread last?
Homemade bread typically lasts for 2-3 days at room temperature when stored properly in an airtight container. If you want to keep it longer, consider freezing it.
Final Thoughts
I hope you find this homemade bread recipe as delightful to make as it is to share! There’s something truly special about baking your own bread that fills your home with warmth and love. Enjoy every slice, whether it’s with a comforting soup or as part of a sandwich. Happy baking, and I can’t wait for you to try this recipe!
Homemade Bread
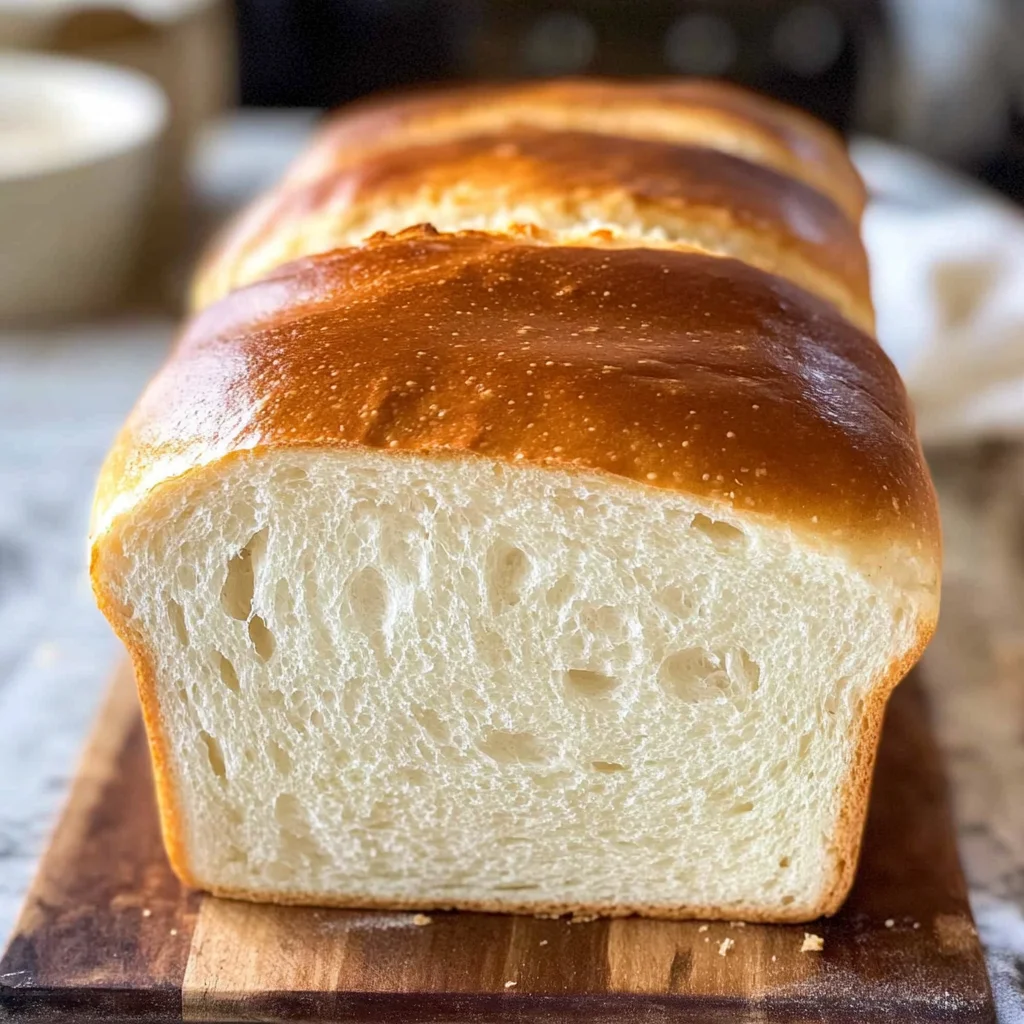
If you’re eager to fill your home with the irresistible aroma of freshly baked bread, this Homemade Bread recipe is your answer! This straightforward, six-ingredient recipe yields soft and fluffy loaves that are perfect for sandwiches or simply enjoying with butter. Whether you’re a seasoned baker or new to the kitchen, you’ll find this process rewarding and surprisingly easy. The best part? You can make multiple loaves and freeze them for later, ensuring that delicious freshness is always within reach. Give it a try, and watch as your family gathers around to enjoy this delightful homemade treat!
- Prep Time: 15 minutes
- Cook Time: 33 minutes
- Total Time: 48 minutes
- Yield: Approximately 16 servings 1x
- Category: Baking
- Method: Baking
- Cuisine: American
Ingredients
- 2 cups warm water (105-115°F)
- 1 tablespoon active dry yeast
- 1/4 cup honey or sugar
- 2 teaspoons salt
- 2 tablespoons canola or vegetable oil
- 4 – 5 1/2 cups all-purpose or bread flour
Instructions
- In a large bowl, combine the warm water and yeast with a pinch of honey or sugar; let it sit for 5-10 minutes until foamy.
- Add remaining honey or sugar, salt, oil, and about 3 cups of flour; mix until combined.
- Gradually add more flour until the dough pulls away from the sides but remains slightly sticky.
- Knead the dough for 4-5 minutes in a stand mixer or by hand for about 5-8 minutes on a floured surface.
- Place in an oiled bowl, cover, and let rise in a warm area until doubled in size (about 1½ hours).
- Punch down the dough, divide it into two equal pieces, shape into logs, and place in greased loaf pans.
- Cover and let rise again until about an inch above pan edges (45 minutes to an hour).
- Preheat oven to 350°F (175°C) and bake for 30-33 minutes until golden brown.
- Cool on wire racks before slicing.
Nutrition
- Serving Size: 1 slice (40g)
- Calories: 107
- Sugar: 2g
- Sodium: 150mg
- Fat: 2g
- Saturated Fat: 0g
- Unsaturated Fat: 2g
- Trans Fat: 0g
- Carbohydrates: 20g
- Fiber: 1g
- Protein: 3g
- Cholesterol: 0mg